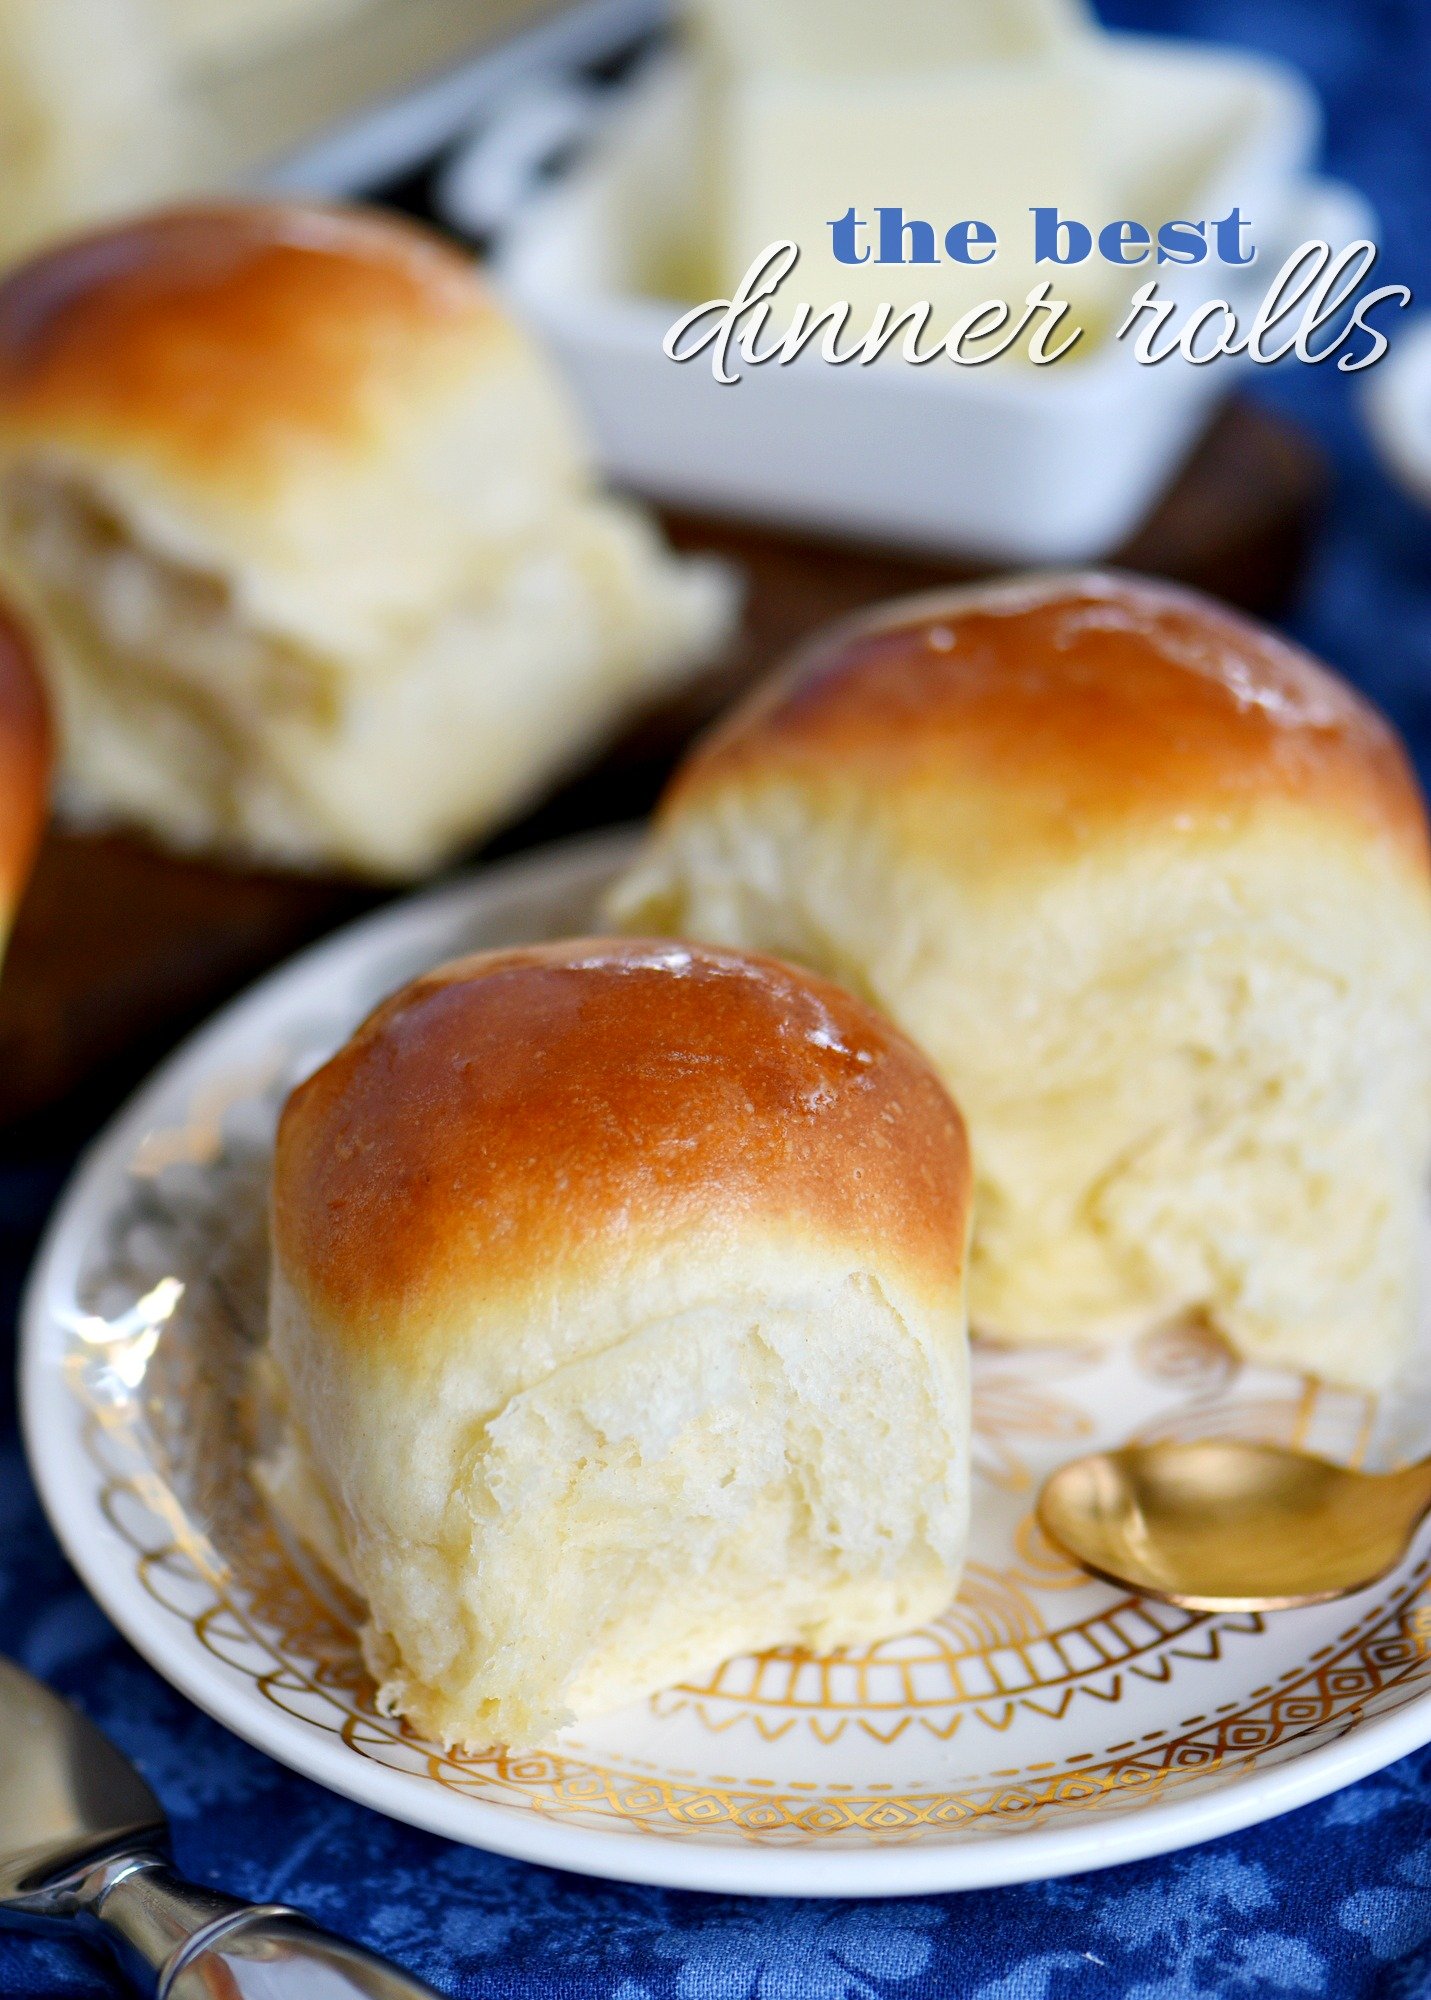
Light, fluffy, buttery dinner rolls are impossible to resist. Homemade with just a handful of simple ingredients, the BEST Dinner Rolls can you be on your table in a jiffy. They really are the perfect addition to any meal but I love this easy dinner roll recipe with Buttermilk Ranch Oven Fried Chicken or these delicious Turkey Meatballs.
Sign up to get my new recipes in your inbox! Follow me on Facebook and Instagram!
The BEST Dinner Rolls
An easy dinner roll recipe needs to be in everyone’s repertoire. These dinner rolls are perfect. Like, truly perfect. Soft and fluffy, my dinner roll recipe is going to blow you away with it’s pillowy texture and buttery flavor. They are extremely versatile and a welcome addition to essentially every meal.
I am the biggest fan of carbs. There, I said it. I’m currently working with a nutritionist and I get 3 starches a day. It’s basically torture but I’m learning to deal with it. I pick and choose those starches verrrry carefully these days.
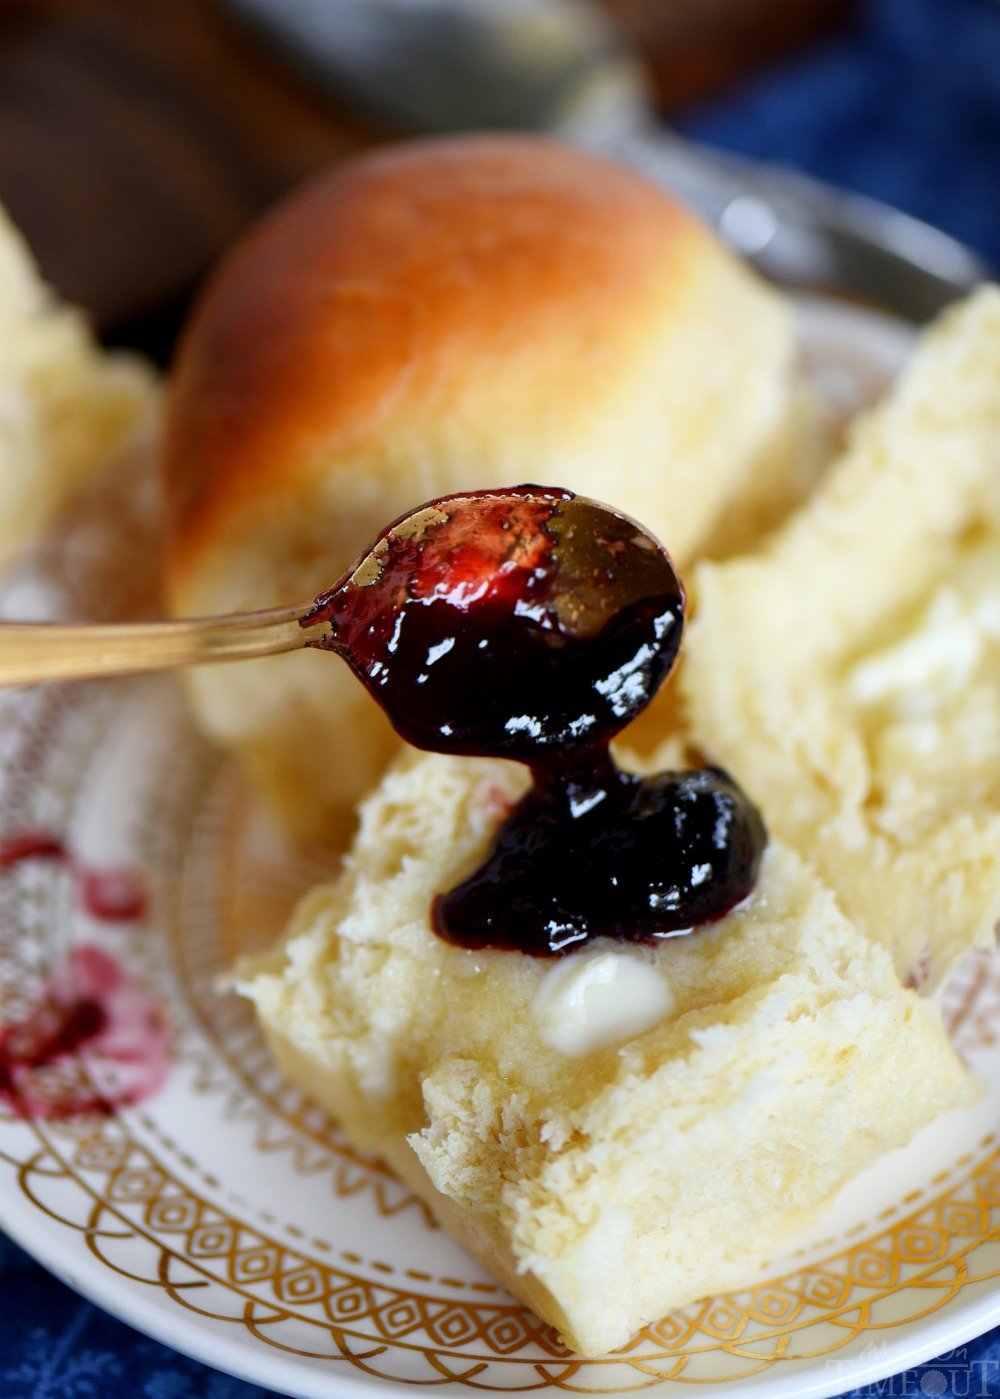
When I knew I was making these soft dinner rolls for dinner this past week, I took extra precautions to make sure I could have at least two of these amazing dinner rolls with butter and jelly. Although, to be completely transparent, they don’t even need butter. It’s more of a habit at this point.
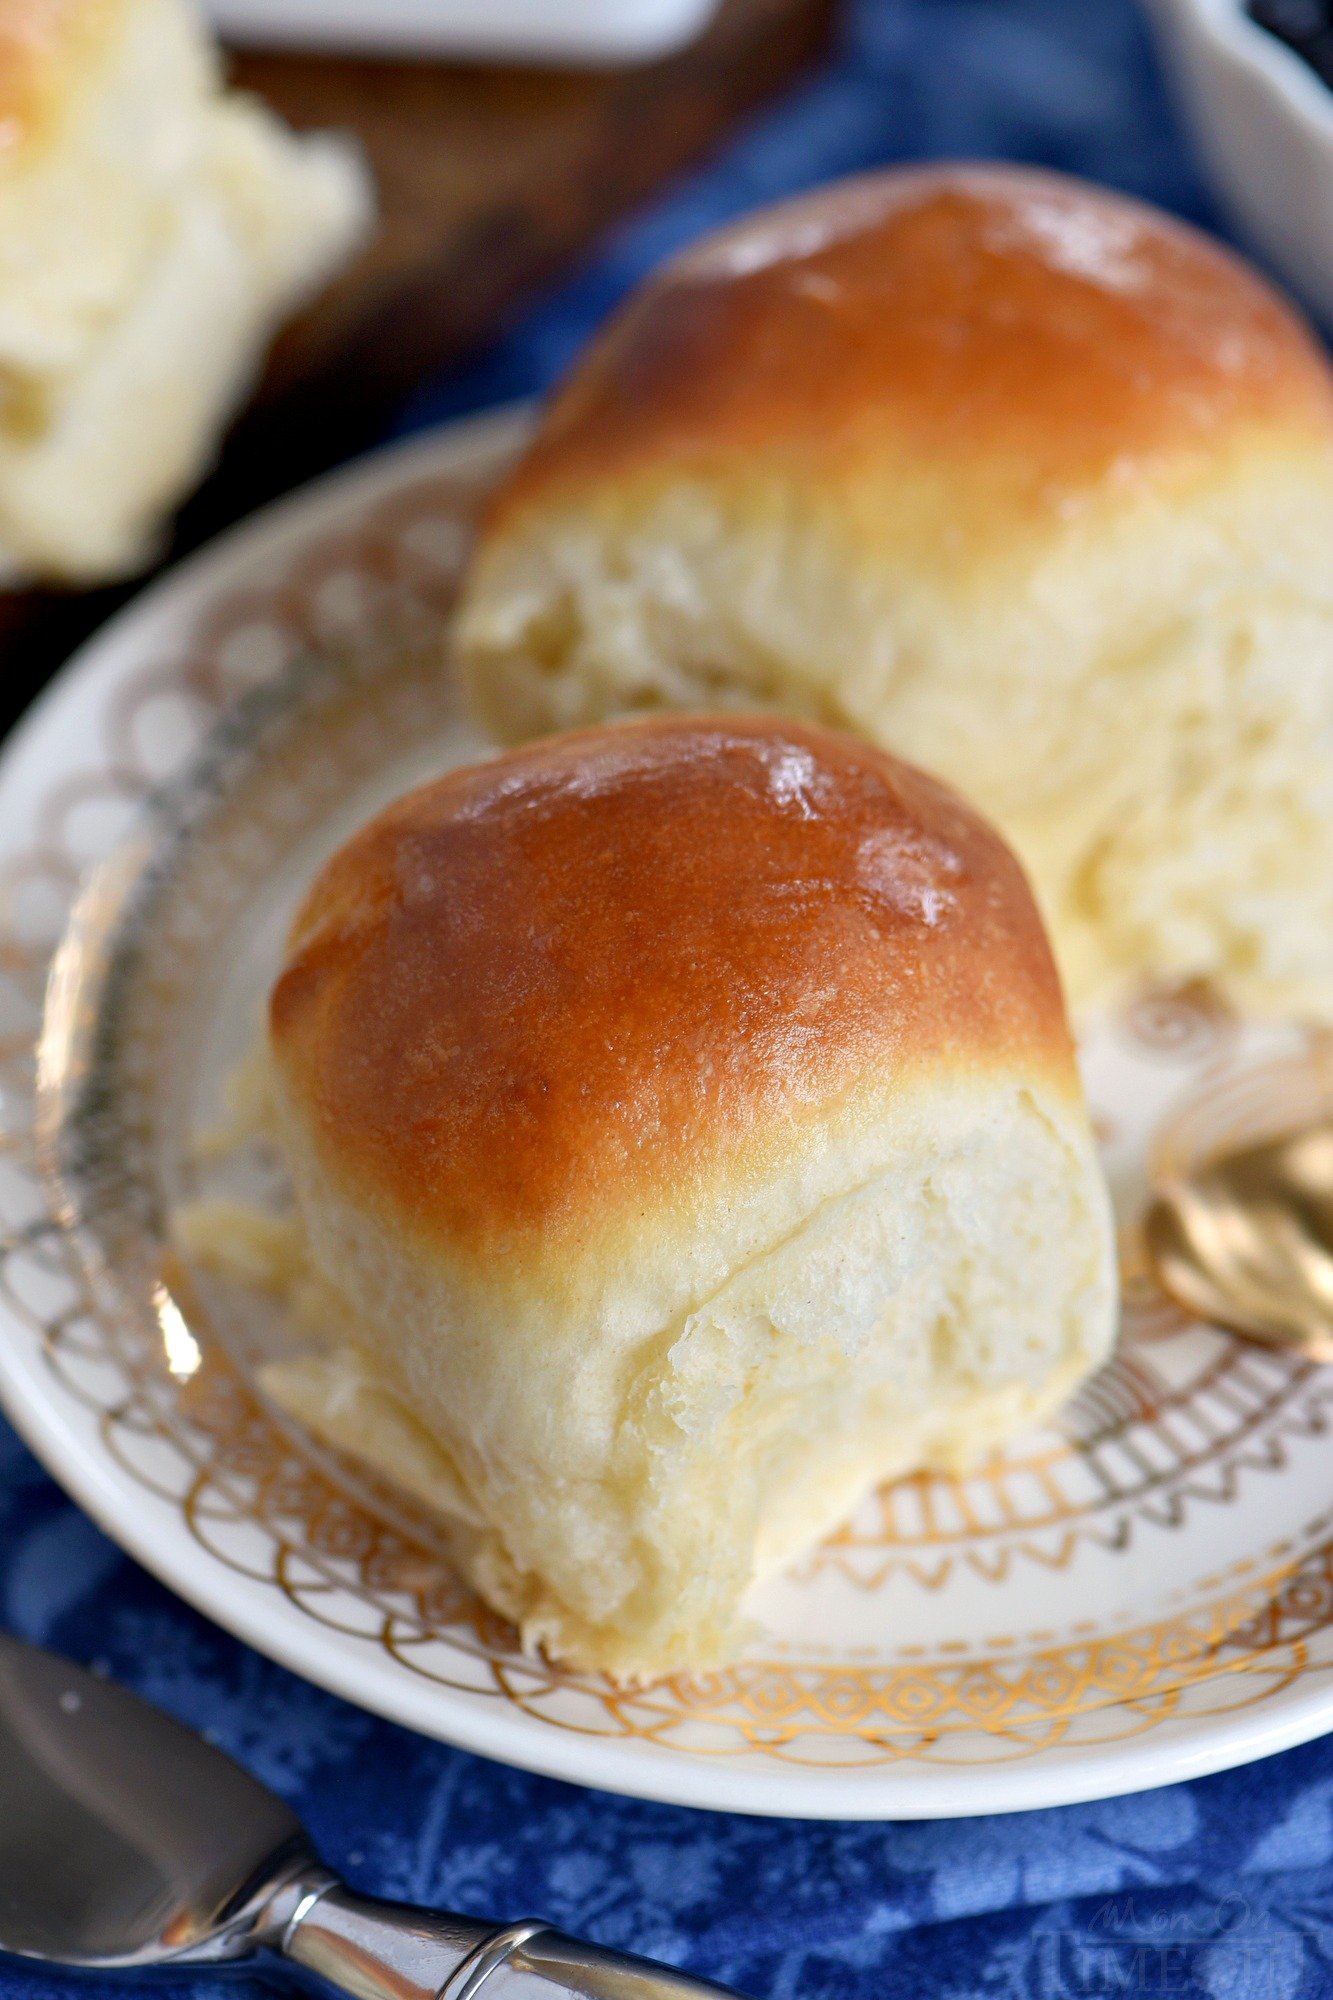
You guys! Just look at these fluffy dinner rolls! I love that they have just a hint of sweetness but it’s not too much. They are perfect for breakfast, lunch, dinner, snack, sandwiches – you name it.
They homemade dinner rolls are quick too! They do rise twice, for 30 minutes each, but start to finish, you’re looking at 90 minutes total and not a whole lot of work either.
I use my stand mixer and let the dough hook do the kneading for me. I’m using rapid rise or instant yeast in this dinner roll recipe so all the ingredients get dumped in together, much like you would in a bread machine. It’s basically the best thing ever.
Tips for Making Perfect Homemade Dinner Rolls
- This recipe comes together super fast so it’s nice to be prepared. Measure out all the ingredients before you get started so you can just dump them in the bowl of the mixer and get started.
- The milk is what activates the yeast so be diligent about checking for the right temperature. You’re looking for somewhere between 100-110F. I warm mine in the microwave in a glass measuring cup and then use this thermometer to check the temperature. If it gets too hot, let it sit until it reaches the right temperature. Killing the yeast is a big no-no.
- The first and second rise are both 30 minutes. Keep your rolls in a draft free location and cover with a tea towel or plastic wrap.
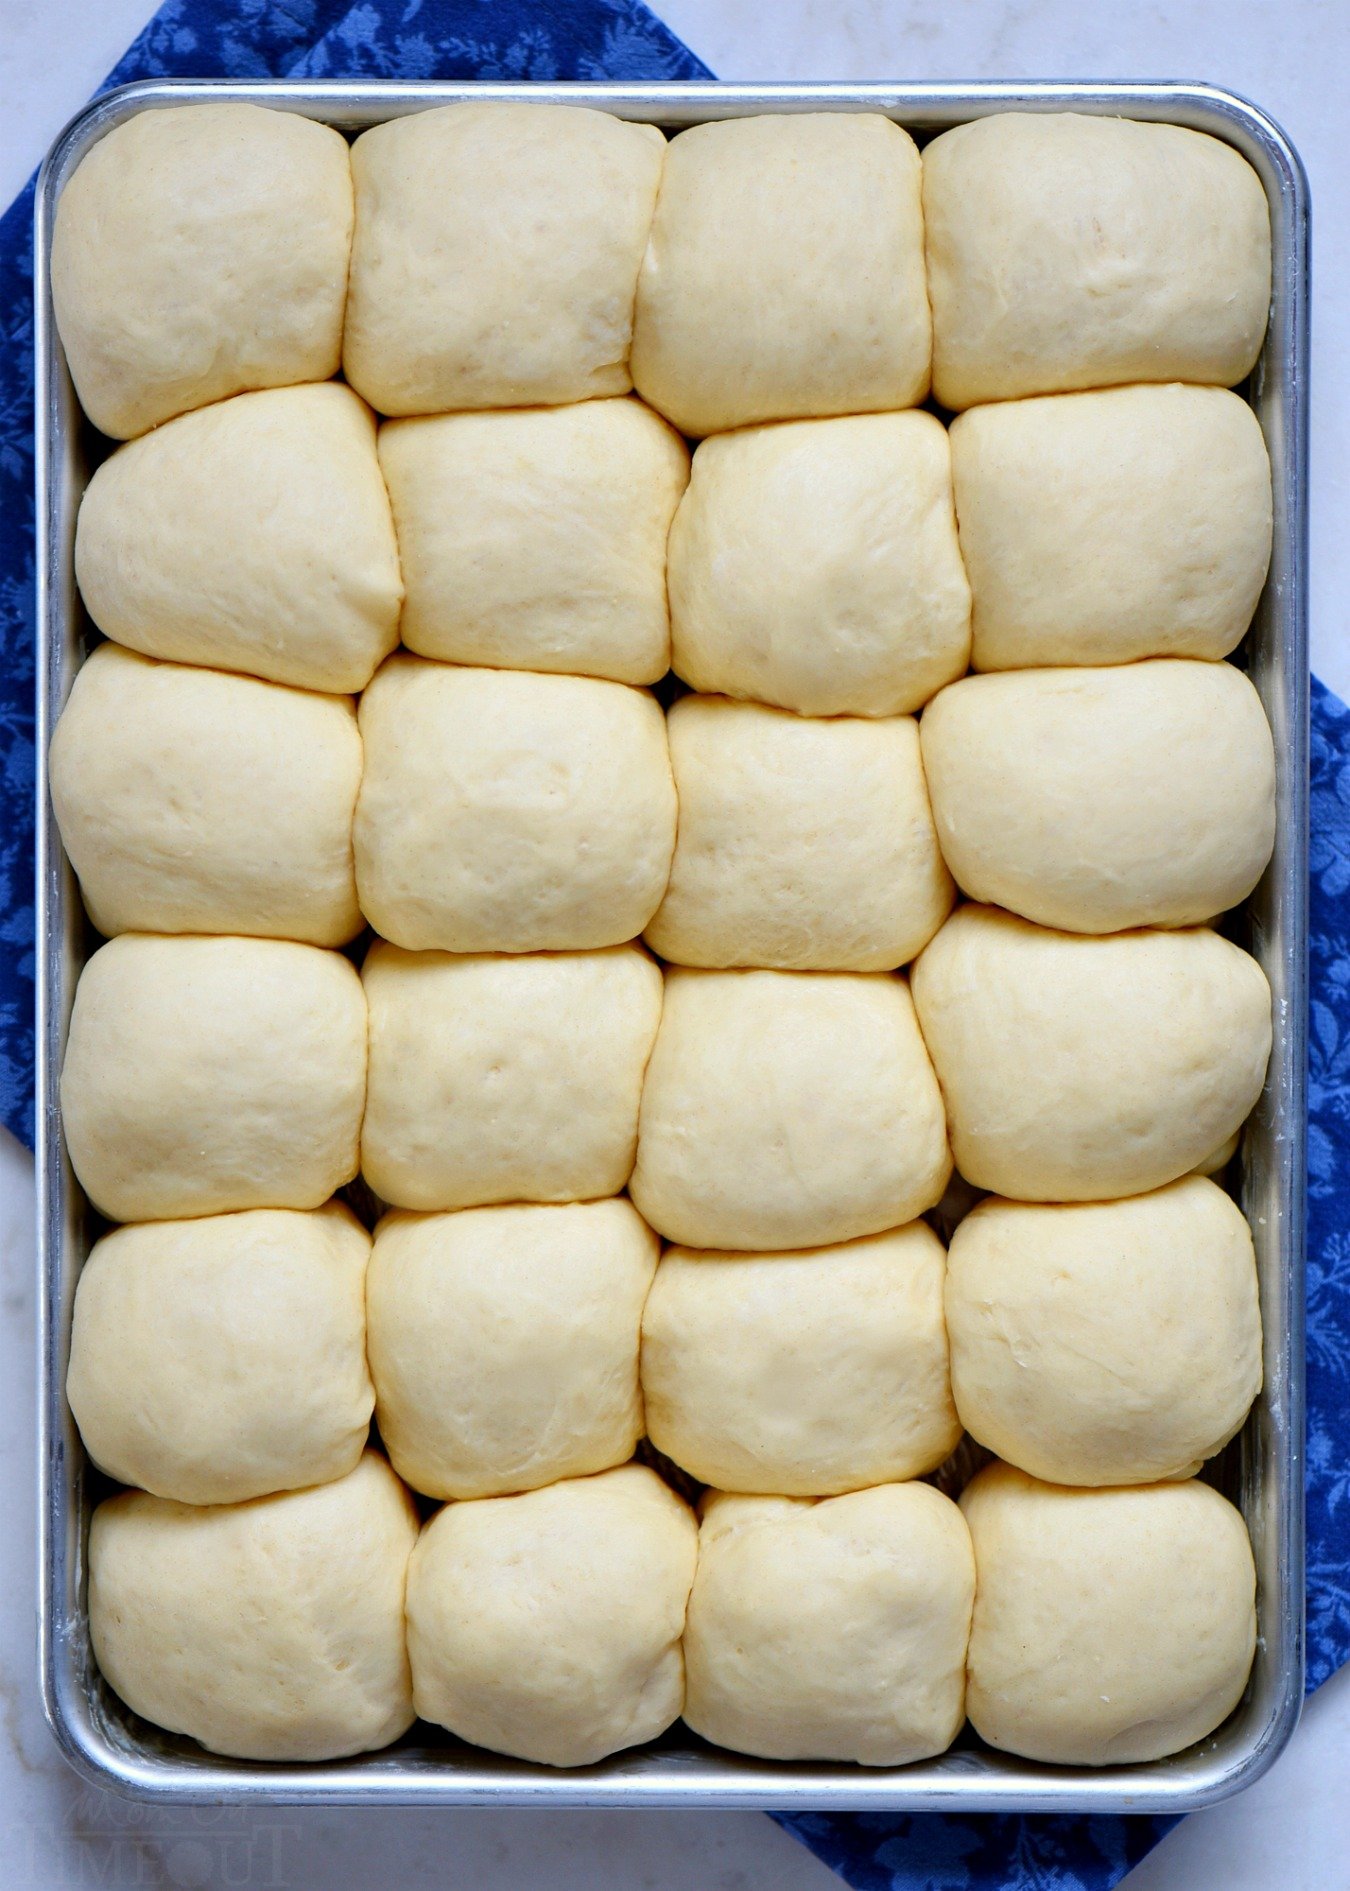
- Making the rolls the same size ensures an even baking time. I’m pretty good at eyeballing it but to be extra sure, pat the dough into a rectangle about 8 x 12 inches. Cut into 4 strips and then cut those strips into 6 squares for a total of 24 rolls. You can use a kitchen scale to weigh them.
- When rolling the dough into balls, I like to make them nice and smooth on top by pulling the “seams” down to the bottom and giving it a twist. That’s the side I place on to the baking sheet so the top is perfectly rounded. The video below will show you more of what I mean if that is unclear.
- Check the rolls at 12 minutes. If they are starting to darken beyond what you prefer, put a piece of foil over the top. I like my rolls a nice golden brown and once it hits that color, I know the rolls are done. Always check a center roll for doneness and then tent with foil if they need a few more minutes.
- Don’t forget to brush with butter! This is what gives the top of the dinner rolls that irresistible golden sheen. It’s super important 🙂
To Make Homemade Dinners Rolls, You’ll Need
How To Make Dinner Rolls
If you like this easy dinner roll recipe, make sure to check out this Cinnamon Bread and these Cheddar Bay Biscuits – so good!
The BEST Dinner Rolls
Ingredients
- 4 -5 cups all purpose flour
- 2 tablespoons rapid rise, instant yeast
- ⅓ cup granulated sugar
- 1 tsp salt
- 1½ cups warm milk , 110 degrees
- 5 tablespoons butter, softened
- 1 egg , room temperature
- 2 tablespoons melted butter
Instructions
- Combine 3 cups of flour, yeast, sugar, salt, warm milk, butter, and egg in the bowl of a stand mixer.
- Attach the dough hook and turn the mixer on to the lowest speed and mix until flour is incorporated, scraping down the sides of the bowl as necessary.
- Increase speed to medium and beat for 2 minutes.
- Add 1/2 cup flour and blend with the dough hook until incorporated. And another 1/2 cup flour and repeat, mixing at medium speed for another 2 minutes until a ball of dough is formed.
- Add additional flour as necessary. The dough should be slightly sticky and soft and pulling away from the edge of the bowl.
- Transfer the dough to a lightly greased bowl and cover with a towel or plastic wrap. Let rise for 30 minutes at room temperature.
- Remove the towel or plastic wrap and deflate the dough by punching down lightly.
- Pinch off pieces of the dough and form 24 rolls. You can weigh them to keep the rolls close to the same size. Mine were about 2 ounces each but this will vary depending on how much flour you added.
- Transfer the rolls to a lightly greased quarter baking sheet or 9 x 13 baking dish. Cover with a towel or plastic wrap and let rise for an additional 30 minutes at room temperature.
- Preheat oven to 375 degrees. Bake the rolls for 12 to 15 minutes or until golden brown and cooked through. If the rolls are getting too brown, just tent the rolls with foil.
- Remove rolls and brush hot rolls with the melted butter. Serve immediately or store cooled rolls in a plastic bag for up to 3 days.
Video
Notes
Nutrition
Feeling all the carbs?? Make sure to check out these recipes from friends:
Brioche Loaf Bread | The Best Cloud Bread | Milk Bread
Some great appetizers to try!
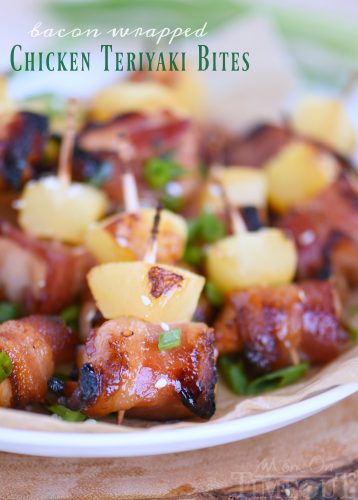
Bacon Wrapped Chicken Teriyaki Bites
Cranberry Pecan Mini Goat Cheese Balls

For all dinner recipes, go HERE.
For all dessert recipes, go HERE.
Sign up to get emails when I post new recipes!
For even more great ideas follow me on Facebook – Pinterest – Instagram – Twitter – Bloglovin’.




Gwendolyn Hill says
Absolutely delicious, will make again again!!!!
Trish - Mom On Timeout says
So happy to hear that!
Lucy says
Super the best ever. Thank you.
Marian L Fearn says
These were amazing! Turned out better than expected, as I’m still a beginner in the baking realm. Looked and tasted similar to Hawaiian rolls. Super happy with this recipe. Thank you for sharing!
Irene says
Made this before and it was absolutely delicious! But I have to double the recipe and I don’t have enough rapid rise yeast. Can I use my active dry yeast and if so, how should I change the recipe?
Trish - Mom On Timeout says
You can use the yeast interchangeable – the same amount will work. It just increases or decreases the rise time depending on what you use.
MH says
I’ve made this recipe about 5x now and everyone who has eaten them has said these are the best rolls they’ve ever eaten. So easy and quick too!
Trish - Mom On Timeout says
Thank you so much!
Mary Wood says
Hands down the best thing that I have ever made. My husband said they were better than dessert. I will save this recipe and make it over and over!
Heather K Johnson says
The title of this recipe doesn’t lie….they are THE BEST! I lightly sprinkled on coarse salt after the melted butter on top when they came out of the oven…chefs kiss!
SF says
I started making these for thanksgiving last year and they were requested for Christmas and another family event. Everyone loves them! Thanks!
Arfa says
Sooooo goooooood!
Thankyou for the recipe
Veena says
Super soft yummy dinner rolls. Just perfect. Easy to make. Thank you for this recipe.
Dana Hyatt says
Love your yeast roll recipe but I tried to make them with less carbs. It was easy! I used whole grain wheat and half the sugar with 1 tablespoon of honey. No egg or butter except for the top. Delicious!