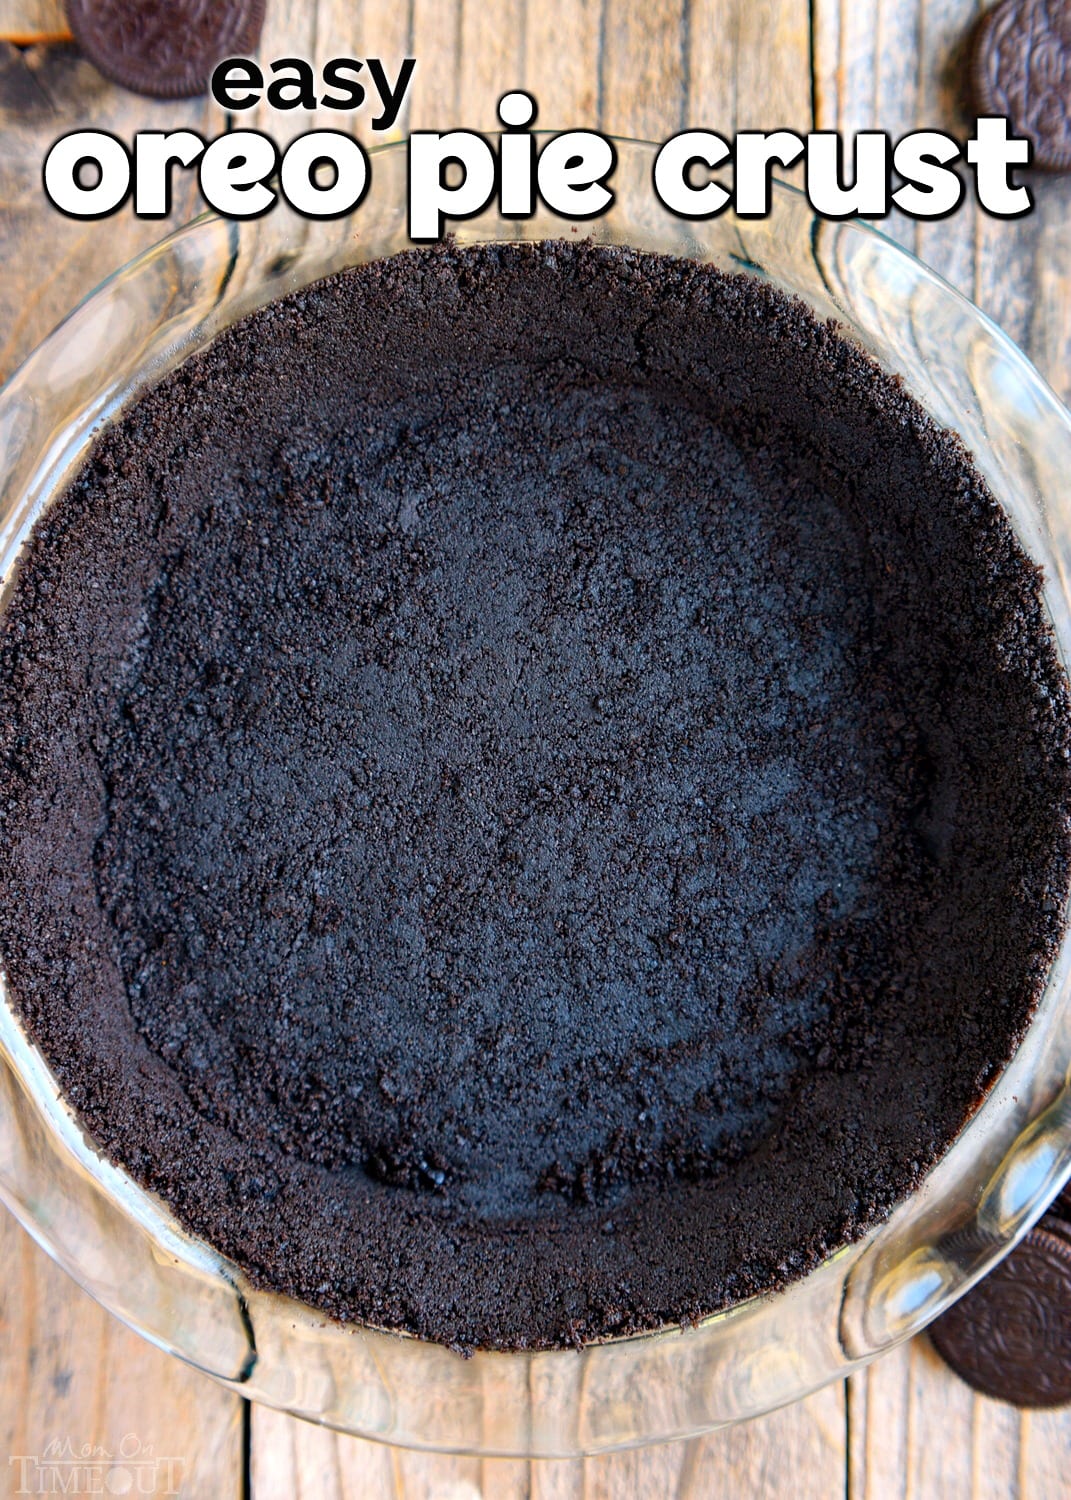
This quick and easy Oreo Pie Crust tastes amazing! You’ll love the easy to follow instructions on how to make an Oreo crust for no-bake and baked recipes, including pies and cheesecakes! Make sure to check out these fan favorites: No Bake Strawberry Cheesecake and Triple Threat Chocolate Cheesecake – delicious!
Oreo Pie Crust
If there’s one thing I can’t get enough of – it’s pie. But for me to have a really exceptional pie experience, I need the crust to be on point. Like, the BEST pie crust ever. Otherwise, I just eat the filling 🙂
There’s one pie crust that I can’t ever pass up and that’s an Oreo Pie Crust. There are just so darn good and SO easy too!
Today I’m going to share my no bake Oreo Pie Crust recipe that’s the perfect base for all sorts of pies – strawberry, peanut butter, chocolate – you name it!
Those chocolate sandwich cookies have a way of sneaking into – and out of – my kitchen on a preeeety regular basis so I take every chance I can to turn them into something amazing.
If you’ve followed Mom On Timeout for any length of time, you’re probably well aware of my deep, dark love of desserts. You’ll also know that I use Oreos in lots of my recipes.
Some reader favorites include:
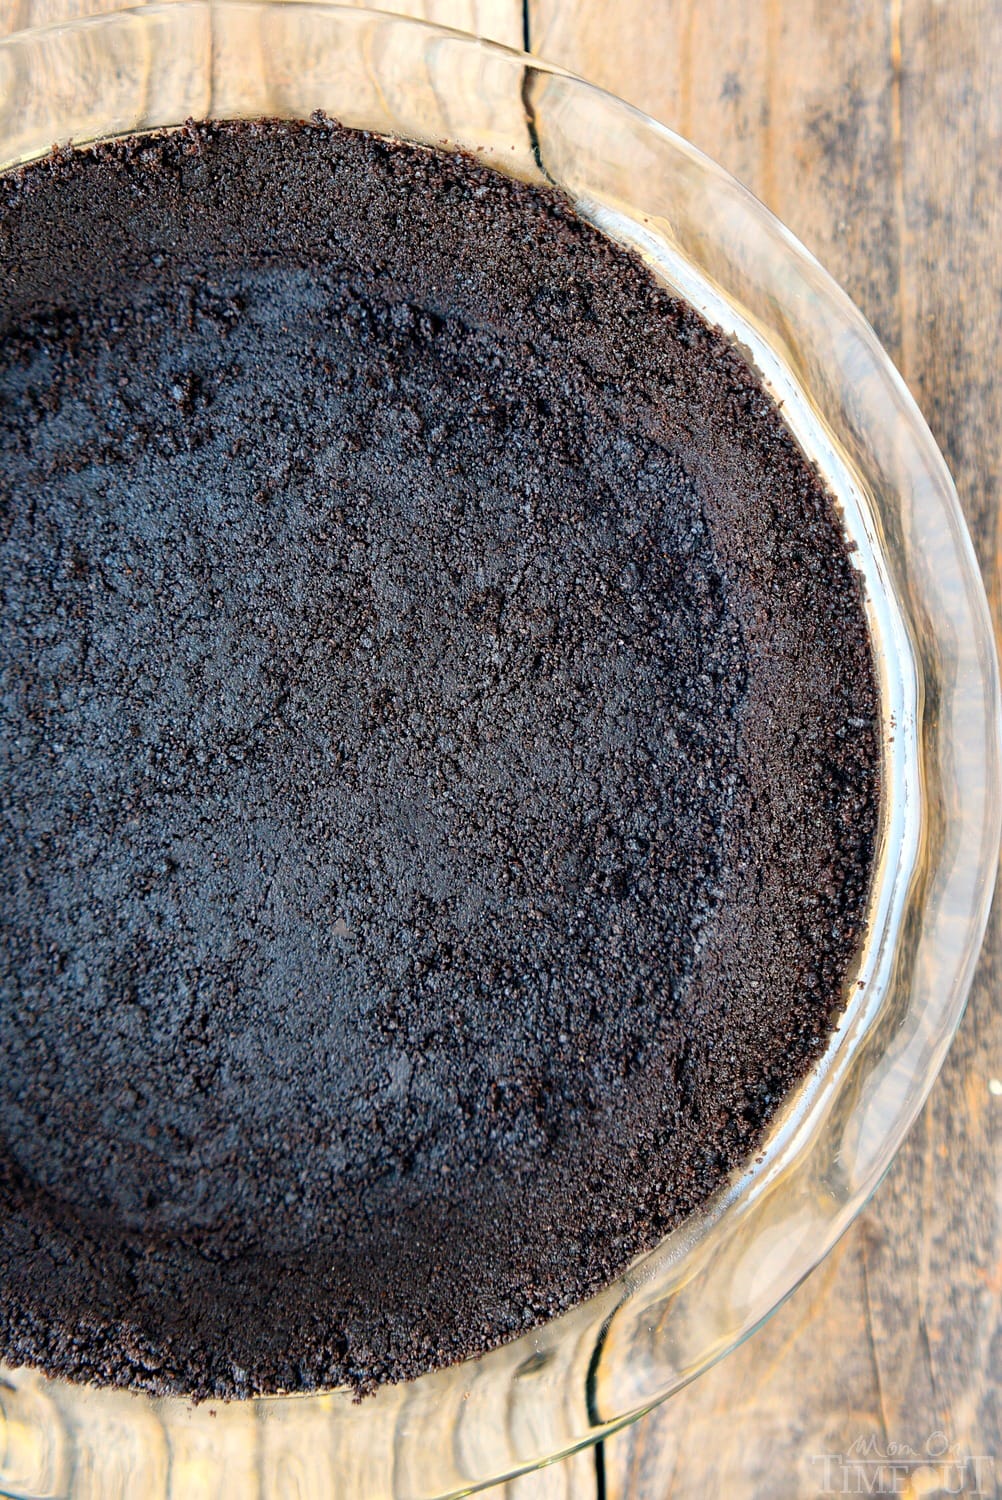
In the recipe below, I’m using an entire package of Oreo cookies. I find that it’s always best to have a little extra pie crust than not enough. This recipe makes enough for a 9-inch springform pan or pie plate plus enough extra for a generous side crust.
If you prefer to have a slightly thinner crust, you can scale back accordingly. I’ve done that in many of my recipes on my site but this recipe will work in every situation which is why I’m going with slightly larger quantities than usual.
What Do I Do With The Filling
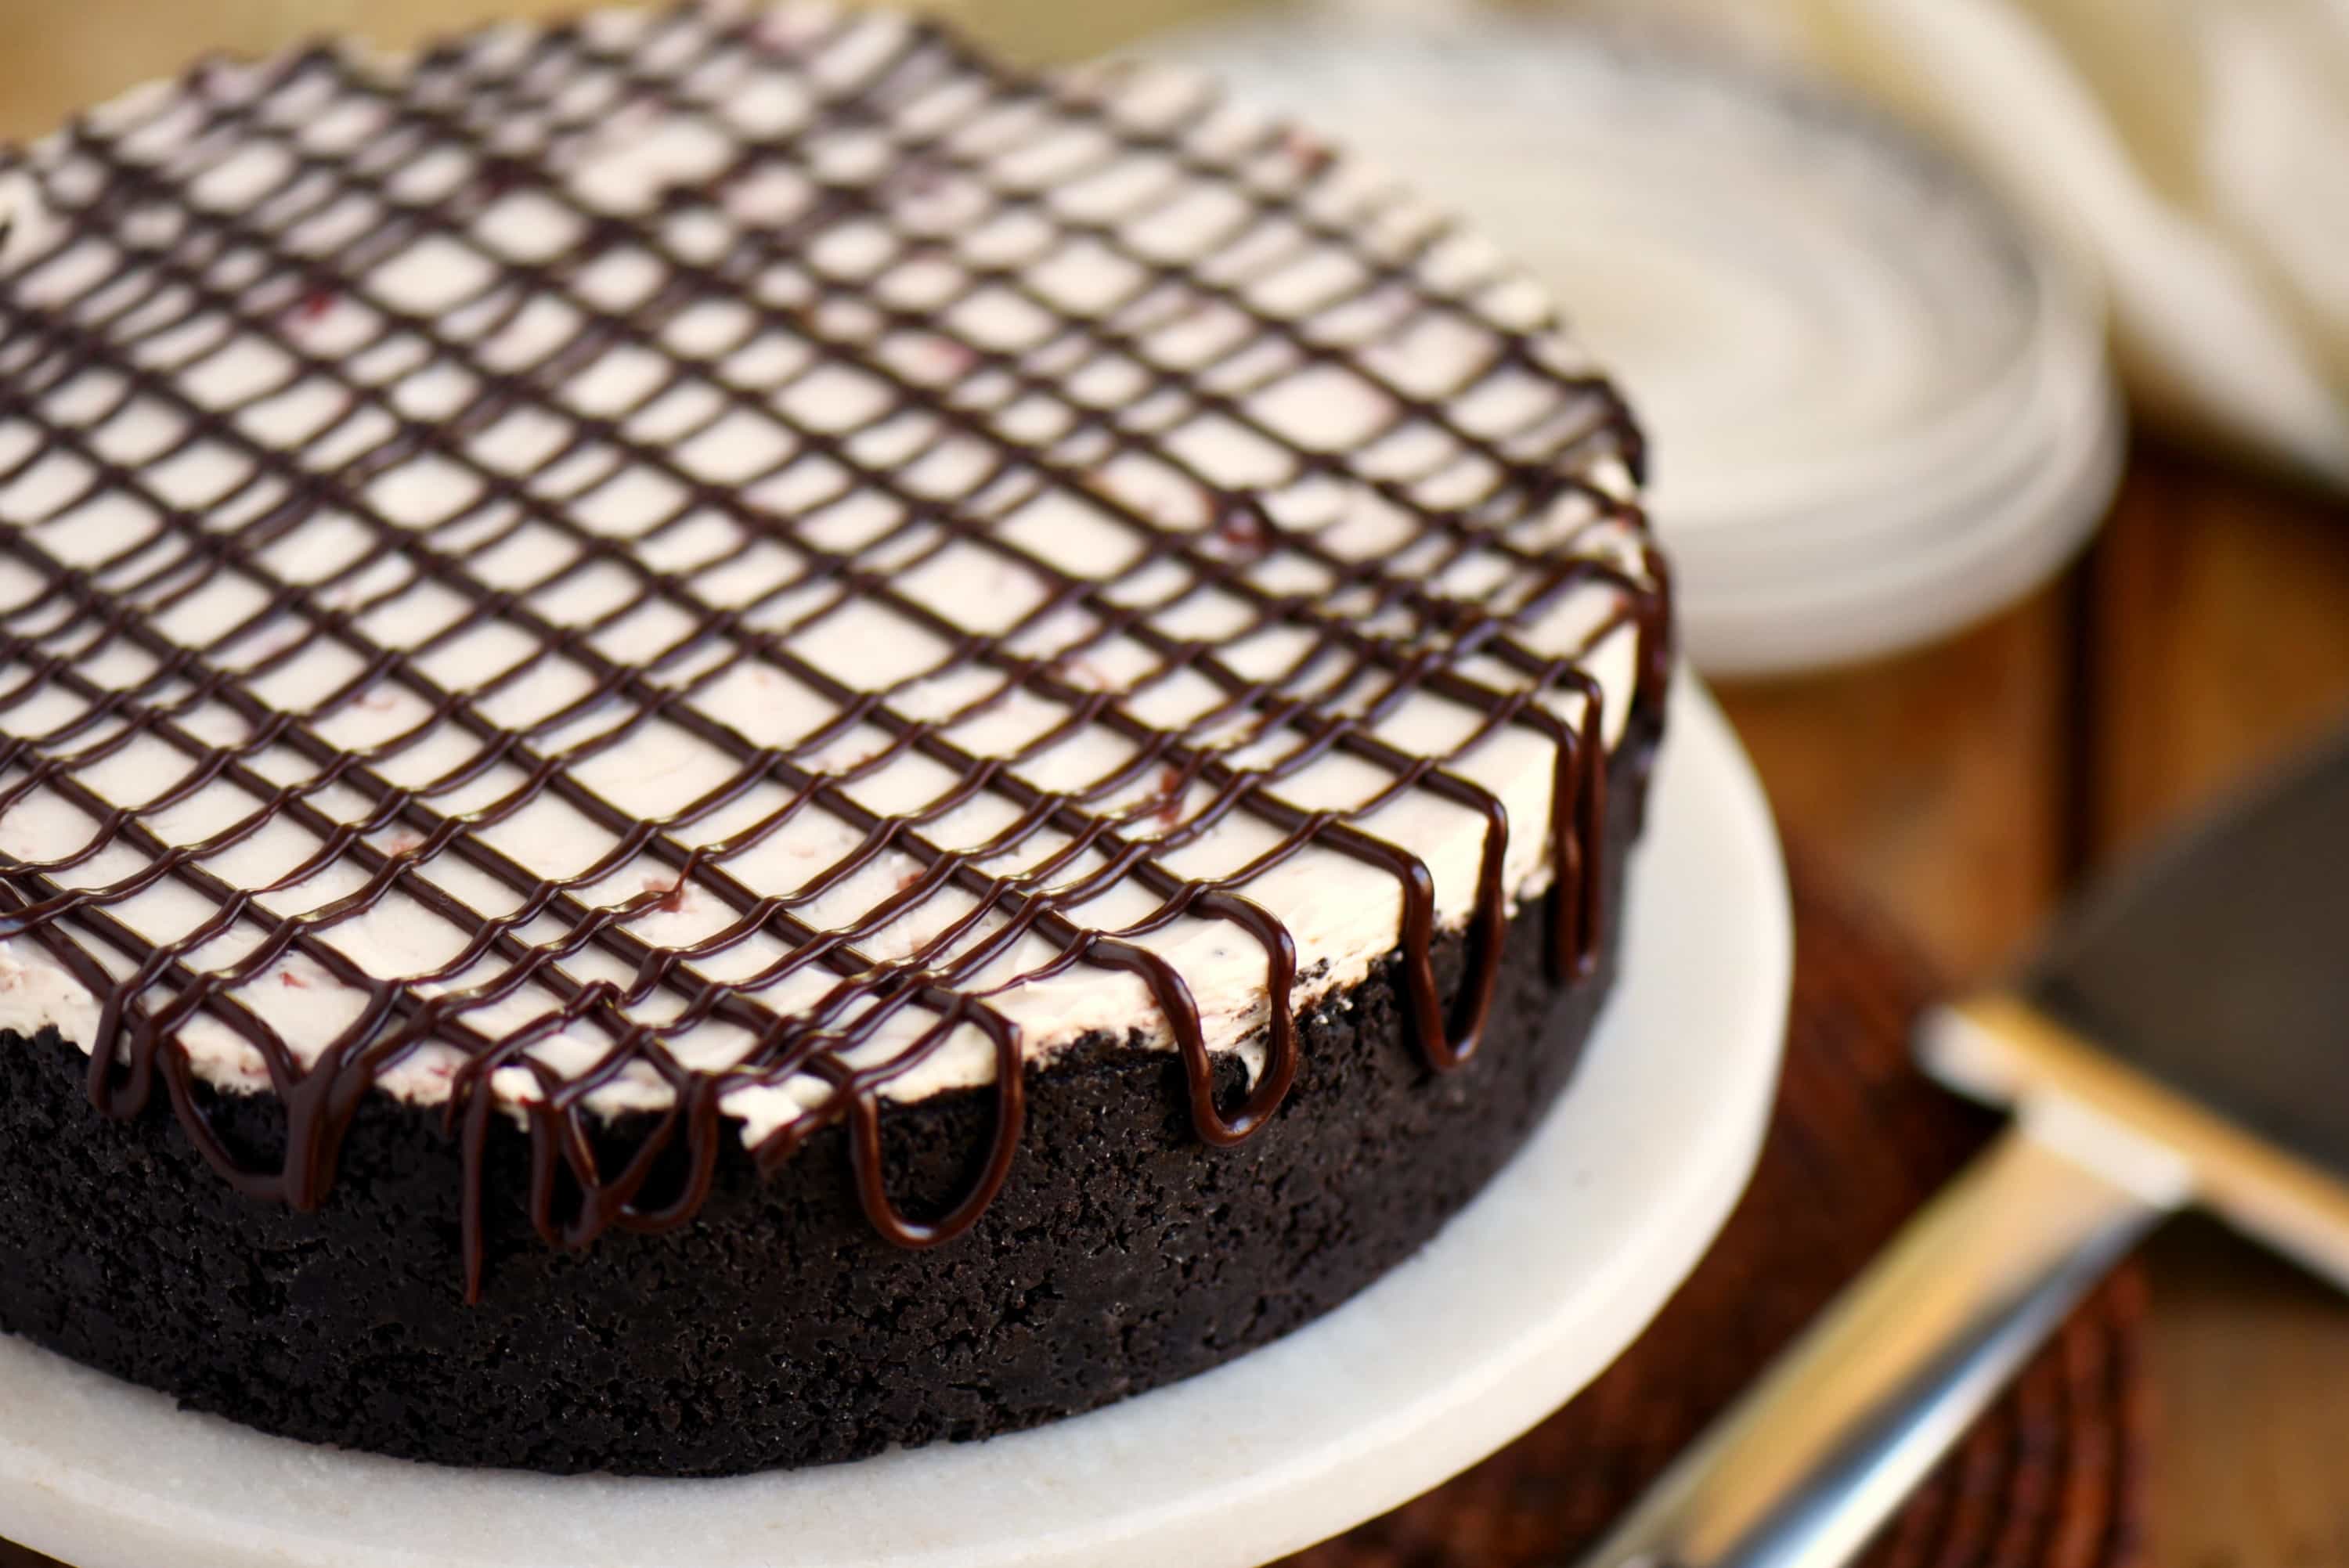
Use it! That filling acts as a natural binder in this Oreo crust recipe. Between the filling and the butter, this crust won’t crumble and fall apart.
Which brings me to the next question I get…
Bake or No Bake for My Oreo Crust?
The beauty of this recipe is that it works for both bake and no bake recipes.
Here’s what you need to know:
- No Bake Desserts: Follow the instructions below and allow the pie crust to chill in the fridge for a good 30 minutes before proceeding. Giving the crust that much time to set up ensures that the filling, whatever it may be, won’t leak through the crust. This is the technique I use in this Strawberry No Bake Cheesecake.
- Baked Desserts: Follow the instructions for the recipe that you are making. This recipe can be baked ahead of time and then baked again with the dessert, or it can be prepared, filled, and then baked.
- You can see an example of me baking it ahead of time in this Chocolate Cheesecake. The crust gets baked 10 minutes in the oven before I add the cheesecake filling.
- In this White Chocolate Cranberry Cheesecake recipe, I don’t bake the crust until the entire cheesecake gets baked.
- The bottom line is, this recipe will work in either application.
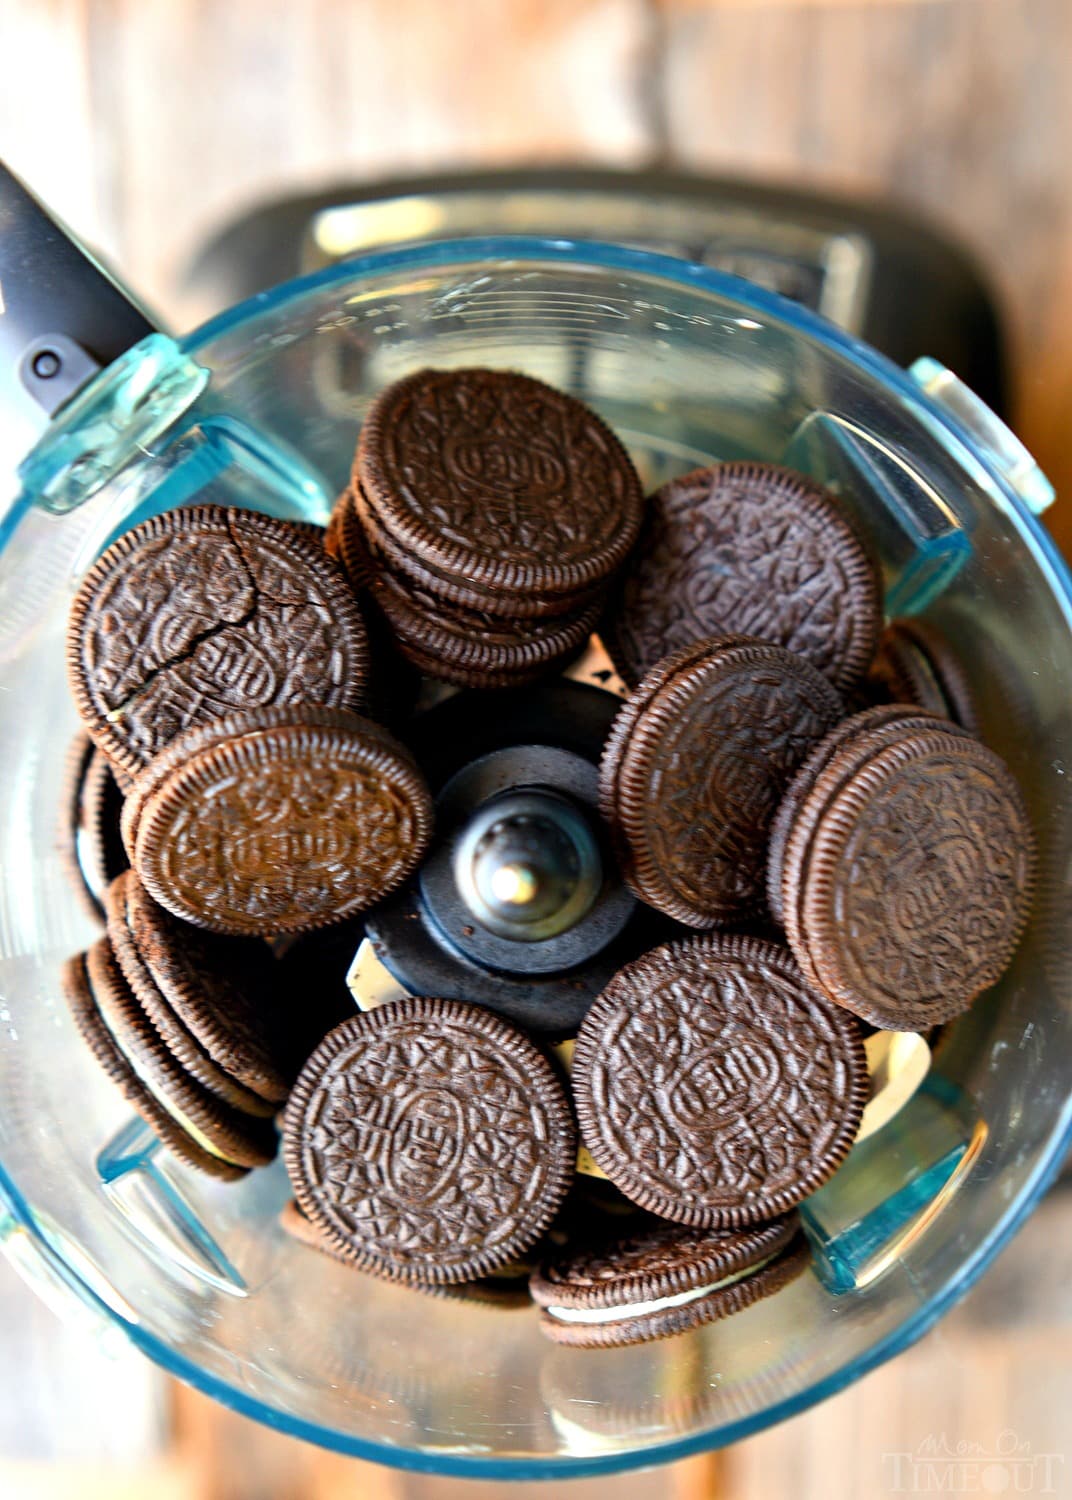
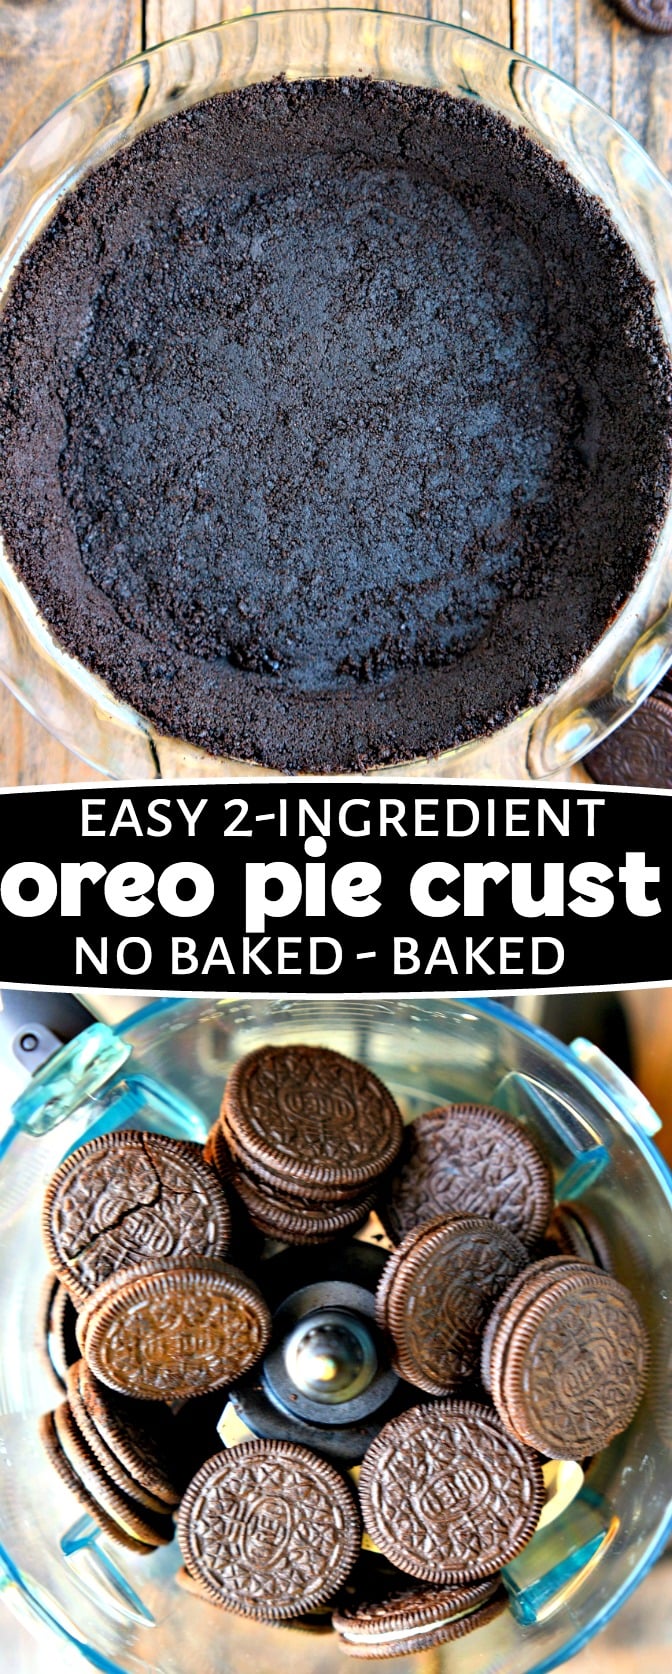
I’m a big fan of making my pie crust in my food processor. It takes like, 90 seconds, and bam, I’m ready to press it into the pie plate or springform pan. I like to use the pulse feature until only fine crumbs remain. Then it’s just a matter of drizzling in the melted butter and pulsing several times until the butter is completely incorporated. You can also use a fork to stir the crumbs and butter together.
If you don’t have a food processor, no worries! Just pop the cookies in a ziploc bag and go to work on them with a rolling pin. Get those crumbs nice and small though before stirring in the butter.
Tips for Making an Oreo Crust
- Use a food processor – save your wrists! (says the person with carpal tunnel)
- The smaller the crumbs, the tighter the crust and less chance it will crumble all over the place.
- Use the filling! It helps bind the crust together.
- Use the bottom of a measuring cup to really press the crumbs into your pie plate or springform pan (if making an Oreo crust cheesecake). You really want to press the crumbs in well so your crust doesn’t fall apart on you later.
- Lightly spray your pan with non stick cooking spray. This helps the crust to release easier.
- You don’t have to use standard Oreos! Use any flavor you like to customize your recipe!
Now that you’ve got this awesome Oreo Pie Crust recipe – you need to make some of these great recipes! (Check out my Nilla Wafer Pie Crust too!)
Recipes With An Oreo Crust
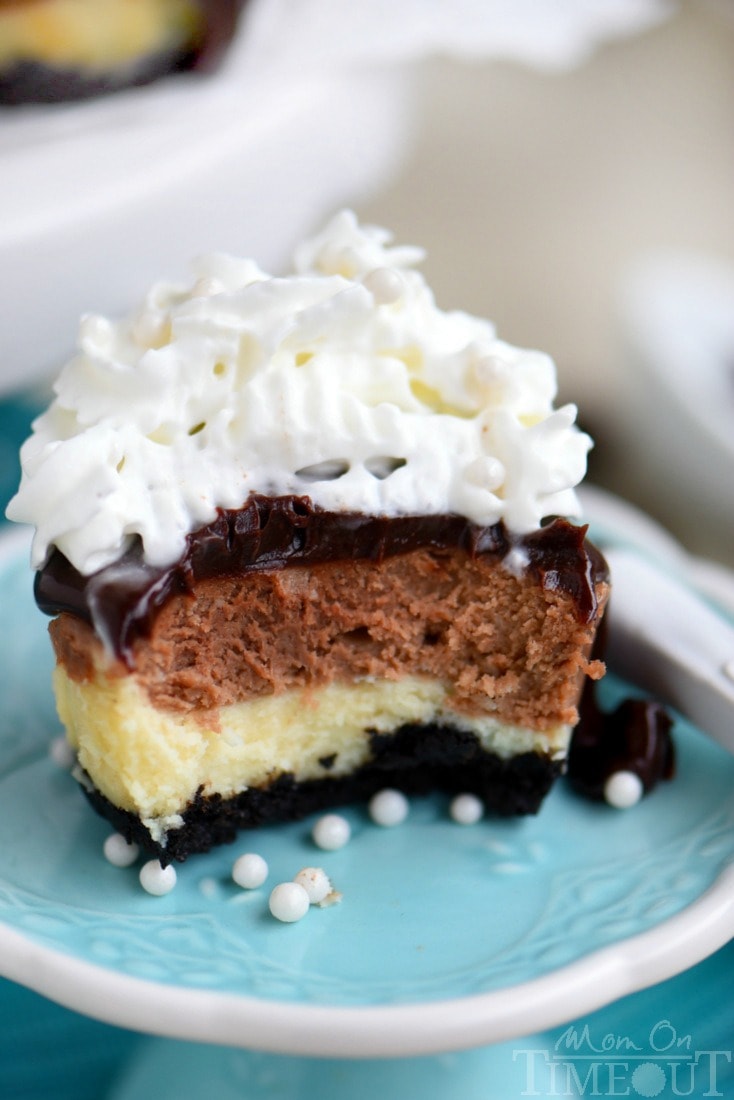
- Chocolate Marble Mini Cheesecakes
- No Bake Peanut Butter Cheesecake Pie
- Strawberry No Bake Cheesecake
- Funfetti Oreo Cheesecake Bars
How To Make An Oreo Pie Crust
Easy Oreo Pie Crust
Ingredients
- 14 oz OREOs
- 8 tbsp butter salted or unsalted, melted
Instructions
- Place cookies in a food processor and pulse until only fine crumbs remain.
- Drizzle in the melted butter and pulse several times until completely incorporated. You can also stir in the melted butter with a fork.
- Transfer the crumbs to the prepared springform pan or pie plate and press firmly into the bottom and evenly up the sides of the pan. Use the bottom of a measuring cup or your hands to really press the crumbs into the bottom and sides of your pan.
For No Bake Recipes
- Refrigerate for 30 minutes until the crust is firm. Fill as directed.
For Baked Recipes
- Follow recipe instructions. The crust does not need to be pre-baked unless the recipe you are making requires it.
Nutrition

For all breakfast recipes, go HERE.
For all dessert recipes, go HERE.
Sign up to get emails when I post new recipes!
For even more great ideas follow me on Facebook – Pinterest – Instagram – Twitter – Bloglovin’.






Bob says
I needed a gluten free crust, so I used gluten free Orios for our traditional grasshopper pie. This was a super easy, super tasty, super firm crust. And to think I almost used another recipe that said I had to toss the inside frosting.