Light and airy Irish Cream Macarons are delicate cookies with a chewy texture. The Irish Cream filling takes them over the top! These picturesque treats will impress everyone you serve them to! Celebrate St. Patrick’s Day the right way with these delicious homemade Macarons recipe! If you’re looking for more cookies that’ll have you feeling lucky this St. Patty’s Day, make a batch of Rainbow Pinwheel Cookies or these Mint Chocolate Chip Snowball Cookies.
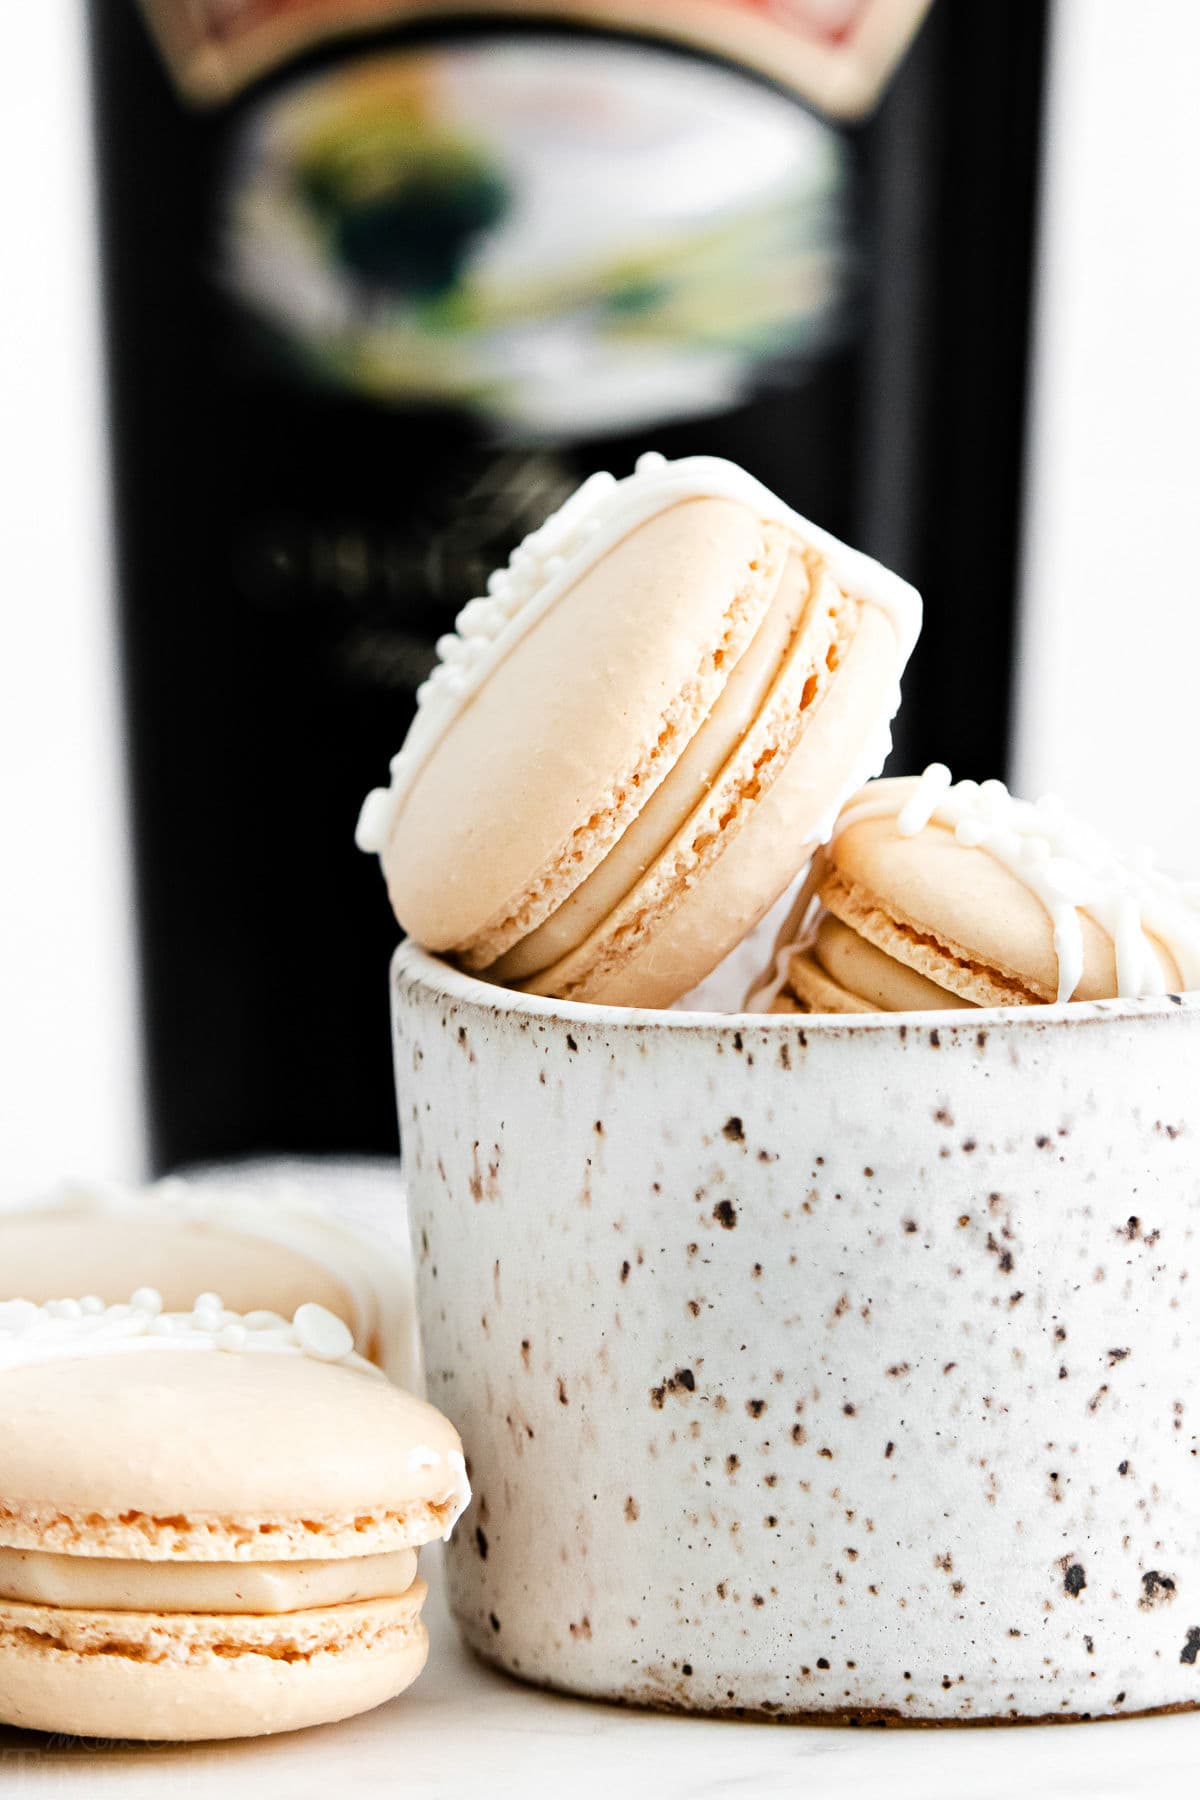
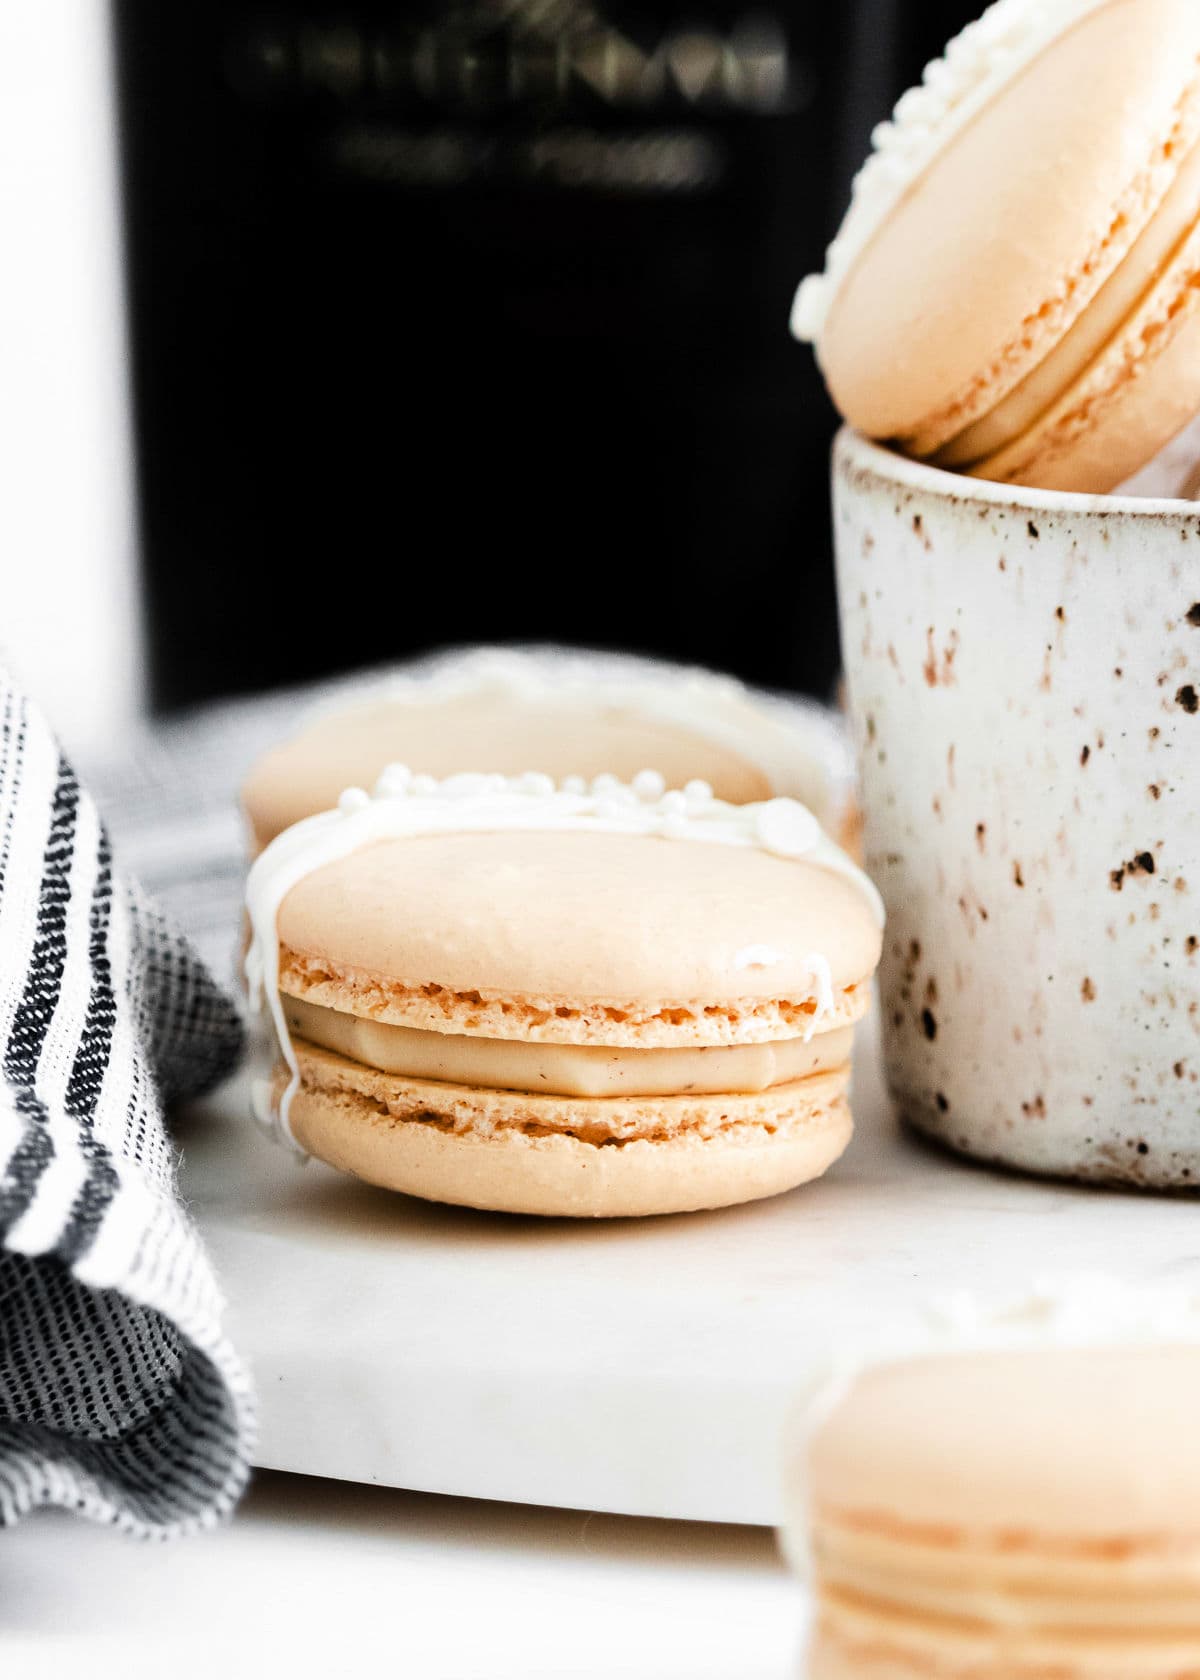
Besides being very pretty, Irish cream macarons are also delicate and delicious! The crunchy shell and creamy middle of macarons require a bit of technique to master, but with my easy to follow steps, you’ll have it down in no time.
While I’ll definitely be making a batch of these sweet macarons for St. Patrick’s Day, I also love making them all year long! These sweet and creamy cookies are truly heavenly, and impossible not to crave.
What Are Macarons?
Macarons are traditional French (some say Italian!) cookies that have been around for ages – since the 19th century, at least.
The delicate cookies themselves are usually made with egg whites, granulated sugar, powdered sugar, and almond flour. The filling in between the two crunchy, yet chewy cookies differs for each recipe. This one calls for Irish cream, of course!
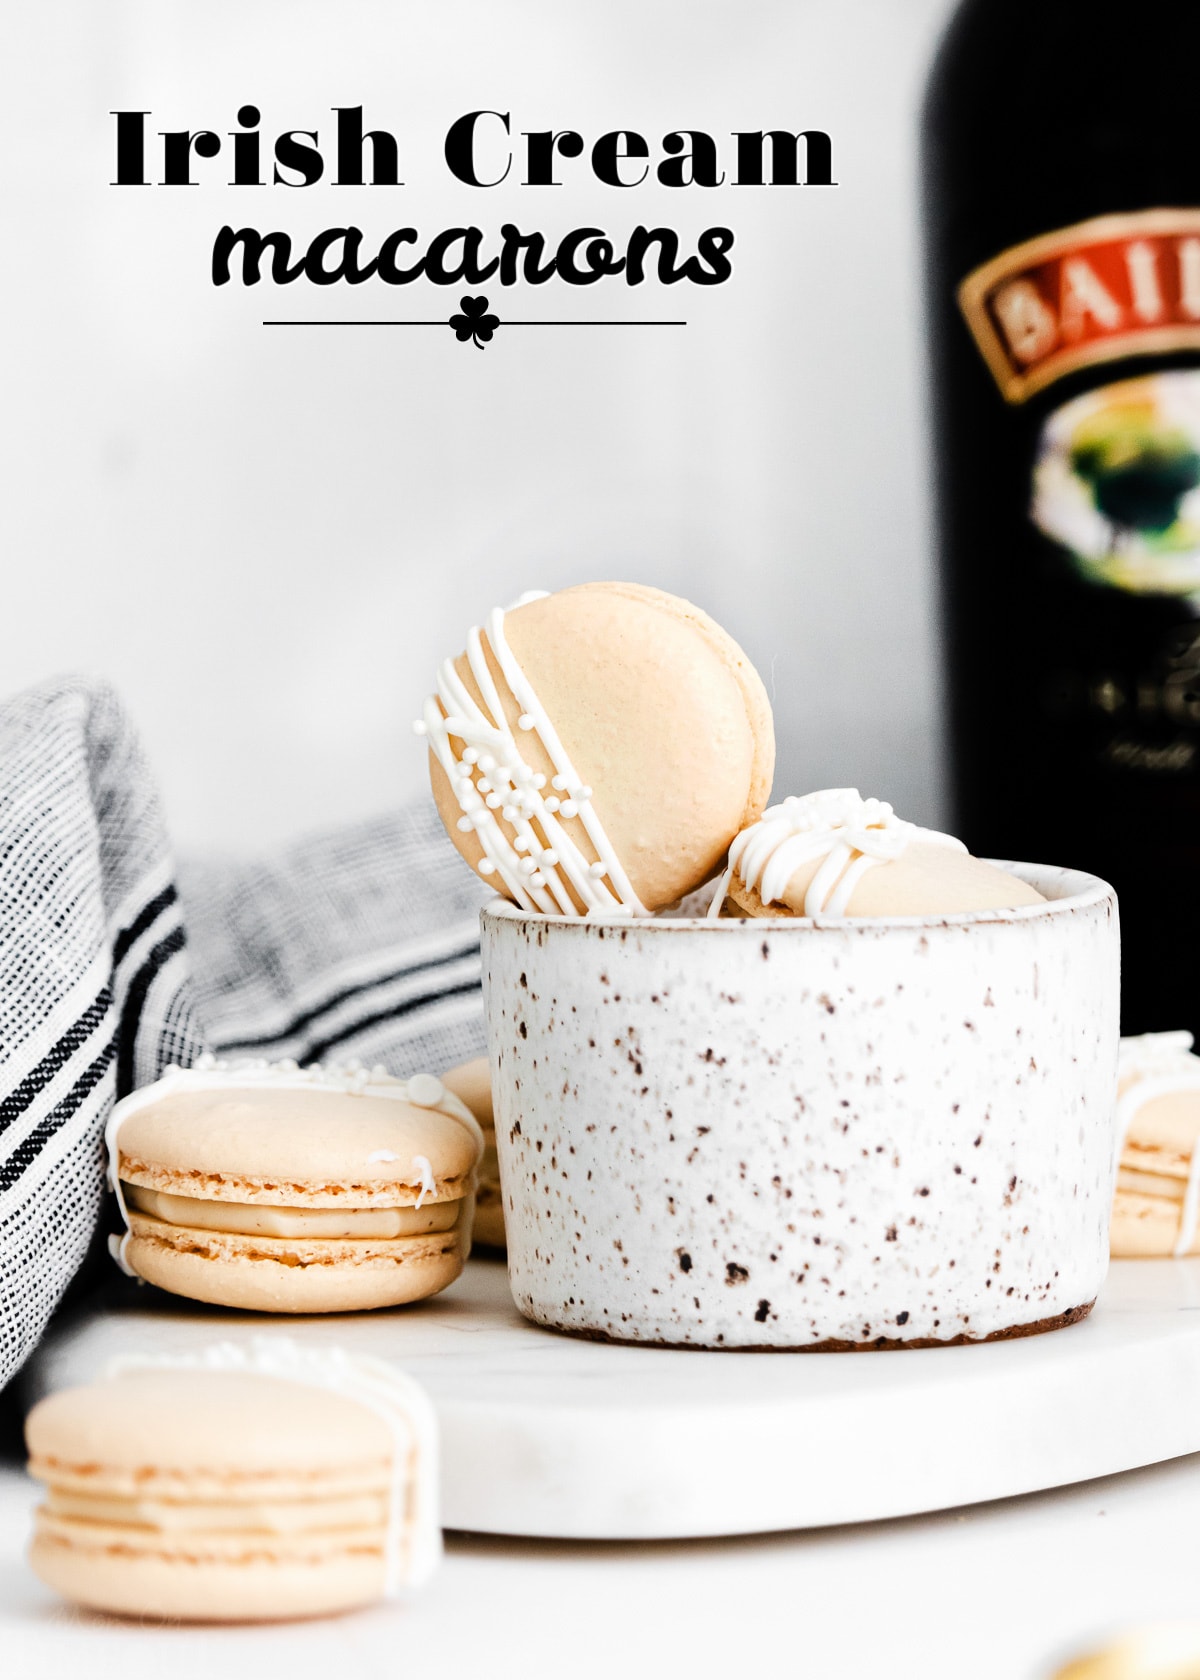
Macaron Ingredients
The ingredients list to these impressive treats is surprisingly very short! I love the simplicity of these Irish cream cookies.
For the shell, you’ll need:
- egg whites – This is truly the key ingredient for macaron shells. I recommend letting the egg whites adjust to room temperature before using, as they’ll be easier to whip that way!
- granulated sugar – This is needed to help the egg whites stretch into the perfect meringue.
- powdered sugar – This sugar helps the shell stay light, fluffy, and sweet.
- almond flour – Blanched almond flour helps to give the macaron cookies the desired unique texture and flavor.
The Irish cream filling requires:
- cream cheese – Really, there’s no better way to create a creamy consistency than using cream cheese!
- Irish cream – Any brand will do, just make sure it’s a good quality. I used Bailey’s and it was perfect. If it’s a cheap brand, it will most likely lack in flavor.
- powdered sugar – For a delicate touch of sweetness, of course.
- cinnamon – Just a pinch will add depth to the filling.
How To Make the Perfect Irish Cream Macarons
If this is your first time making macarons, don’t be intimidated by the number of steps! It can seem a bit daunting at first, but you can definitely do it. Just follow these simple steps one at a time, and you’ll have the perfect batch of Irish cream macarons.
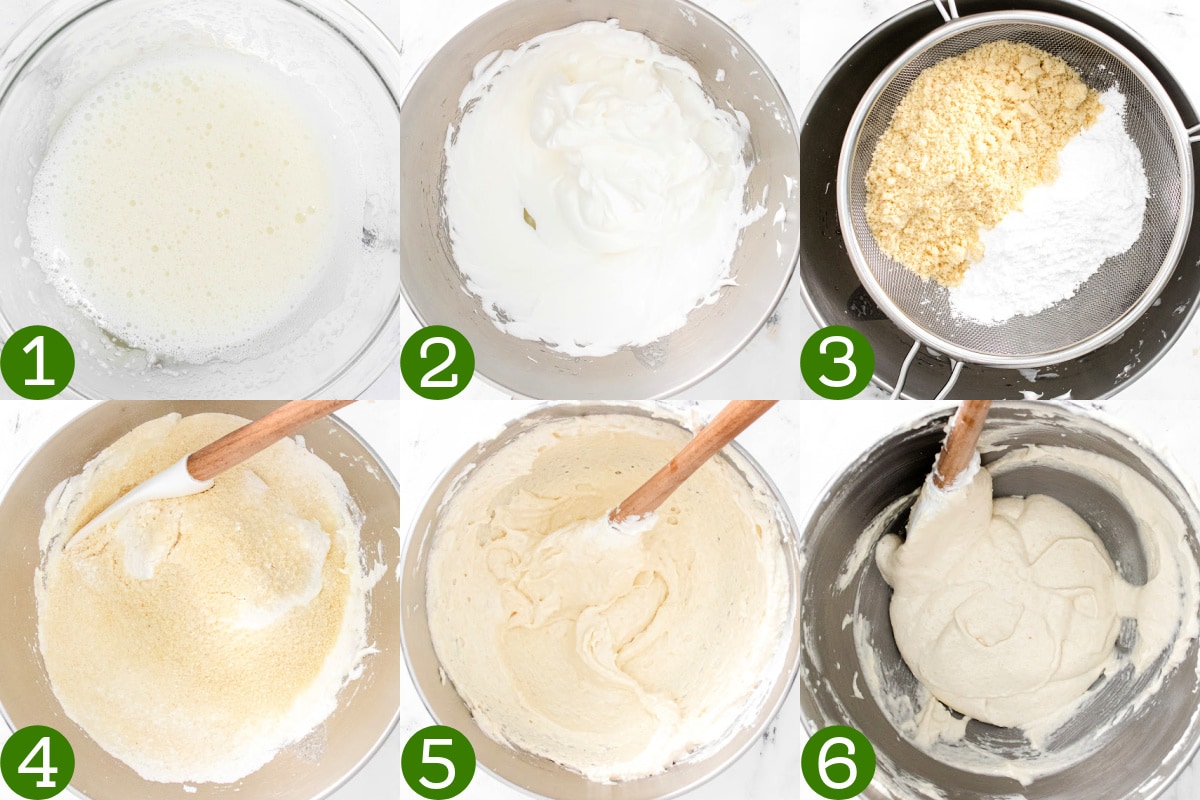
First, start off by making the batter for the shells.
- Fill a small saucepan halfway with water and set it over medium heat. Then, place a heatproof bowl over the pan, making sure it doesn’t touch the water.
- Add the egg whites and sugar to the bowl, whisking constantly until the sugar has dissolved.
- Transfer the egg white mixture to the bowl of a stand mixer fitted with the whisk attachment. Beat on medium high until the mixture forms stiff peaks.
- Sift the powdered sugar and almond flour into the egg whites.
- Gently fold the mixture together, making sure to scrape the sides of the bowl as you fold.
- Smush the batter against the sides of the bowl in a circular motion, then scrape down the sides of the bowl and fold it all back together.
- Repeat this deflating process until the batter flows smoothly off the spatula.
You can test the batter’s consistency by slowly drawing a figure 8 with the batter. If the you can make an “8” with the batter flowing off the spatula in a constant stream, it’s ready! If it breaks or falls in clumps, smush and fold a few more times until the desired consistency is achieved.
Pipe and Bake Macarons
- Line large baking sheets with silicon baking mats or parchment paper.
- Transfer the mixture to a piping bag fitted with an open round tip. A #12 piping tip works perfectly.
- Pipe 1” circles about 2” apart holding the piping bag perpendicular to the surface. Using a silicon macaron mat will help with this step.
- Once you’ve finished piping one tray, tap the tray several times on the counter to release any air bubbles.
- Let the shells rest for about 30 minutes or until the tops feel dry to the touch. This can take up to an hour.
- Bake the shells one baking sheet at a time for 12 to 15 minutes, rotating the baking sheet halfway through if necessary. The shells are done when they don’t move or jiggle about when the baking sheets are moved.
- Allow the macarons to cool before removing them from the tray.
Make the Irish Cream Filling
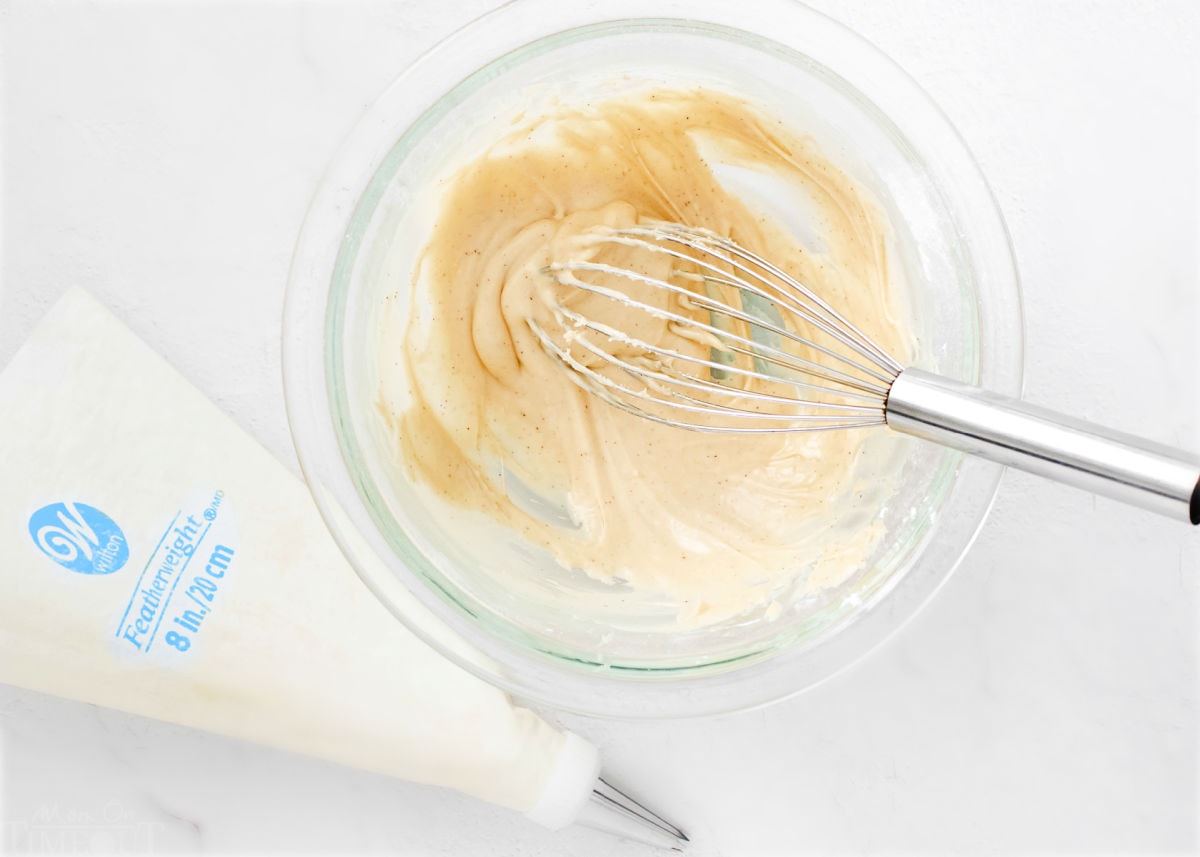
- Whisk together the cream cheese and Irish cream until smooth.
- Whisk in the powdered sugar and cinnamon until combined.
- Transfer the mixture to a piping bag and set aside.
Assemble and age!
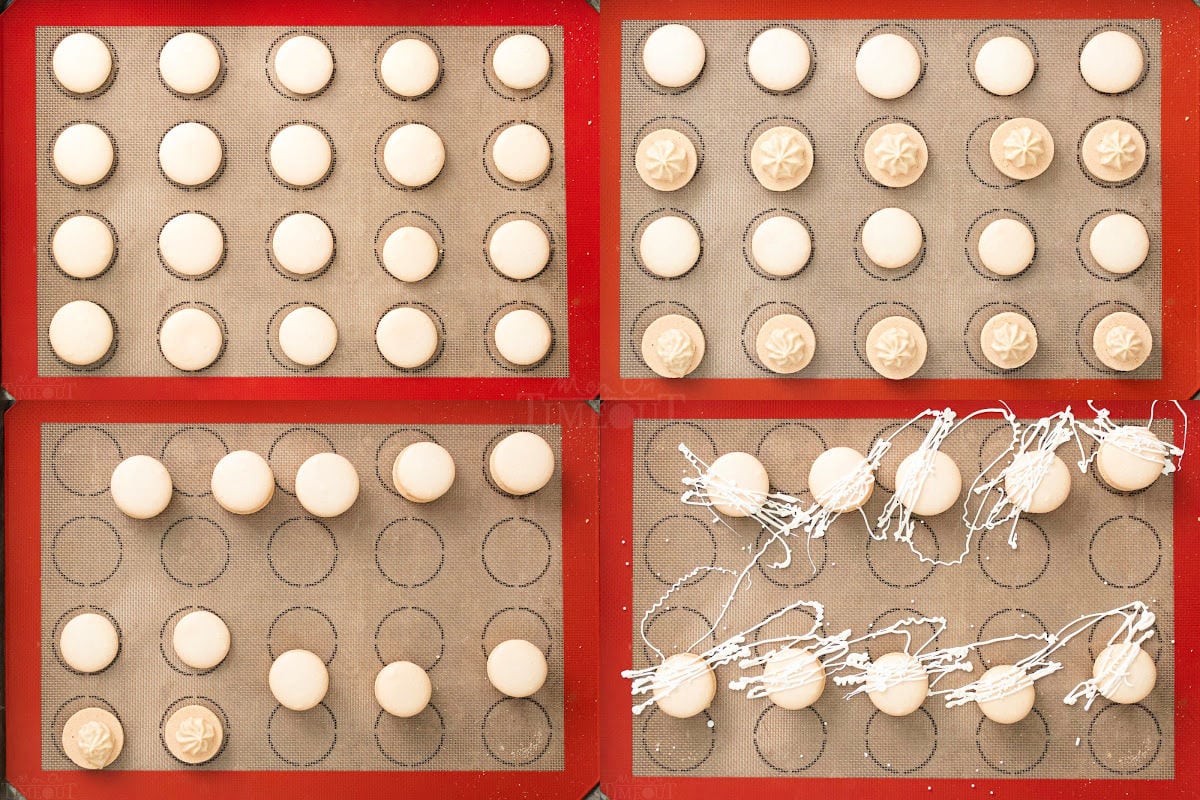
- Place the macarons in similar sized pairs.
- Pipe a small dollop of filling on one macaron and place another on top.
- Press gently, just until the filling reaches the edges.
- Place the macarons in an airtight container in the fridge to age overnight.
- Bring to room temperature before serving.
FAQs
How do I store macarons?
These homemade Irish cream macarons will stay fresh in the fridge for up to 4 days. Just make sure to keep them in an airtight container to preserve both their texture and flavor!
Why are my macarons lopsided?
The best way to make perfectly shaped macarons every time is to hold the piping bag perpendicular to the tray while you’re piping. If you hold the piping bag at an angle, that might result in lopsided macarons. They’ll still be tasty, but they won’t be as picture perfect as you want them to be.
Why do I need to age the macarons overnight?
This step is optional, but I highly recommend it! Aging the macarons overnight helps to soften the shell, thereby creating the perfectly crisp, yet chewy macaron texture that we all know and love.
Trish’s Tips for Perfect Macarons
Beat until egg whites have stiff peaks.
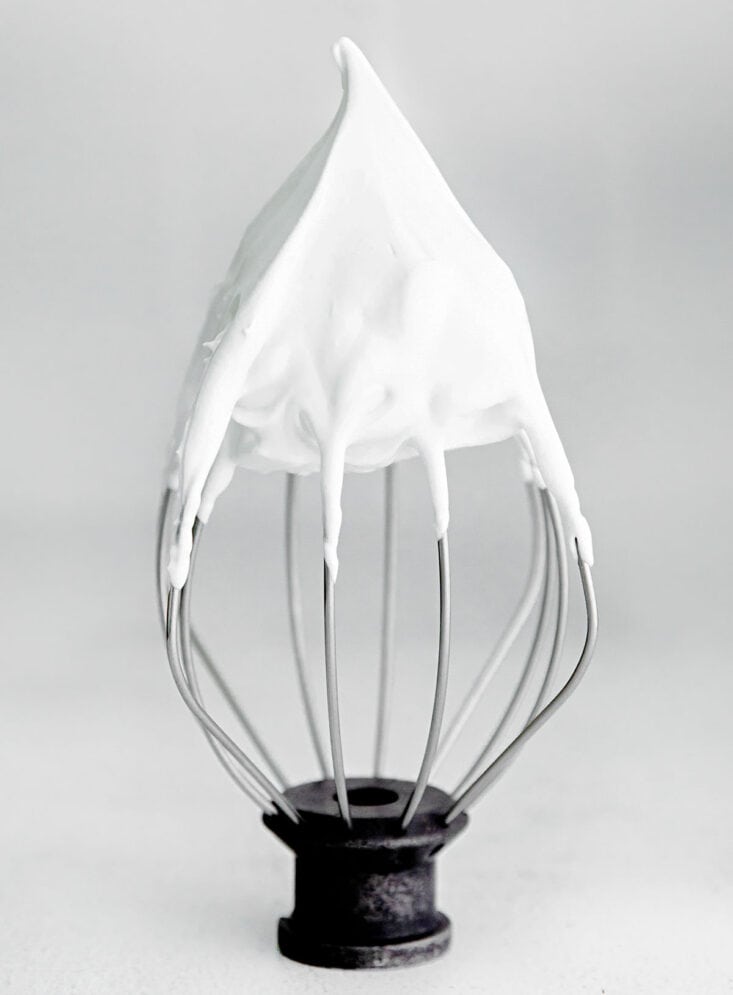
It’s super important to beat the egg whites until stiff peaks form. Stiff peaks means that the “peaks” don’t fall over when held upright. This is what a stiff peak looks like, nice and tall without the tip falling to one side.
Use a silicone baking mat. Silicone baking mats are a really beneficial when it comes to making macarons. Beginners and advanced macaron makers can benefit from these silicone macaron mats that have circles to help you keep the macarons the same size.
Another trick is to place one of these mats beneath a piece of parchment so that you can see the outline of the circles through the parchment paper. Parchment paper is actually used by advanced macaron bakers because of it’s super slick surface.
Let macarons sit out for an hour before enjoying. The texture and flavor or a macarons improves when enjoyed after sitting out for about an hour after removing the cookies from the refrigerator.
Match up shell sizes before assembly.
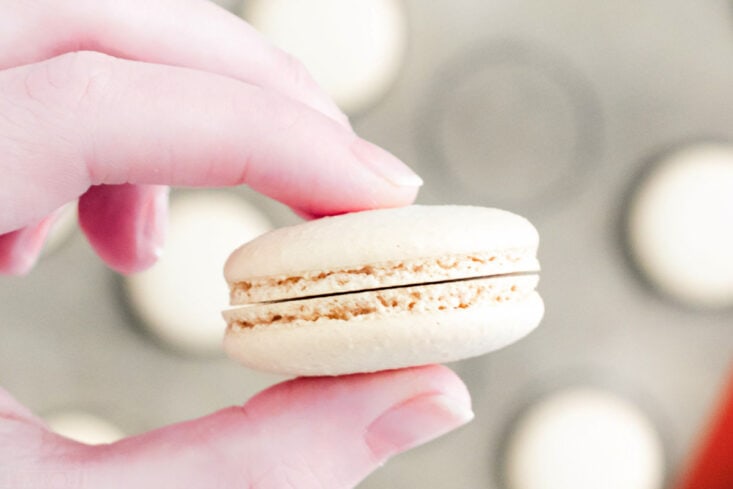
Take a minute to match up the shells by size before assembling the macarons. This really gives your macarons a more professional appearance and ensures that none of the filling oozes out.
Variations To Try
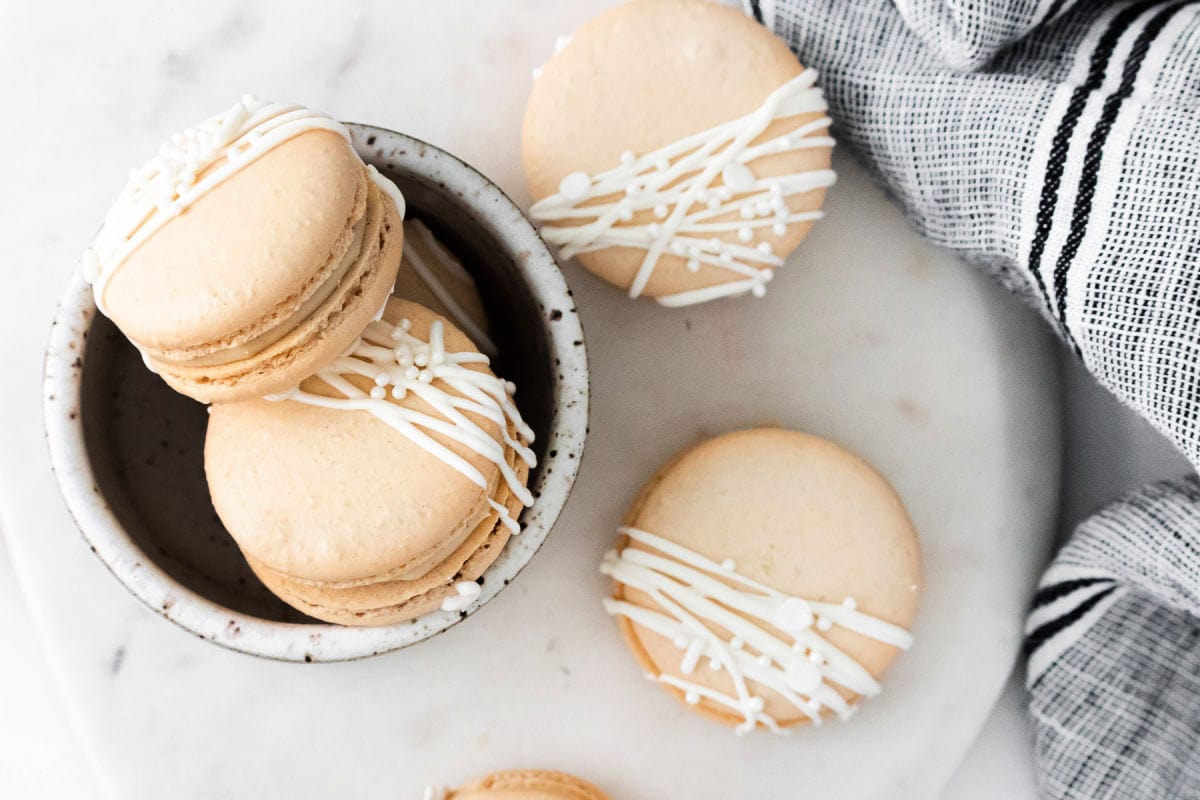
- Have fun and decorate your homemade macarons! I decorated mine with melted white chocolate and sprinkles, but that’s completely optional. Macarons are delicious on their own but I love adding a touch of elegance to the outside if I have the time.
- Try adding a bit of nutmeg in addition to the cinnamon if that’s a flavor that you enjoy! It plays well with the Irish cream.
More St. Patrick’s Day Recipes
- Mint Chocolate Bark
- St. Patrick’s Day Jello Cups
- Lemon Lime Jello Salad
- Easy Rainbow Pretzel Wands
- Rainbow Sugar Cookie Bark
- Mint Chocolate Chip Cheese Ball
How To Make Irish Cream Macarons
Irish Cream Macarons
Ingredients
For the Shell
- 90 grams egg whites
- 90 grams granulated sugar
- 95 grams powdered sugar
- 95 grams almond flour finely ground
For the Filling
- 20 grams cream cheese softened (whipped cream cheese or block cream cheese)
- 20 grams Irish cream
- 40 grams powdered sugar
- 1/8 teaspoon ground cinnamon
Instructions
Prepare the Shells
- Line two half sheet baking sheets with silicone baking mats or parchment paper. (If you wish to use parchment, make sure the parchment lays perfectly flat so you don’t end up with lopsided macarons. You can tape the parchment temporarily to help keep it secure while piping and then remove the tape before baking.)
- Fill a small saucepan halfway with water and set it over medium heat. Then, place a heatproof bowl over the pan, making sure it doesn’t touch the water.
- Add the egg whites and granulated sugar to the bowl and whisk constantly until the sugar has completely dissolved. This will take about 2 to 3 minutes. (Test to make sure the sugar is dissolved by rubbing the mixture between your fingers. If it’s smooth, it’s ready to go. If the mixture feels grainy or sandy, keep whisking for another minute or so and then try again.)
- Transfer the egg white mixture to a clean, dry bowl of a stand mixer fitted with the whisk attachment. Beat on medium high until the mixture forms stiff peaks.
- Sift the powdered sugar and almond flour into the egg whites.
- Gently fold the mixture together, making sure to scrape down the sides of the bowl as you fold. Take your time and be careful that you are not deflating the egg whites just yet.
- One the dry ingredient have been fully incorporated into the egg whites, smush the batter against the sides of the bowl in a circular motion, then scrape down the sides of the bowl and fold it all back together. Repeat this deflating process until the batter flows smoothly off the spatula. (On average this takes about 5 smush and folds but will be dependent on how much you deflate the egg whites each time.)
- You can test the batter’s consistency by slowly drawing a figure 8 with the batter. If the you can make an “8” with the batter flowing off the spatula in a constant stream, it’s ready! If it breaks or falls in clumps, smush and fold a few more times until the desired consistency is achieved.
- When the meringue flows smoothly, transfer the mixture to a piping bag fitted with an open round tip. A #12 piping tip or #10 tip works perfectly.
- Pipe 1” circles about 2” apart holding the piping bag perpendicular to the surface. Using a silicon macaron mat will help with this step. Once you’ve finished piping one tray, tap the tray several times on the counter to release any air bubbles. The shells will flatten slightly.
- Let the shells rest for about 30 minutes or until the tops feel dry to the touch (this is called developing a skin). This can take up to an hour.
- While the shells rest, preheat your oven to 325°F.
- Bake the shells one baking sheet at a time for 12 to 15 minutes, rotating the baking sheet halfway through if necessary. The shells are done when they don’t move or jiggle about when the baking sheets are moved. Allow the macarons to cool before removing them from the tray.
Prepare the Irish Cream Filling
- Whisk together the softened cream cheese and Irish cream until smooth. Whisk in the powdered sugar and cinnamon until combined. Transfer the mixture to a piping bag and set aside.
Assemble and Age
- Pair up shells of similar size. Pipe the Irish cream filling onto the center of one shell and place the another shell on top, pressing gently until the filling reaches the edge.
- Place the macarons in an airtight container in the refrigerator to age overnight. Bring to room temperature before serving. Store in the fridge for up to four days.
Notes
- Hold piping bag perpendicular to the baking sheet while piping. Holding it at an angle can result in lopsided macarons.
- Aging the macarons overnight is optional but helps to soften the shell and create that perfect crisp and chewy macaron texture that macarons are known for.


Leave a Reply