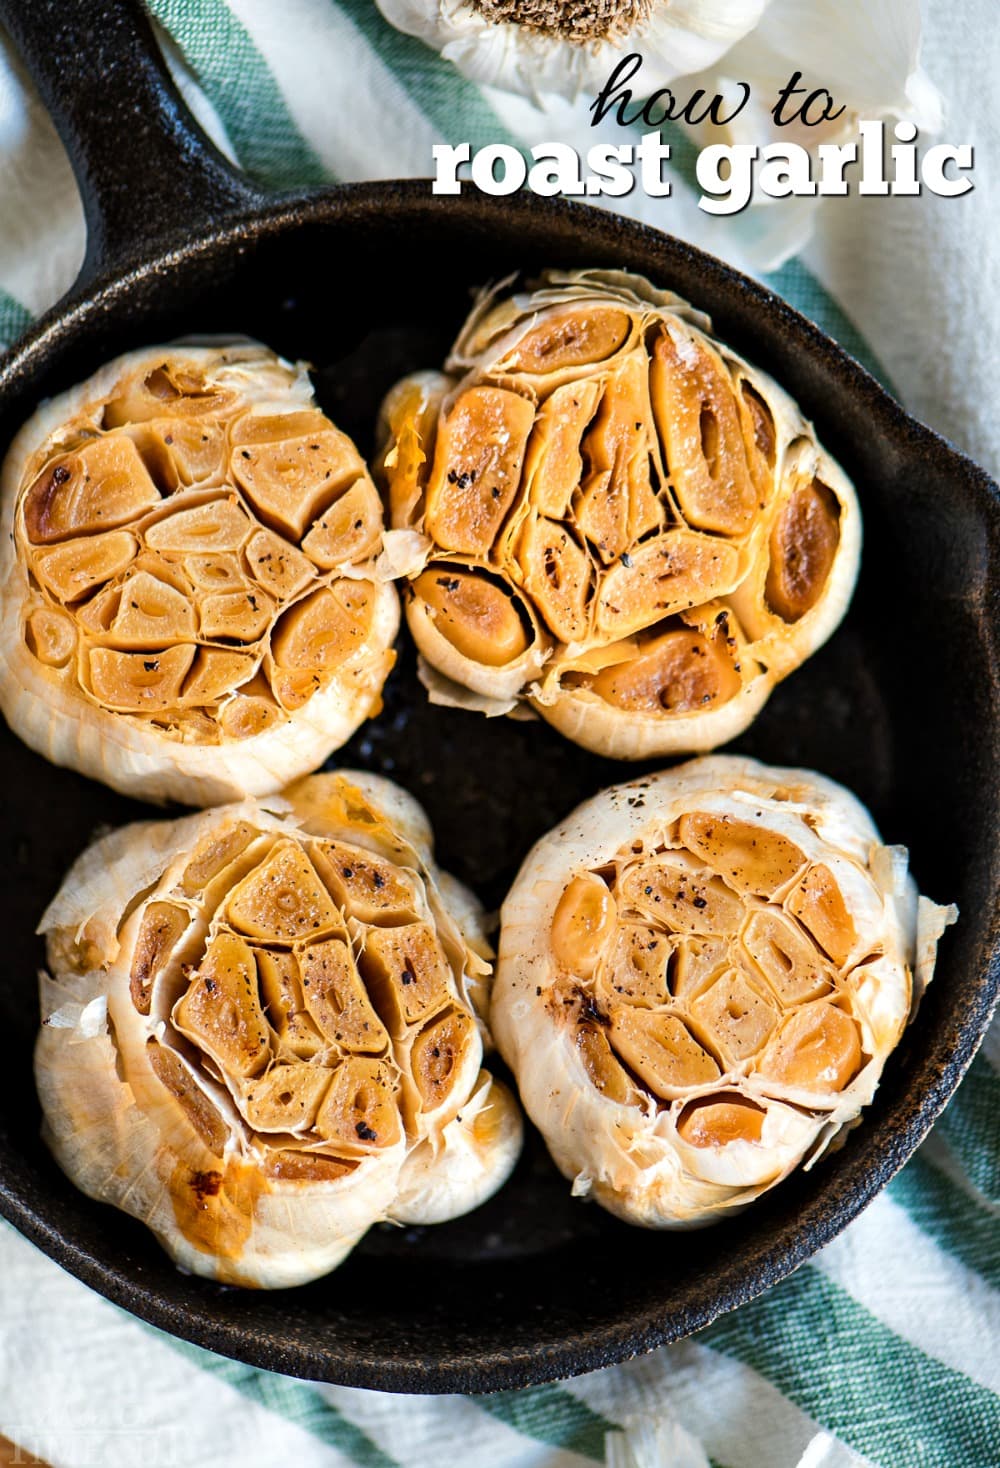
Roasted garlic is one of my favorite ingredients in soups and dips. If you’ve ever wondered how to roast garlic – you’ve come to the right place! Roasted garlic adds tremendous flavor and depth to any dish. Roasting the garlic really mellows out the garlic and makes it sweet and delicious.
Some of our favorite recipes with garlic: Air Fryer Garlic Bread, Garlic Herb Roast Chicken and Honey Garlic Chicken!

Roasted Garlic
Roasted garlic is one of those mysterious ingredients until you make it yourself for the first time and realize just how easy it is. Why roast garlic? Roasting garlic removes the bitterness of fresh garlic and turns it into this caramelized, sweet, goodness that has an infinite number of uses.
Add to your favorite pasta sauce or ANY sauce for that matter, throw in your favorite dip, or spread on toasted baguette slices – you seriously can’t go wrong.
If you’ve ever wondered how to roast garlic, this is how 🙂

How To Roast Garlic
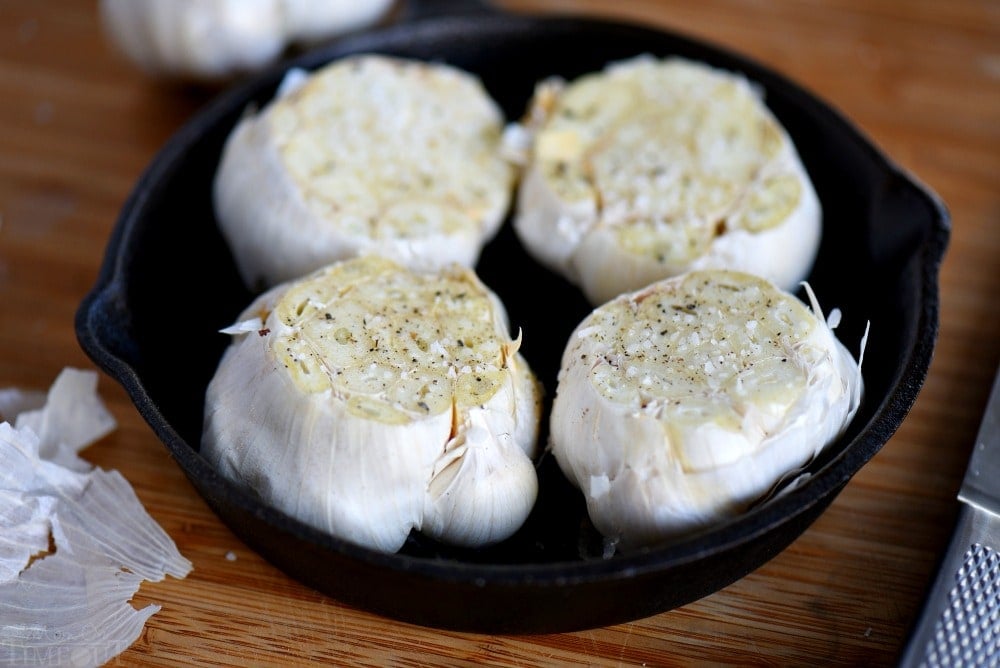
- Start by cutting off the top third or quarter of each head of garlic. You want to make sure that all of the cloves are exposed.
- Next, drizzle a small amount of olive oil in a small cast iron skillet or baking dish. Sometimes I even use a small loaf pan depending on how many cloves I plan to roast.
- Place the garlic heads in the dish or skillet and drizzle a little more olive oil on top. Finally sprinkle with salt and pepper. (This is optional but I do recommend it.)
- Cover the dish or skillet with foil and bake for 40 to 50 minutes in a 400F degree oven. You can check to see if the garlic is ready by gently piercing a clove with a fork to make sure that is nice and soft. You can also tell just by looking at the color. It should be nicely caramelized.
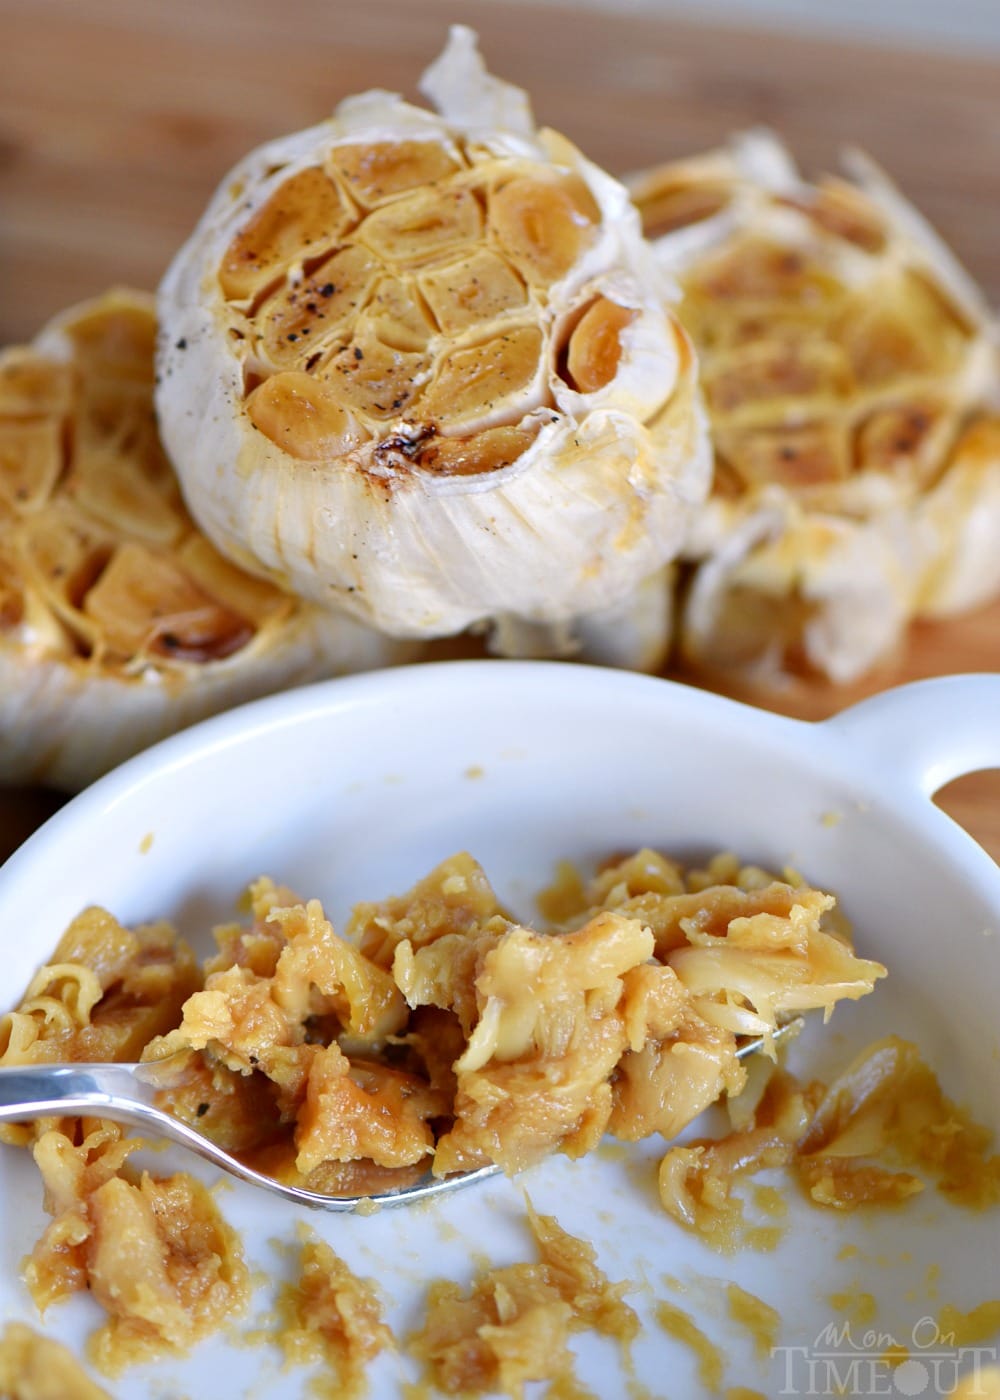
- Squeeze out the cloves by pressing upwards from the root. You are basically squeezing the individual cloves out of the head. They will be soft and mushy and ready to use.

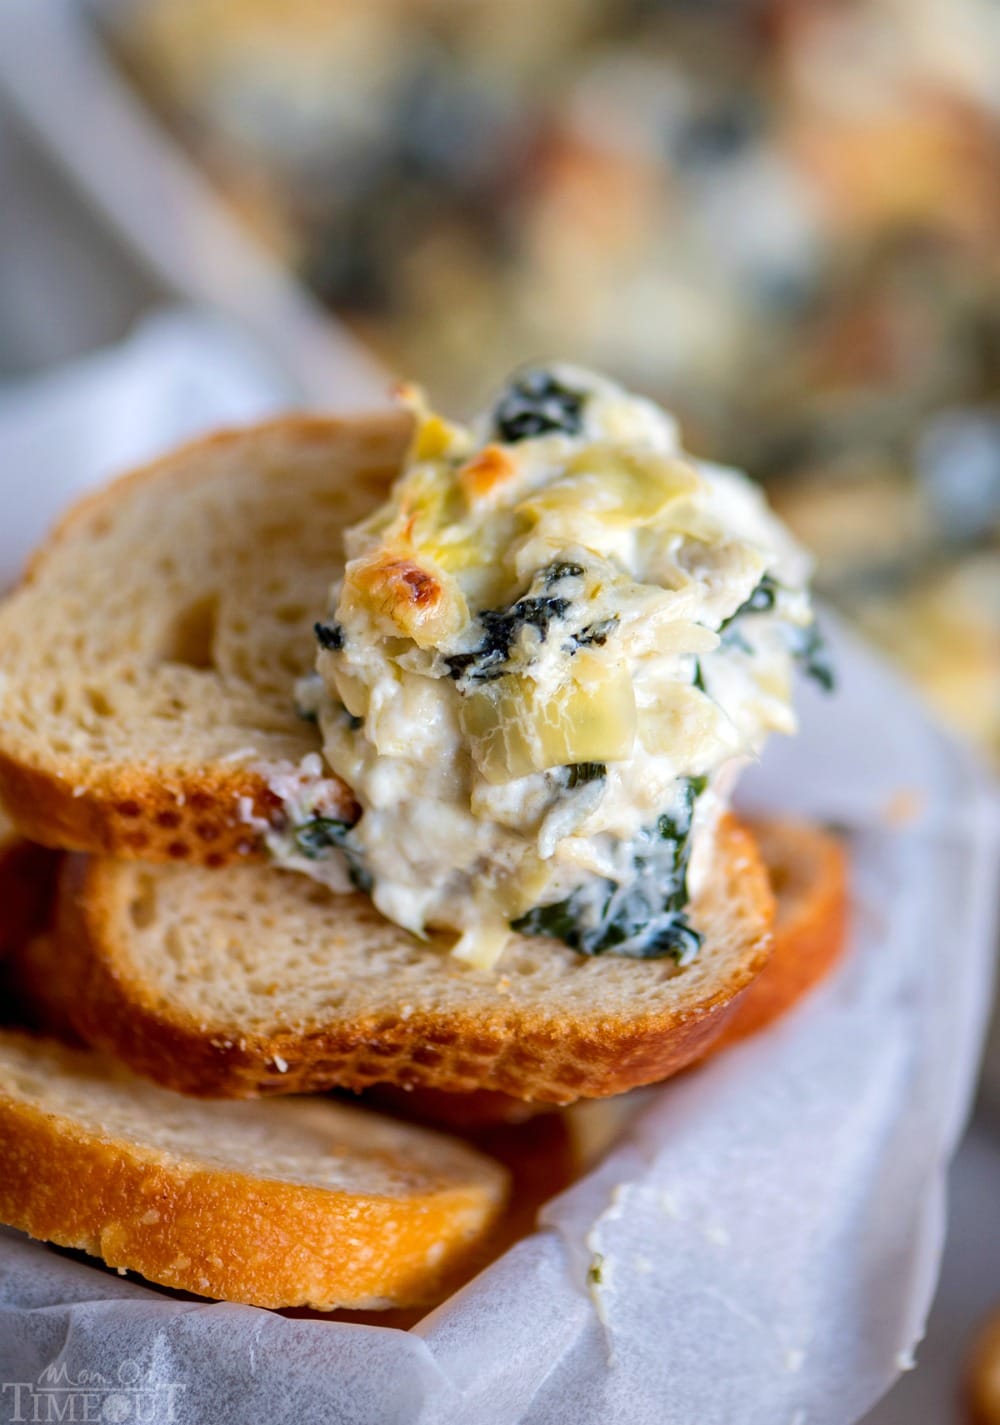
Spread onto a piece of toasted baguette or stir into your soup (try it in my Olive Garden’s Zuppa Toscana soup – WOW!) and you’re ready to go. One of my favorite ways to use roasted garlic is in dips, particularly this Spinach Artichoke Dip. Once you’ve made it this way, you simply can’t go back.

More Recipes with Garlic
- Garlic Roasted Potatoes
- Garlic Parmesan Breadsticks
- Slow Cooker Garlic Buttermilk Mashed Potatoes
- Oven Roasted Herb and Garlic Parmesan Potatoes
- Spinach Artichoke Dip with Roasted Garlic
How to Roast Garlic
How To Roast Garlic
Ingredients
- 4 heads garlic
- 2 tablespoons extra virgin olive oil
- 1 teaspoon sea salt or kosher salt
- ⅓ teaspoon fresh ground black pepper
Instructions
- Preheat oven to 400°F.
- Drizzle a small amount of olive oil into the bottom of small baking dish or cast iron skillet.
- Cut the top quarter or third of the the heads of garlic so the cloves are exposed.
- Place the heads of garlic in the baking dish with the roots on the bottom and the cut side on top. You want them to stay upright during the roasting process so make sure they are snug in there. If you are only roasting one or two heads of garlic, crumple up some foil and place in between the garlic heads to keep them upright OR use a smaller dish.
- Drizzle the remaining olive oil over the top of the garlic heads and sprinkle with salt and pepper.
- Cover the dish or skillet with foil and bake for 40 to 50 minutes. You’ll know the garlic is done it is fork-tender and caramelized. You want to see a nice caramel color. If it’s not there yet, leave it in the oven for another few minutes before checking again.
- Let cool long enough to handle before gently pushing the cloves out. Start from the root and push up just like you are trying to squeeze the last bit of toothpaste out of the tube.
- The garlic will be spreadable so use on some toasted French bread, stir into your favorite sauce (so good in Alfredo sauce!) or add to soups.


Buddy says
How long will it keep? What’s the best way to store it?
Gwen says
Once I make this roasted garlic, can I then freeze it to use later?
Loren says
Thank you for sharing your recipe god bless
Megan says
Roasted garlic is the best! This is a good reminder I need to go back to this basic way of using it. Thank you!