These sweet and creamy Cherry Vanilla All American Patties are perfect for your 4th of July celebration! Easy to make and so versatile, you can make these fun and patriotic patties with the flavor of your choice.
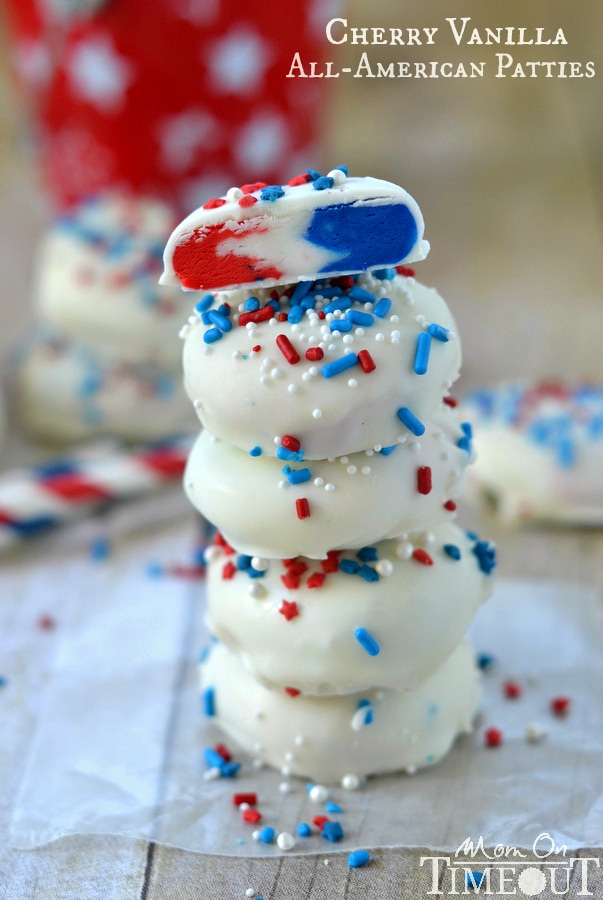
I realized this past weekend that I had yet to post anything specific for the 4th of July…which is this Friday.
I apologize 🙂
I had a list of about 493 recipes I wanted to make but since time has been of short supply lately I settled on these candies. Easy, fantastic, and uber-patriotic. I love them.
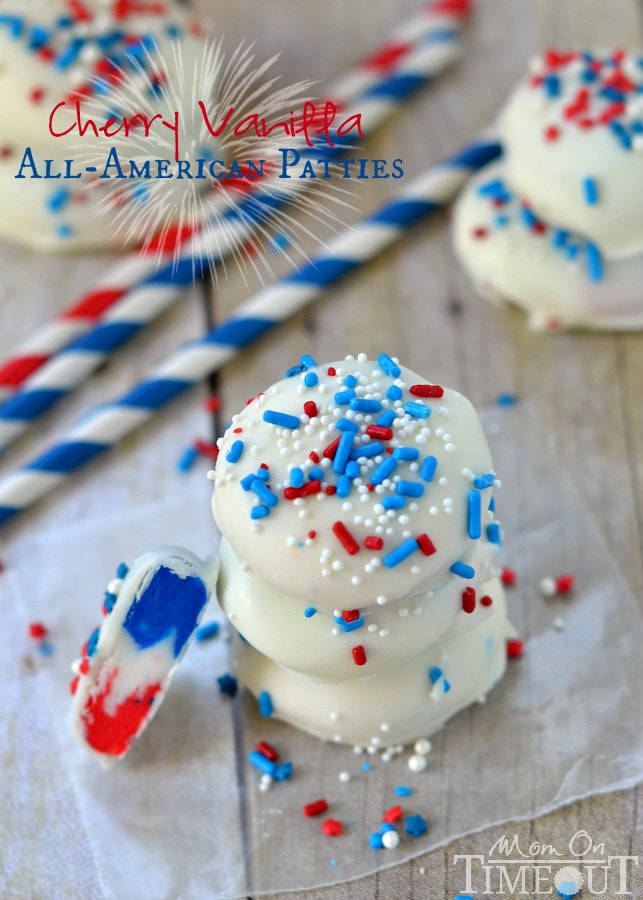
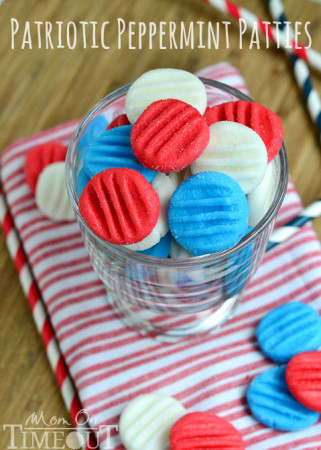
I chose these candies because the boys can help out and they are really fun to make. They start out the same as these chocolate covered mint patties and then we mix it up a bit. The filling gets divided into three parts – one stays white, one gets colored blue and the other red. Please, use the gel food color. You’ll really appreciate how little coloring you actually need and the colors are so much more vibrant.
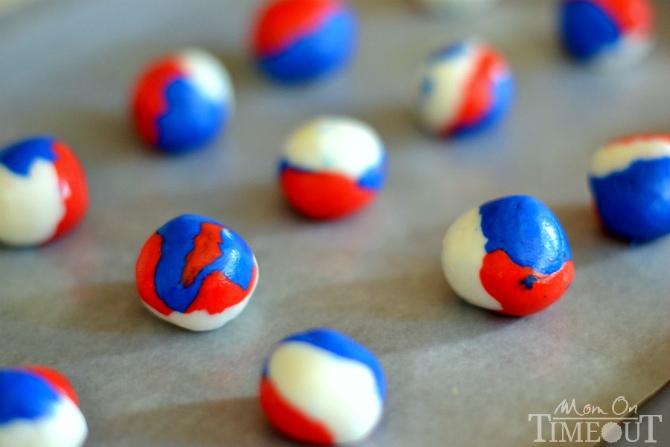
I pinched off a piece of the red, white, and blue filling and formed them into a small ball. The bigger the ball, the bigger the patty. Easy.
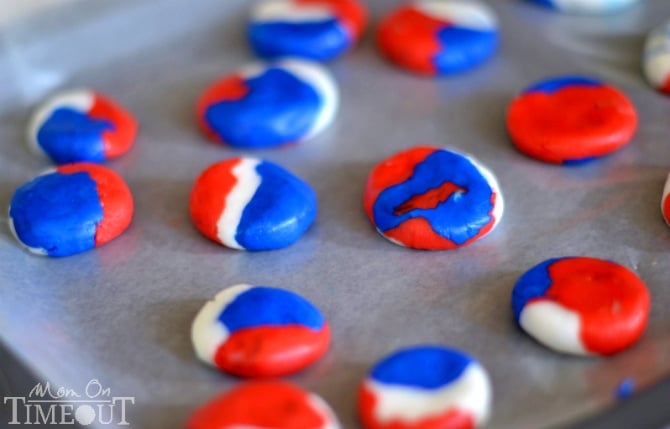
Next, you can use the palm of your hand or the bottom of a glass to press slightly on the ball, flattening it to the thickness you desire. I like a quarter inch for my patties.
You can flavor these candies however your heart desires but I thought a cherry center would go nice with the vanilla candy coating I used.
Since there are so few ingredients in this recipe, make sure to use quality ingredients like Challenge Butter. It makes a difference. Trust me.
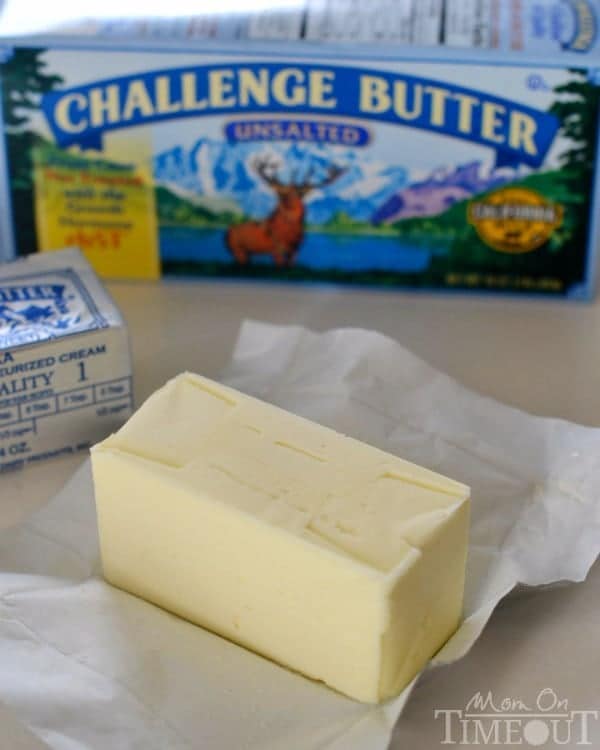
I flavored the center cherry but you can use your choice of extract. Strawberry or lemon would be great choices. Or just shock everyone and make them root beer 🙂
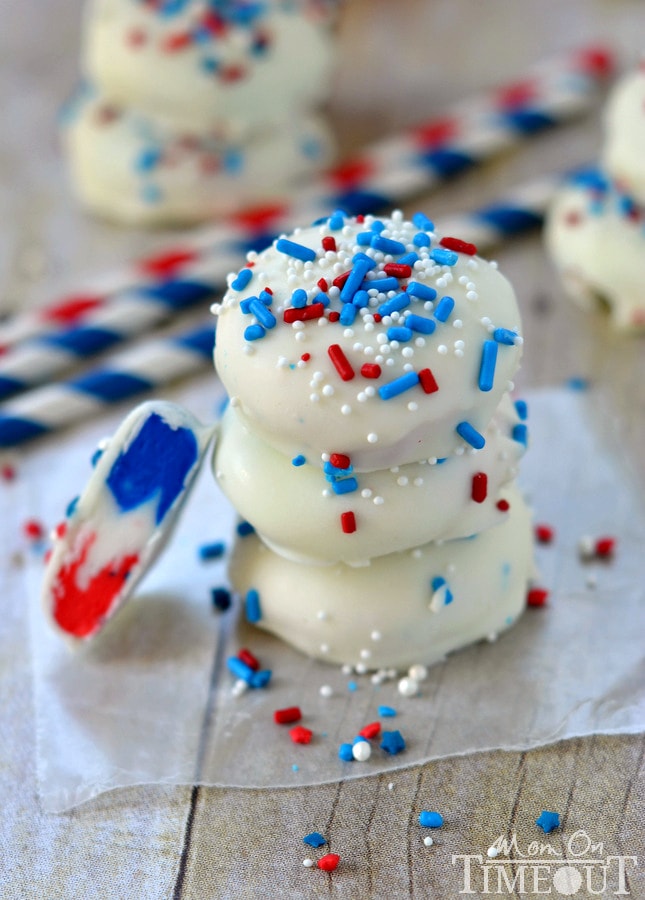
Whatever flavor you go with, these All-American Patties are sure to be a crowd favorite at your 4th of July celebration!
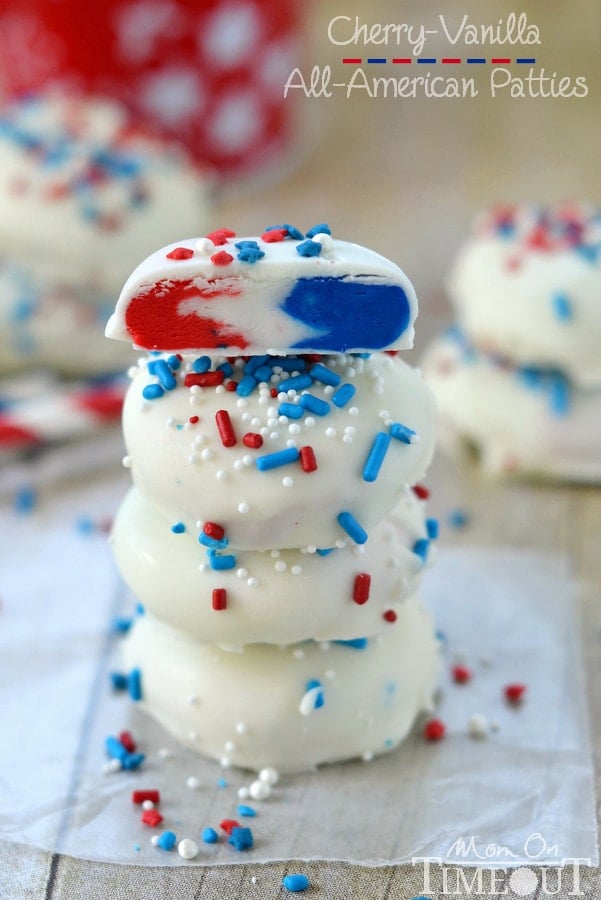
Red, White, and Blue Patriotic Candies
Ingredients
- 1/3 cup light corn syrup
- 5 tbsp Challenge butter softened
- 2 tsp extract of your choice 2 to 3 tsp
- 1/2 tsp salt
- red and blue gel food coloring start with a couple drops and add more until desired color is achieved
- 4 cups powdered sugar 4 to 5 cups
- 10 oz white vanilla candy coating I used CandiQuik
- sprinkles jimmies, etc for decoration (optional)
Instructions
- Combine corn syrup, butter, extract, and salt in a medium size bowl. Stir until well combined.
- Stir in 1 cup of powdered sugar at a time until mixture is too stiff to stir.
- Add more powdered sugar and knead mixture until it no longer sticks to your hands, adding more powdered sugar as necessary.
- Divide into three equal portions.
- Leave one portion white and color one blue and the remaining red.
- Pinch off a piece of each color and roll into a 1-inch ball.
- Place on trays or baking sheets lined with waxed paper.
- Flatten with a flat-bottomed cup or your hand.
- Cover with another sheet of waxed paper and refrigerate for 60-90 minutes or until firm.
- Melt candy coating according to package directions.
- Dip the candies into the melted candy coating with a fork, tap off the extra, and place back on the waxed paper.
- Sprinkle with sprinkles or jimmies if desired.
- Repeat until all candies have been coated.
- Let candies set up until chocolate is firm before storing in an airtight container.
- Candies can be frozen in single layers separated by waxed paper if desired.
Nutrition

Get your red, white, and blue on!
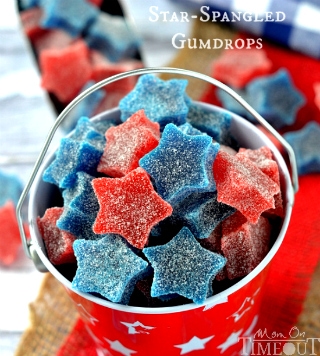
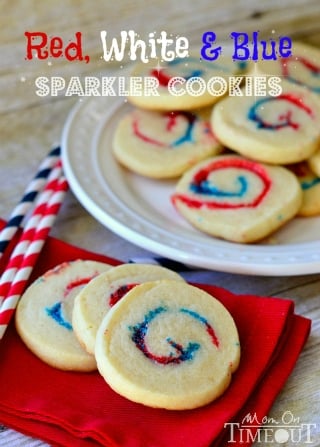
Red, White and Blue Sparkler Cookies
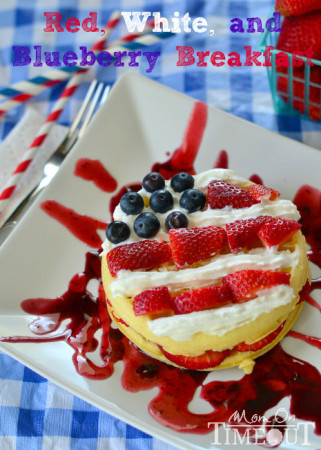
Red, White and Blueberry Breakfast

Connect with me!
Linking up at some of these parties.
Disclaimer: As an Ambassador for Challenge, I was provided product and compensation for this post by Challenge Butter, but all opinions are, as always 100% my own. I LOVE Challenge Butter!







Lynn says
I have all the ingredients on hand except candiquick, and would love to try these for tomorrow. Do you think I could use White Melting Wafers instead? Bag says for candy making and dipping. Or do you think it’ll be too thick? Thanks!
Trish - Mom On Timeout says
That should totally work Lynn! Have fun!