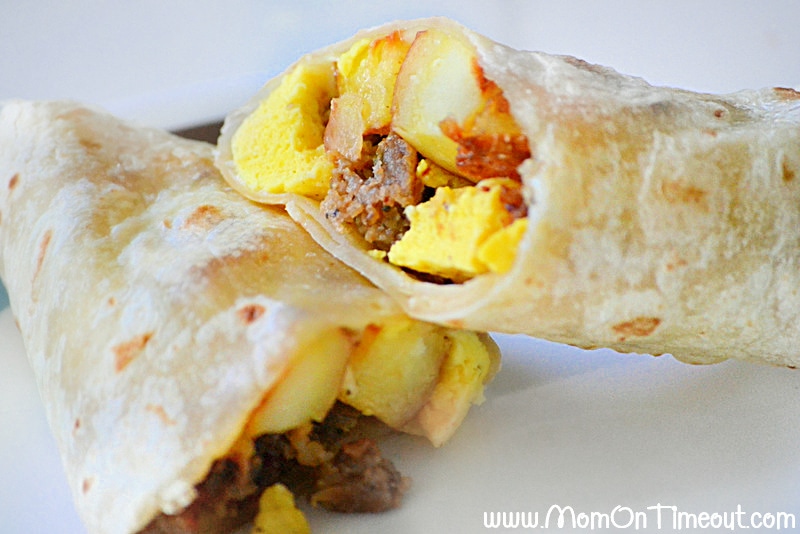
Breakfast Burritos are the perfect breakfast! Loaded with potatoes, eggs, and either ham, bacon or sausage, these breakfast burritos are the best way to start your day! Double the batch and freeze to save time on busy mornings! Looking for more great breakfast recipes? Try these homemade biscuits, buttermilk pancakes, and cinnamon bread!
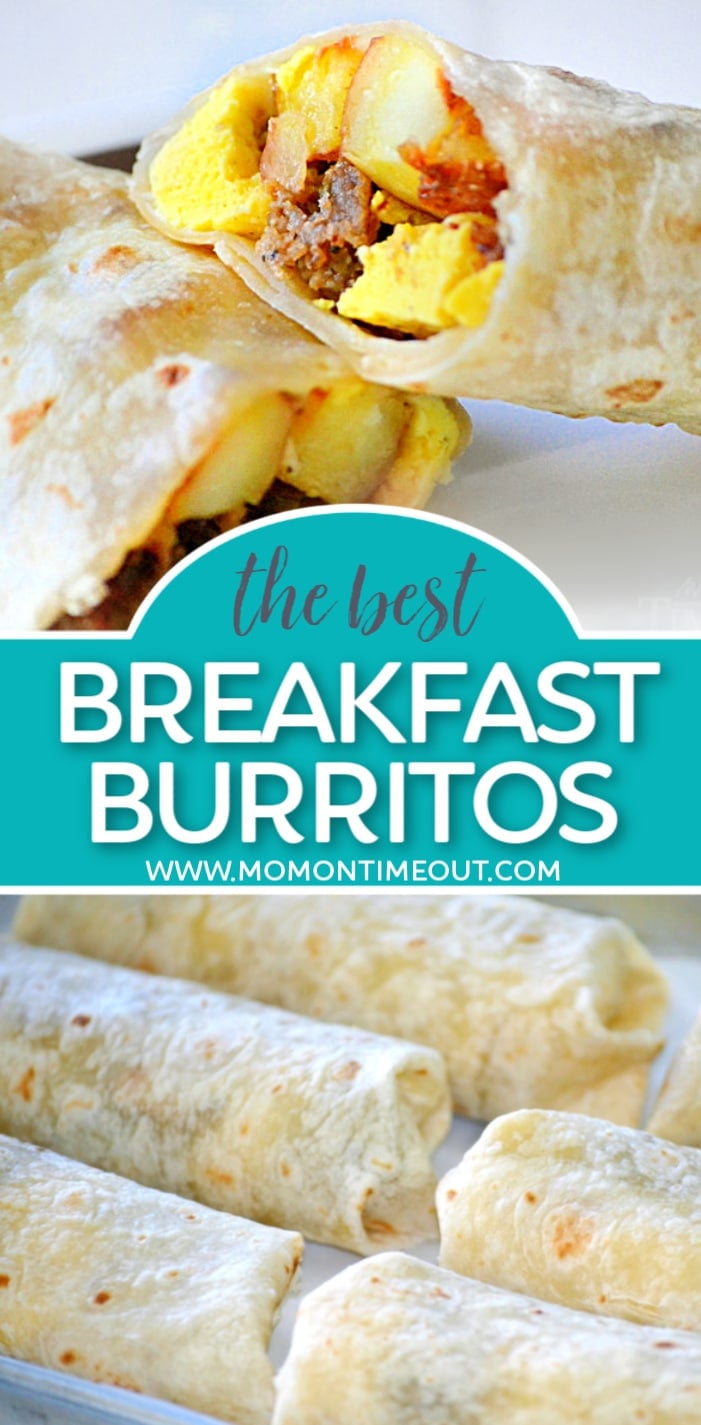
A couple of weeks ago it occurred to me that instead of focusing so much on freezer meals for dinner, I should do some breakfast freezer meals too.
We are so busy in the mornings that having a go-to meal in the freezer for breakfast would take a lot of the stress out of my day. The first thing I thought of was breakfast burritos. My husband LOVES breakfast burritos and so do my boys. They are easy for the boys to hold and eat and my husband is a burrito fanatic. Here is what I did…
Breakfast Burrito Ingredients
- breakfast sausage
- bacon
- ham
- potatoes
- cheese
- tortillas
- eggs
- milk
- olive oil
- seasoning salt
- salt and pepper
How To Make Breakfast Burritos
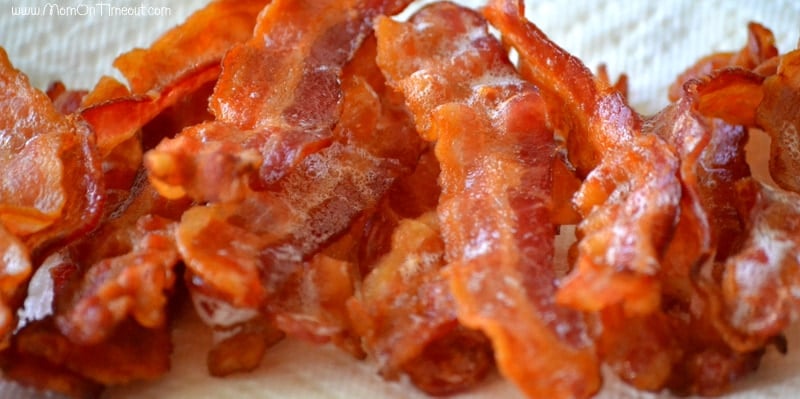
Prepare the Protein
- Cook bacon. (see my post on How To Bake Bacon)
- Brown the sausage.
- Fry up the ham.
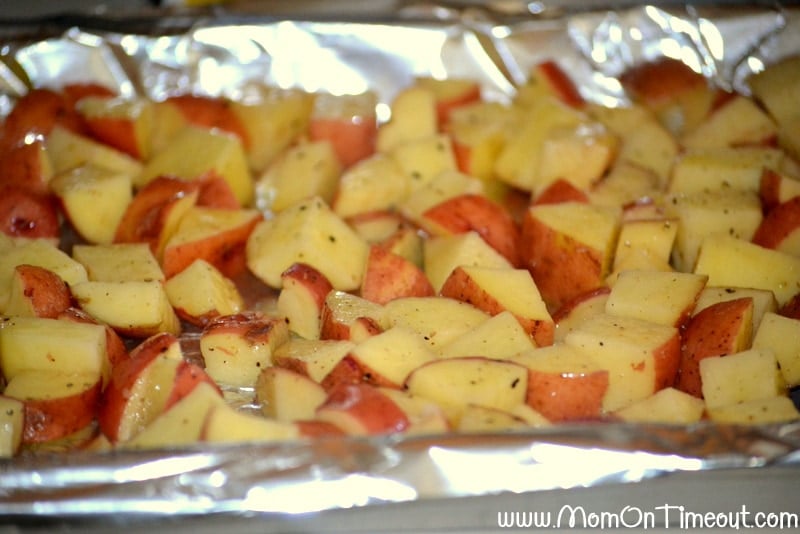
Make the Potatoes
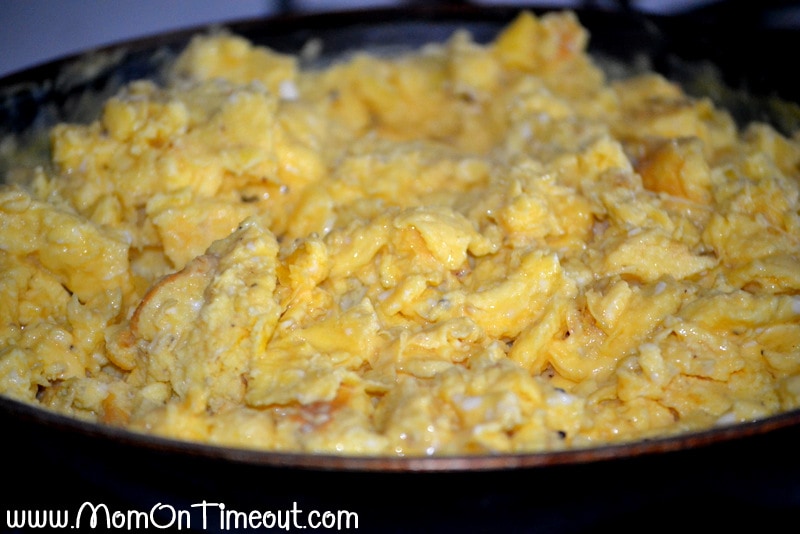
Make Scrambled Eggs
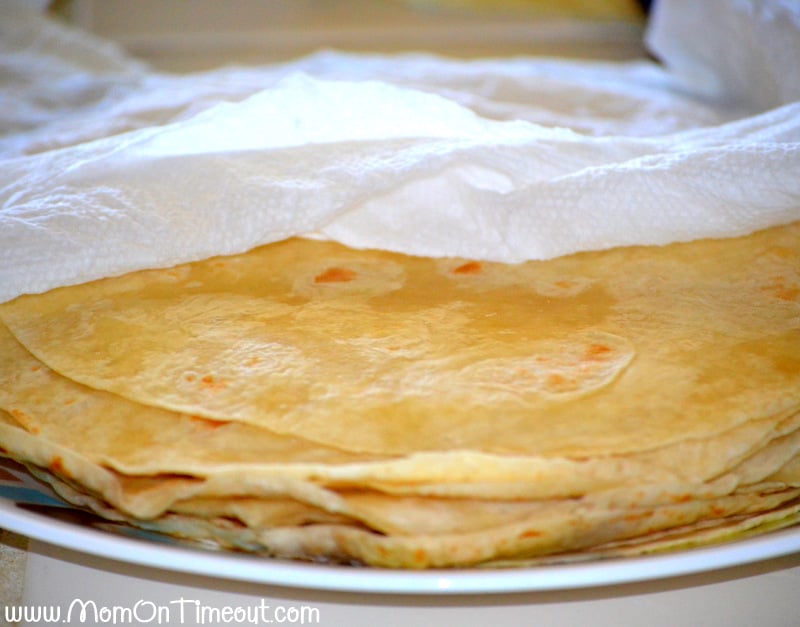
Warm Up Tortillas
Assembling the Burritos
Putting it all together:
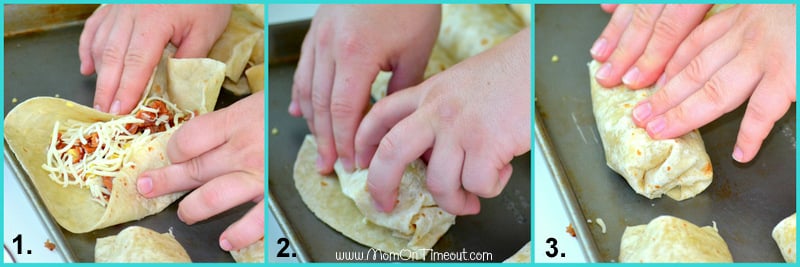
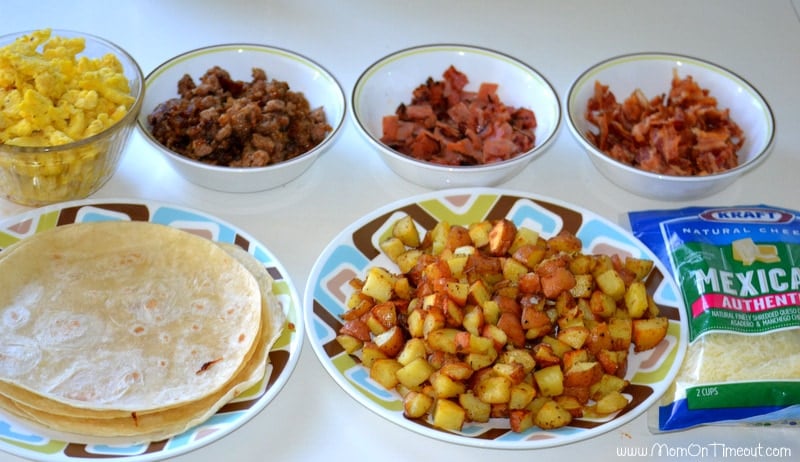
- Set up an assembly line with all the ingredients.

- Place the tortillas on a large baking sheet or cutting board.
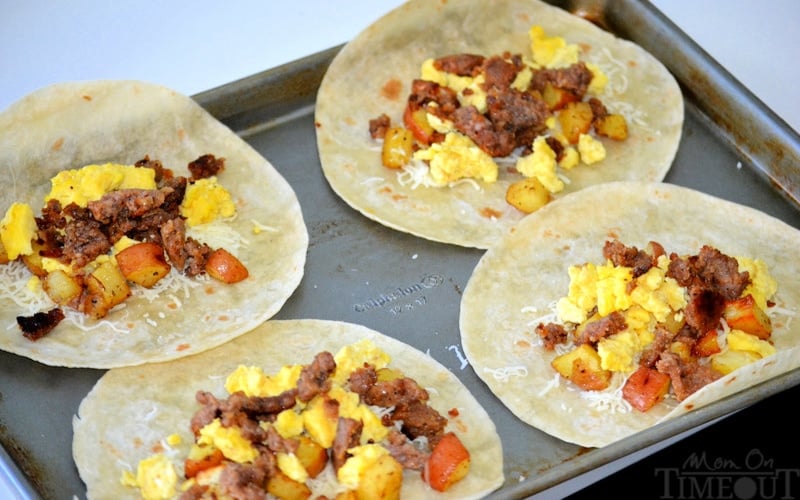
- Build your burritos – cheese, eggs, potatoes, meat.

- Fold in the sides of the tortilla.
- Roll burrito up, making sure the seam is on the bottom and the burrito is tightly rolled.
How To Freeze Breakfast Burritos
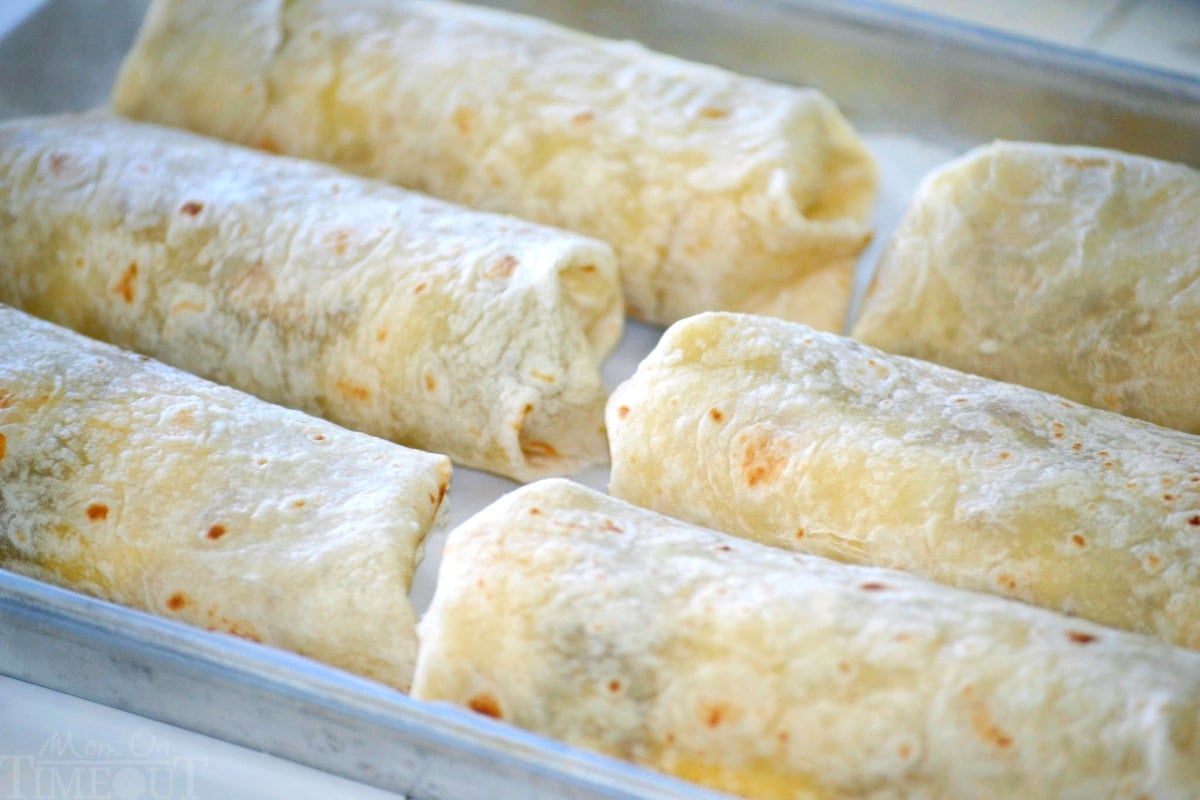
- Line a baking sheet with parchment paper.
- Place burritos on the sheet, seam side down.
- Press down on the burritos again lightly making sure that the edges are tucked in.
- Place baking sheet in the freezer for an hour to flash freeze the burritos.
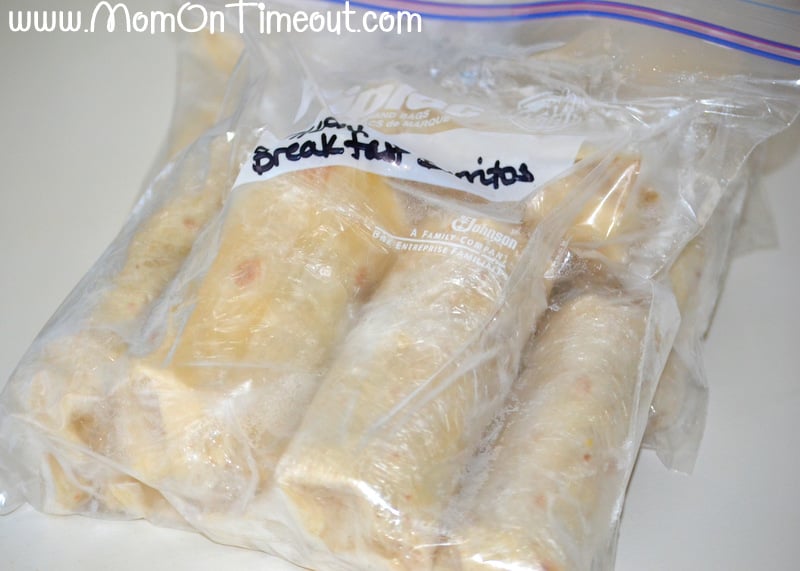
- Remove from freezer and wrap burritos in plastic wrap individually.
- Place in a freezer safe ziploc bag.
I ended up with 24 burritos.
Reheating Breakfast Burritos
- Remove plastic wrap.
- Wrap burrito in wet paper towel.
- Heat for 3 minutes on 50% power.
- Serve with fresh salsa – yummy!
FAQs
- Can these burritos be made vegetarian? Replace the meats with some sautéed peppers and onions.
- I want extra large burritos! Just use larger tortillas and increase the filling accordingly.
- Need even more flavor? Add in some sautéed veggies.
We enjoy these breakfast burritos with some fresh blender salsa or pico de gallo! Yum!
More Delicious Breakfast Ideas
- Stuffed French Toast
- Hashbrown Breakfast Casserole
- Lemon Blueberry Scones
- The BEST Biscuit Recipe
- Buttermilk Pancakes
How To Make Breakfast Burritos
Breakfast Burritos
Ingredients
- 1 lb breakfast sausage
- 1 lb bacon
- 1 cup chopped ham
- 2 lbs red potatoes cubed into bite size pieces
- 16 oz cheese any kind you like
- 24 soft taco tortillas I used flour
- 12 eggs extra large
- 1/2 cup milk
- 1/3 cup olive oil
- 1 tsp Emeril's Seasoning Seasoning Salt or any seasoning you prefer
- salt and pepper
Instructions
Meats:
- Bake your bacon, brown sausage, fry up ham.
Roasted Red Potatoes:
- Preheat oven to 450.
- Dry cubed potatoes with a towel to eliminate any extra water.
- Toss the potatoes with 1/3 c olive oil, 1 tsp salt, 1/2 tsp pepper. Use additional seasoning (such as Emeril's or Seasoning Salt) if desired.
- Roast for 30 minutes until golden brown. Start checking at 20 minutes.
Scrambled Eggs:
- Whisk 12 eggs and 1/2 c milk in a bowl until well combined.
- Heat a large skillet with nonstick cooking spray (or melt 1 Tbls butter) over medium heat.
- Spray skillet and add egg mixture.
- Cook eggs,stirring occasionally until eggs are set.
- Season with salt and pepper to taste.
Tortillas
- Place 5-10 tortillas on a plate. Cover with a wet paper towel.
- Heat in microwave for 30 seconds at 50% power. Heat the tortillas in batches.
Putting it all together:
- Set up an assembly line with all the ingredients.
- Place the tortillas on a large baking sheet or cutting board.
Assembling burritos
- Build your burritos - cheese, eggs, potatoes, meat.
- Fold in the sides of the tortilla and roll burrito up.
- Pat firmly on top of the burrito making sure the seam is on the bottom.
- Make sure the burrito is tightly rolled.
Freezing Burritos
- Line a baking sheet with parchment paper.
- Place burritos on the sheet, seam side down.
- Press down on the burritos again lightly making sure that the edges are tucked in.
- Place baking sheet in the freezer for an hour to flash freeze the burritos.
- Remove from freezer and wrap burritos in plastic wrap individually.
- Place in a ziploc bag. I ended up with 24 burritos.
To heat the burritos:
- Remove plastic wrap.
- Wrap burrito in wet paper towel.
- Heat for 3 minutes on 50% power.
- Serve with fresh salsa - yummy!
Notes
Want to go vegetarian? Replace the meats with some sauteed peppers and onions.
Want bigger burritos? Just use larger tortillas.
Need even more flavor? Add in some sauteed veggies.
Make sure to serve with fresh salsa.



Stacia Liechty says
I’m just now hopping on the freezer meal train, and I can’t get enough. I love the process. This will soon be added to the mix, I just pinned. Thanks for the great idea!
Stacia@http://feathersandsunshine.blogspot.com
Jessi @ Practically Functional says
Yum, those look great, and it’s fabulous that you can make them ahead of time! Thanks for sharing at The Fun In Functional!
Crystelle says
This is sooo great… I’ll be pinning!
Betty Hayden says
I don’t have a microwave, would a toaster oven work?
Jelli says
One of my favorite freezer meals ever is burritos. They’re great because you can fill them with just about any leftover meat, add a few staple ingredients and have lots of grab-n-go lunches anytime. I made lots of these right before my baby was born just for that reason. Thanks so much for sharing, Trish! Glad I found your blog today. I love learning mommy tips.
Katie says
What are your thoughts on adding avocado right before wrapping up? Would they get gross when you reheat? just sounded yummy 🙂
Trish - Mom On Timeout says
I would only add avocados after heating. I don’t think the avocados would stand up to be frozen and then heated up very well. But yes, it does sound yummy! If you have the time just slice them up and throw them in the burrito after heating.
Mammy Made says
Hey hun. Just wanted to let you know that I featured this on my blog this morning. I would love it if you could check it out and grab my button 🙂
http://mammymade.blogspot.co.uk/2012/05/mint-stuff-ive-seen-14.html
– Adele @ Mammy Made
Megshanley says
Question: If I heat it up using the oven instead of the microwave what temperature would you set it at and how long would you allow them to heat? Also I want to add veggies instead; does that make them soggy or mushy?
Trish - Mom On Timeout says
The tortillas that I used I purchased at Costco. I’m not sure what brand they are but if you warm up your tortillas and keep them warm during the process, they should be very pliable and not crack. I’ve used several brands and not had a problem. The only thing I can think of is that maybe they are older or were heated up too much. You can also try heating them up in a damp towel, this keeps them super moist and should eliminate any cracking. I really hope this helps and Happy Easter!
Kara @ Nest Candy says
I can’t wait to try this out! I loved the idea so much that I featured a link to this post on my breakfast freezer meals round up. Thanks!
Alison @ Oopsey Daisy says
Okay I KNOW my hubby would love these–he loves breakfast burritos!
NIKKI says
LOVE this idea!! With me back in school full-time, kids, house, etc. we could definitely use a quick and easy breakfast idea! Thank you for sharing, and I have passed on your recipie to others!
Thanks,
~~Nikki
http://confessionsofaredheadcountrygirl.blogspot.com/
Julie says
What a great idea, I would love it if you shared your burritos here:
http://juliejewels1.blogspot.com/2012/01/show-your-stuff-8.html
adaynasmile says
This recipe is wonderful! To be honest I have been making breakfast burritos for years but I hated getting up and making them. Your directions for making ahead and freezing them are genius! Takes away the early morning prep and work. I found it on pinterest and am featuring it on my blog.<br
Sarah Grace says
Made these today! Put them up on my blog… linked back to you! 🙂 YUMMY! Thanks so much for a great idea~ 🙂
Jennifer McLean says
I’m loving this recipe. I collect ones that can go in the freezer since we tend to cook once a month for most meals then freeze, making mealtime so much easier. Add a salad or some brown rice and you’re done! Thanks for this!
Oh, I pinned it and I’m now following you
Jenn from http://www.justaddwatersilly.com, hopping from every creative endeavor