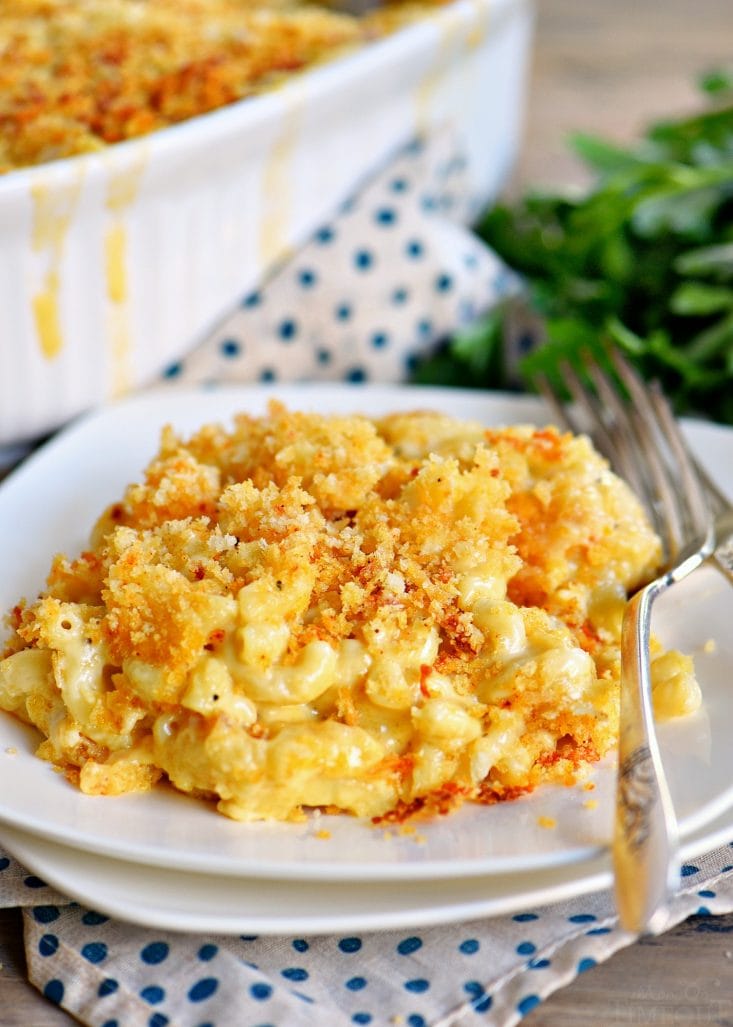
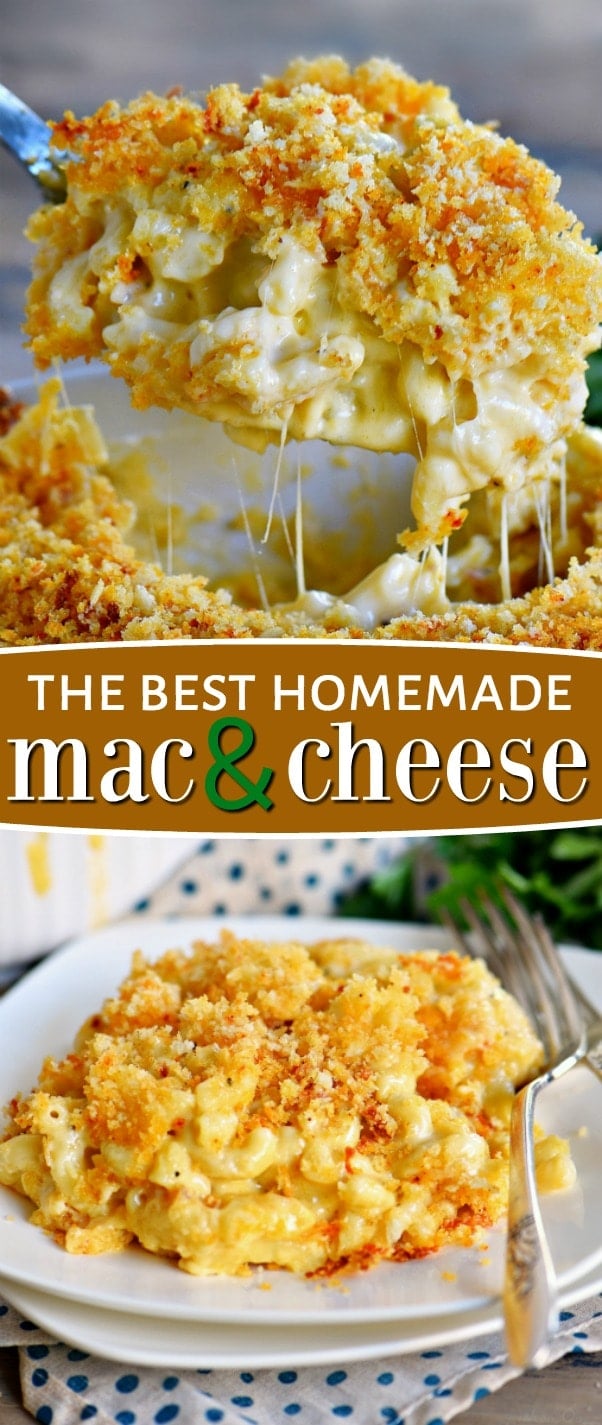
The BEST Homemade Mac and Cheese of your LIFE. Outrageously cheesy, ultra creamy, and topped with a crunchy Panko-Parmesan topping, this mac and cheese recipe is most definitely a keeper. I used three different cheese and a homemade cheese sauce to take this macaroni and cheese recipe over the top. Love cheesy recipes? Make sure to try this Lazy Day Lasagna and Cheesy Kielbasa Rice and Broccoli Skillet next week for dinner!
This post is sponsored by Walmart and SheKnows Media.
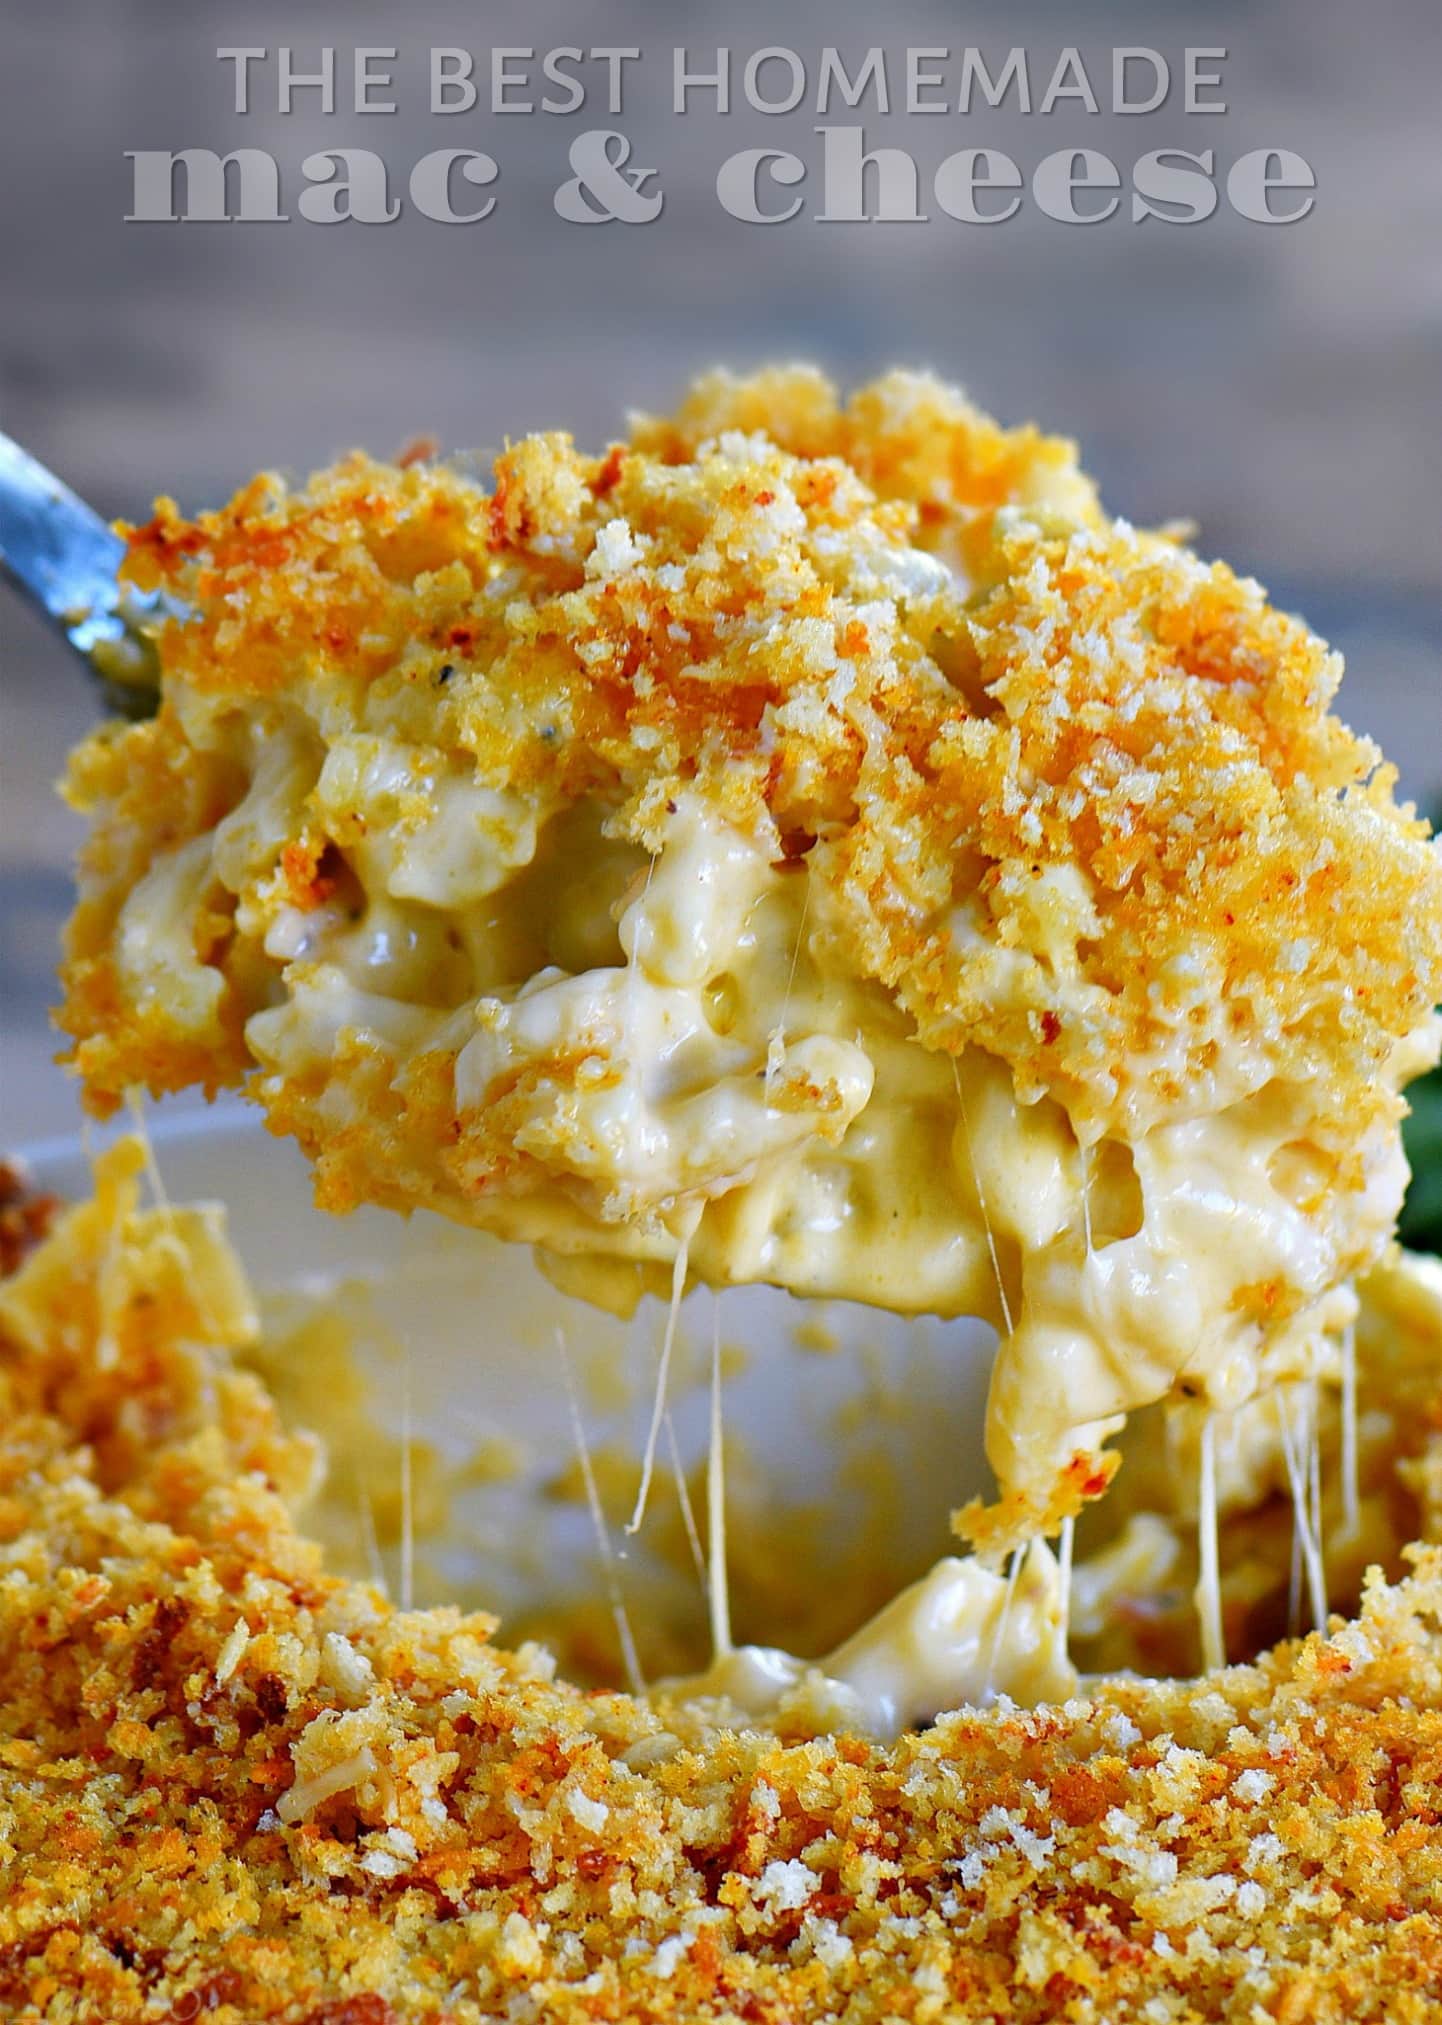
Homemade Baked Mac and Cheese
There is absolutely nothing I love more than cheese. And when you add pasta to it? Fuggetaboutit.
Mac and cheese is one of those recipes that can take on so many different forms. I love it anyway I can get it but baked mac and cheese is my very favorite and I’ll tell you why… The topping. I use breadcrumbs for my topping occasionally, but, a Panko topped mac and cheese is just that much better.
I mix in Parmesan, butter, and paprika with the Panko so it crisps up beautifully and gets a nice golden brown color when this amazing homemade mac and cheese is baked.
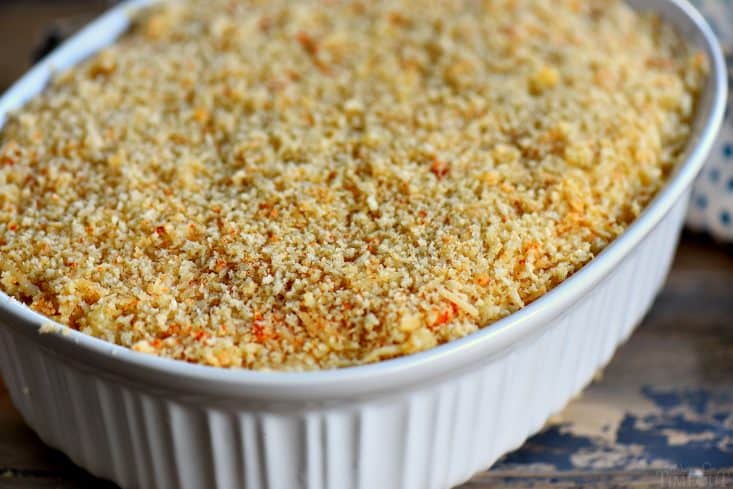
I’m going to be honest here. When I make mac and cheese, it’s the mac to cheese ratio that I am most concerned about. I love it when the mac and cheese is oeey gooey and the cheese sauce is just so creamy. GIMME.
With all this cheese going on in this macaroni and cheese recipe, I need a little help from my KitchenAid Deluxe Stand Mixer and it’s handy dandy Fresh Prep Slice/Shredder attachment. I picked up this beauty at Walmart this past week and I am in LOOOOOVE. I was torn between the options: SILVER | COBALT | PISTACHIO. But, when I pictured them in my kitchen, I knew I had to go with the cobalt – it’s just stunning!
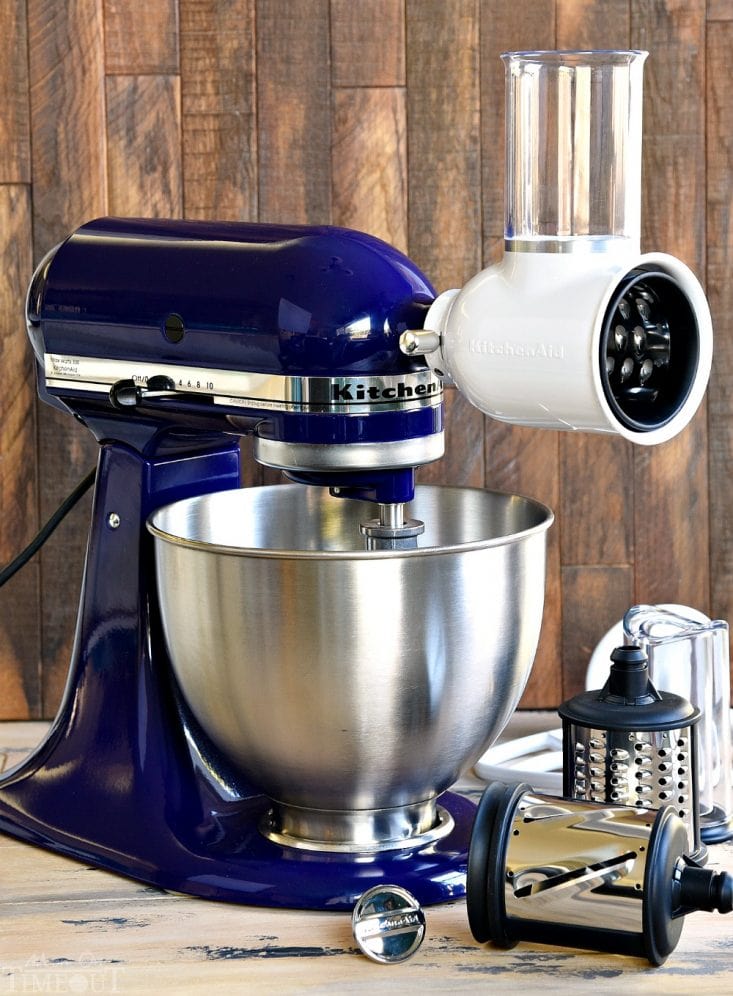
My sister had bought me the pasta maker attachment years ago and it’s used A LOT so I was excited to pick up the shredder attachment on this last trip to Walmart because, I mean, come on. You guys know that I’m all about the cheese. But it’s not just for shredding cheese you guys! We’ve already used it to make the hash brown crust on this quiche too. What a time saver!
I use my stand mixer about 954 times each week. Being a food blogger and mom means I’m in my kitchen a lot baking up goodies and whipping up amazing dinners like this homemade baked mac and cheese. I am always, always looking for help in the kitchen and the Kitchen Aid Deluxe Stand Mixer is the answer.
You’re going to find all the features you know and love including a tilt-head design to easily add ingredients, 10 speeds to thoroughly mix, whip, and knead ingredients, and it comes with the coated flat beater, coated dough hook, and the wire whip.
There are 10 hub powered attachments including a spiralizer, food grinder and citrus juicer. SO much fun to be had you guys!
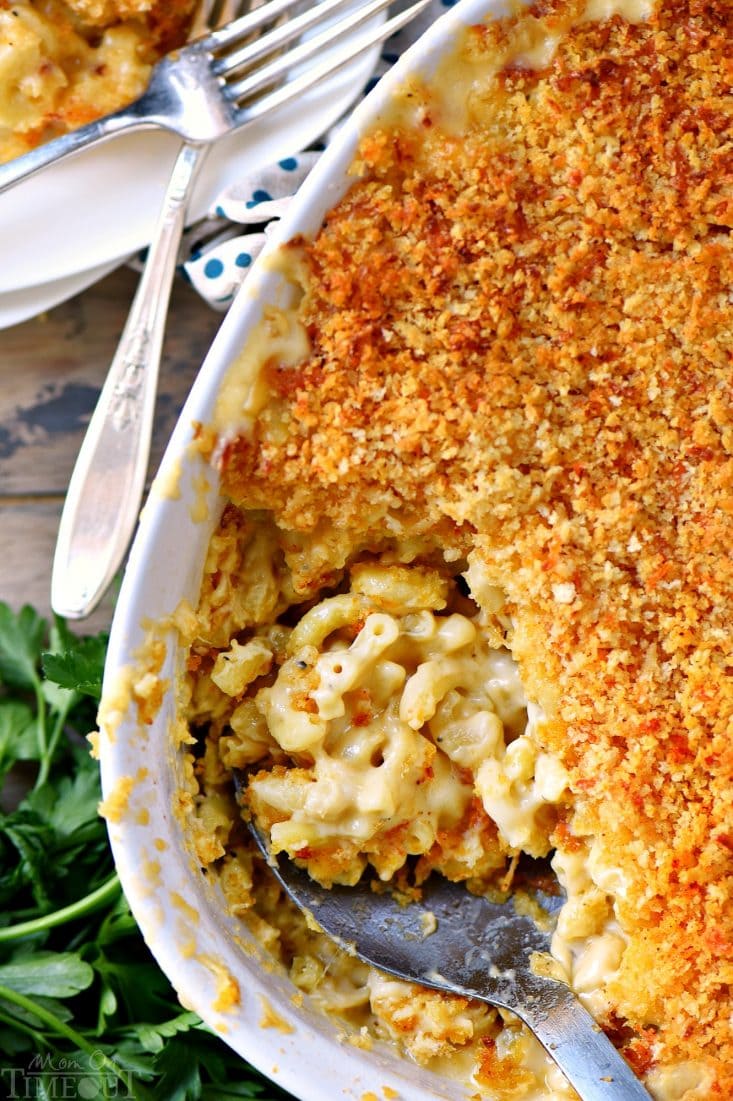
Tips for the Best Homemade Baked Mac and Cheese
- Use block cheese and shred, do not buy the pre-shredded cheese. The pre-shredded cheese is great for so many things but not macaroni and cheese. It’s coated and won’t melt properly. You need to shred it yourself for the best result.
- Cook your pasta to slightly less than al dente, about one minute shy is perfect. The reason is that this is baked mac and cheese so the pasta will continue to cook in the homemade cheese sauce in the oven. You don’t want soggy macaroni.
- I used elbow pasta but really, any tubular past will work.
- This mac and cheese recipe starts with a roux. The roux is super important to getting the creamiest cheese sauce of your life. Here is what you need to look for:
- The roux (equal parts butter and flour) is whisked together until bubbly and golden.
- Whisk in cold milk – not warm – to prevent the flour from clumping.
- Cook the roux until you see bubbles on the surface and then continue cooking for an additional 2 minutes before adding the cheese.
Homemade Macaroni and Cheese: What Kind of Cheese Should I Use?
I honestly use different cheese combinations almost every time I make this mac and cheese recipe but the one I always come back to is sharp cheddar and Gruyere. If you can’t find Gruyere, Jarlsberg Swiss cheese is the best substitute. Other cheese that work: mozzarella, jack cheese or pepper jack for a little zip, American and Velveeta as well for a creamier cheese sauce. This baked mac and cheese uses 6 cups of cheese so just
To add even more flavor to my homemade mac and cheese, I add Parmesan to the Panko topping – so good!
Make sure to try out these favorites too!
- The Ultimate Chicken Fried Steak and Gravy
- Pulled Chicken Sandwiches with Root Beer BBQ Sauce
- Slow Cooker Italian Beef Sandwiches
- One Pot Olive Garden Zuppa Toscana Soup
- Slow Cooker Shrimp Boil
I sure hope you give this a try and please, let me know what you think in the comments below!
How To Make Homemade Mac and Cheese
The BEST Homemade Baked Mac and Cheese
Ingredients
- 16 oz elbow macaroni, cooked (or other tubular pasta)
- 1 tbsp extra virgin olive oil
- 6 tbsp unsalted butter
- 1/3 cup all purpose flour
- 3 cups whole milk
- 1 cup heavy whipping cream
- 4 cups sharp cheddar cheese shredded
- 2 cups Gruyere cheese shredded
- salt and pepper to taste
- 1 1/2 cups panko crumbs
- 4 tbsp butter melted
- 1/2 cup Parmesan cheese shredded
- 1/4 tsp smoked paprika (or regular paprika)
Instructions
- Preheat oven to 350F. Lightly grease a large 3 qt or 4 qt baking dish and set aside.
Combine shredded cheeses in a large bowl and set aside. - Cook the pasta one minute shy of al dente according to the package instructions. Remove from heat, drain, and place in a large bowl.
- Drizzle pasta with olive oil and stir to coat pasta. Set aside to cool while preparing cheese sauce.
- Melt butter in a deep saucepan, dutch oven, or stock pot.
- Whisk in flour over medium heat and continue whisking for about 1 minute until bubbly and golden.
- Gradually whisk in the milk and heavy cream until nice and smooth. Continue whisking until you see bubbles on the surface and then continue cooking and whisking for another 2 minutes. Whisk in salt and pepper.
- Add two cups of shredded cheese and whisk until smooth. Add another two cups of shredded cheese and continue whisking until creamy and smooth. Sauce should be nice and thick.
- Stir in the cooled pasta until combined and pasta is fully coated with the cheese sauce.
- Pour half of the mac and cheese into the prepared baking dish. Top with remaining 2 cups of shredded cheese and then the remaining mac and cheese.
- In a small bowl, combine panko crumbs, Parmesan cheese, melted butter and paprika. Sprinkle over the top and bake until bubbly and golden brown, about 30 minutes. Serve immediately.
Video
Nutrition

For all appetizer recipes, go HERE.
For all dessert recipes, go HERE.
Sign up to get emails when I post new recipes!
For even more great ideas follow me on Facebook – Pinterest – Instagram – Twitter – Bloglovin’.






John says
Absolute best mac and cheese I’ve ever made! I use 3 kinds of cheese (8 oz. ea. Sharp cheddar, Colby Jack and Asiago or Fontina cheese). I make it for a me and a friend who loves it but needs to eat protein so I add a pound of cooked ground sausage as well. Excellent flavor addition! I usually don’t change or vary recipes, but I think it adds to this incredible mac and cheese recipe! Thank you!
Trish - Mom On Timeout says
I love the addition of sausage! We make it with bacon a lot but I’ve never tried sausage before! I bet it’s delicious!
ali says
When you make it with bacon do you bake the bacon as well or sprinkle it on top?
Trish - Mom On Timeout says
You can do either (or both!) but I particularly like it IN the mac and cheese.
Caroline says
I impressed myself making this. Outstanding! I will def lake for thanksgiving next year. Thank you so much!
Dyan Sharp says
This is the best mac and cheese recipe. I made it a few days ahead of Thanksgiving and it was delish. Definitely my go to recipe with the grandkids. Thank you for sharing.
Aleena says
Hello. I’m making this dish for Thanksgiving but was unsure which butter to use for the roux and which one to use for the topping? The ingredients ask for both unsalted and regular, I assume salted, butter, so I want to make sure I use the correct butter for each. Thank you!
Trish - Mom On Timeout says
Hi Aleena! The ingredients are listed in the order they are used. So, the 6 tablespoons of unsalted butter is used in step 4 and the 4 tablespoons of salted (you can use unsalted here if you prefer) are used in step 10 for the topping. Hope that helps and sorry that wasn’t more clear 🩷
Ariana says
Do you think this recipe would work okay with gluten-free noodles? Just wondered if you’ve tried this. I don’t want the consistency of the gluten-free pasta to mess up the recipe.
Trish - Mom On Timeout says
I’ve never tried Ariana so I really couldn’t say. I’d love to know if it works out for you!
Nicole Lawrence says
My daughter has celiac so we made it with Barilla gluten free elbows which we love, and it was still absolutely delicious and you don’t notice the difference!
MaryAnn says
Hi making this for thanksgiving. Can i use 2 cups of heavy cream and 2 cups of milk? Did you ever add stewed tomatoes to this recipe.
Trish - Mom On Timeout says
I’ve only tried the recipe as written so I can’t really say if that will work. Definitely have not tried adding tomatoes. Enjoy!
Kristina Friend says
I add stewed tomatoes to it- it’s amazing
Elizabeth says
Can you make this ahead and refrigerate over night to bake the next day?
Trish - Mom On Timeout says
Yes you can Elizabeth. Don’t put the topping on until you are ready to bake. Let the casserole come to room temperature while you preheat the oven, and you will need to add some extra time for baking since it’s isn’t going into the oven warm. Hope that helps!
Alayna says
This looks so yummy! Was wondering if I can make the cheese sauce ahead of time and then store it and reheat when I am ready to cook the pasta? If so, about how long do you think the cheese sauce could be refrigerated?
Trish - Mom On Timeout says
Absolutely! I think up to 3 days should be fine.
Andrew says
Can I make ahead? Want to make for thanksgiving but curious if I could make the day before.
Trish - Mom On Timeout says
Yes you sure can Andrew! Don’t put the topping on until you are ready to bake. Let the casserole come to room temperature while you preheat the oven, and you will need to add some extra time for baking since it’s isn’t going into the oven warm. Hope that helps!
Tiffany says
Do you think it’ll be fine to prep the day before, refrigerate, then bake the next day?
Trish - Mom On Timeout says
That will work Tiffany! Don’t put the topping on until you are ready to bake. Let the casserole come to room temperature while you preheat the oven, and you will need to add some extra time for baking since it’s isn’t going into the oven warm. Hope that helps!
Katie says
Are you able to make it the day before needed and just add the panko right before backing?
Trish - Mom On Timeout says
Exactly Katie! Don’t put the topping on until you are ready to bake. Let the casserole come to room temperature while you preheat the oven, and you will need to add some extra time for baking since it’s isn’t going into the oven warm. Hope that helps!
Stephanie says
Hi Trish! Thanks for sharing. I’m so excited to give this a try. Any input on whether you can assemble a day prior to baking? And if so do you need to make any changes to the recipe?
Trish - Mom On Timeout says
You sure can Stephanie! Prepare as instructed but don’t put the topping on until you are ready to bake. Cover and chill. When you are ready to bake, let the casserole come to room temperature while you preheat the oven, and you will need to add some extra time for baking since it’s isn’t going into the oven warm. Hope that helps!
Taresa says
I have made this recipe a few times and this is the best mac n cheese recipe, hands down! I have always made and served it the same day but I would like to know if you have any tips on making this the day before as I like to prep ahead of time for Thanksgiving. Thanks in advance and I hope you have a blessed Thanksgiving!
Trish - Mom On Timeout says
I appreciate this so much Taresa! You can make it advance. Just prepare as instructed but don’t put the topping on until you are ready to bake. Let the casserole come to room temperature while you preheat the oven, and you will need to add some extra time for baking since it’s isn’t going into the oven warm. Hope that helps! Happy Thanksgiving!
LeahM says
Could you put this together the day before and bake it the day you want to serve it??
Trish - Mom On Timeout says
Absolutely! Prepare as instructed but don’t put the topping on until you are ready to bake. Cover and chill. When you are ready to bake, let the casserole come to room temperature while you preheat the oven, and you will need to add some extra time for baking since it’s isn’t going into the oven warm. Hope that helps!
Nicole says
Any suggestions for making it the day before serving it ?
Trish - Mom On Timeout says
Hi Nicole! Don’t put the topping on until you are ready to bake. Let the casserole come to room temperature while you preheat the oven, and you will need to add some extra time for baking since it’s isn’t going into the oven warm. Hope that helps!
AbigailB1203 says
Could I prepare this to be baked the day before and just pop it in the oven day of?
Trish - Mom On Timeout says
You sure can Abigail! Prepare as instructed but don’t put the topping on until you are ready to bake. Cover and chill. When you are ready to bake, let the casserole come to room temperature while you preheat the oven, and you will need to add some extra time for baking since it’s isn’t going into the oven warm. Hope that helps!