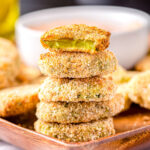
These easy Air Fryer Pickles are perfectly crispy and seasoned just right! Air fryer fried pickles are perfect for game day, parties or snack time! Make sure you have some fry sauce ready for dipping!
Need more appetizer ideas? Try my Lemon Pepper Wings and this Pico de Gallo!
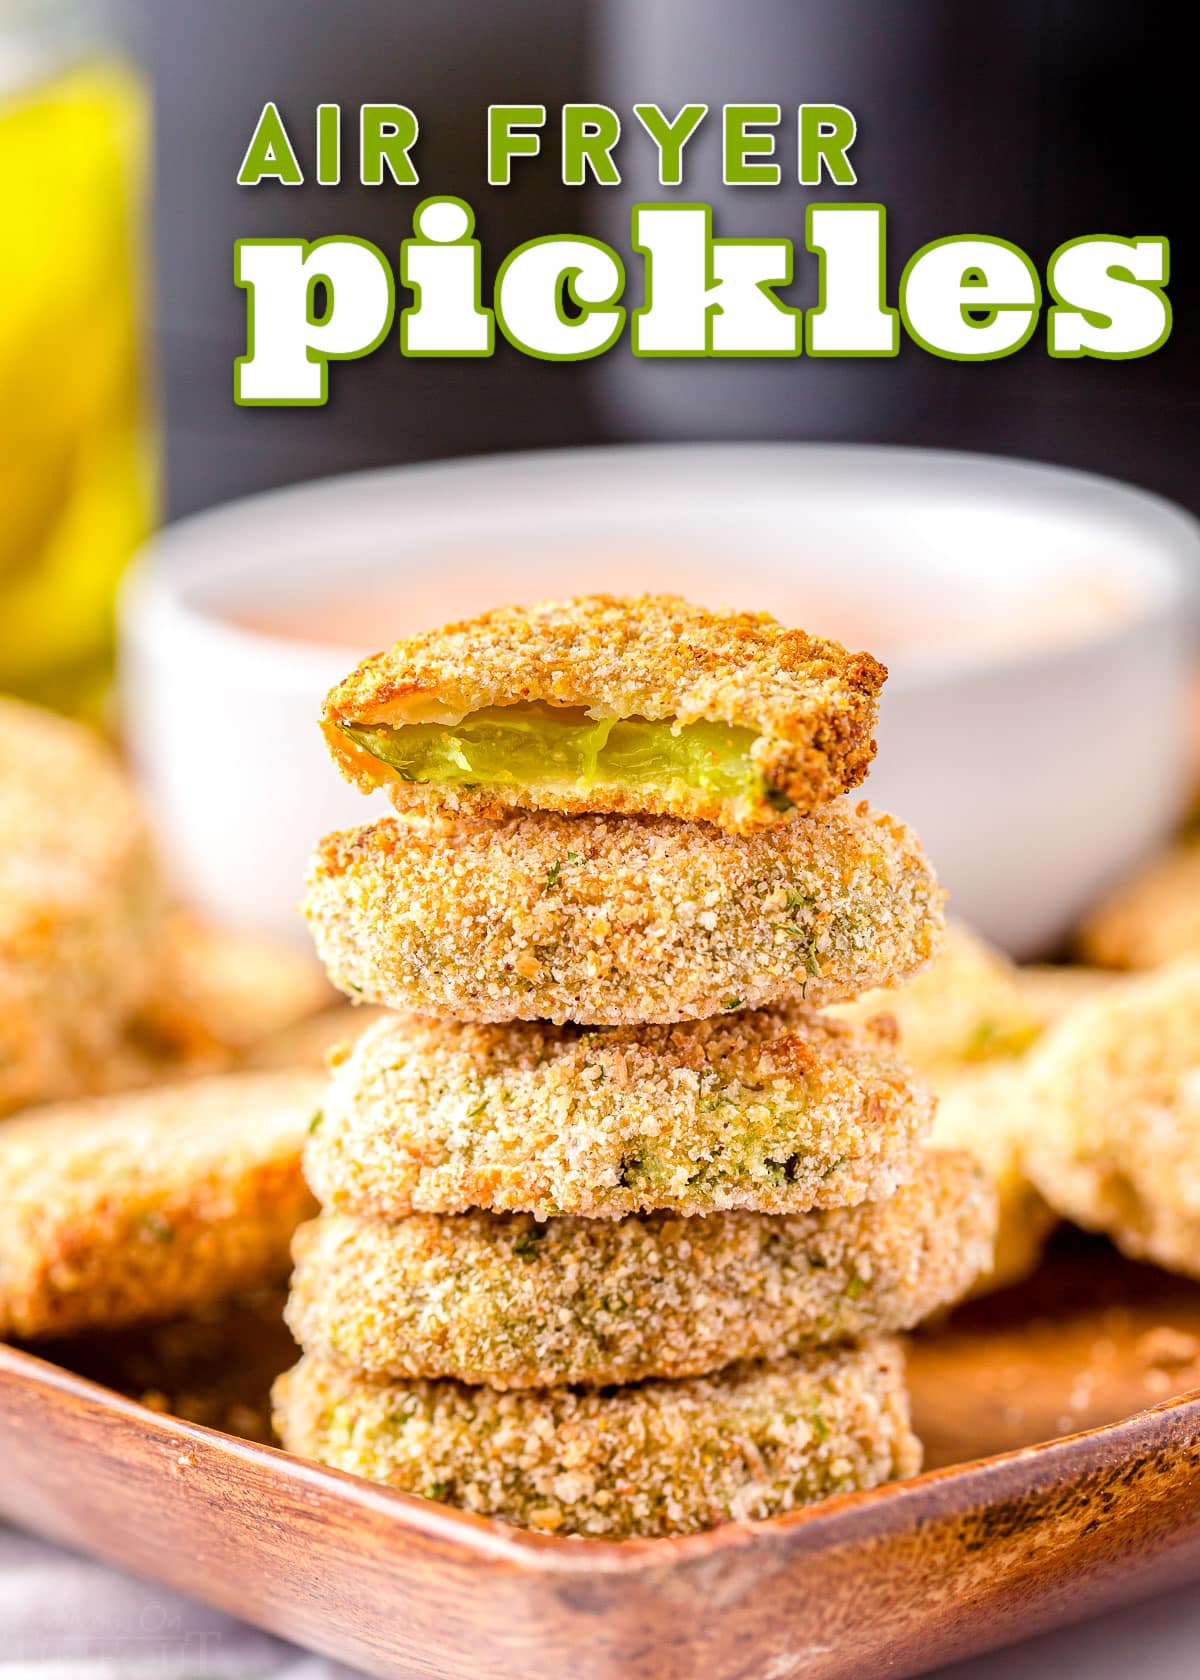
I really love having any kind of excuse to use my air fryer. It’s just so unbelievably convenient! No more waiting around for the oven to preheat. And best of all, no awful grease burns when it inevitably pops on you when you’re trying to traditionally fry up something!
Not to mention how much lighter air fryer recipes taste. Really, I use mine just about every day lately!
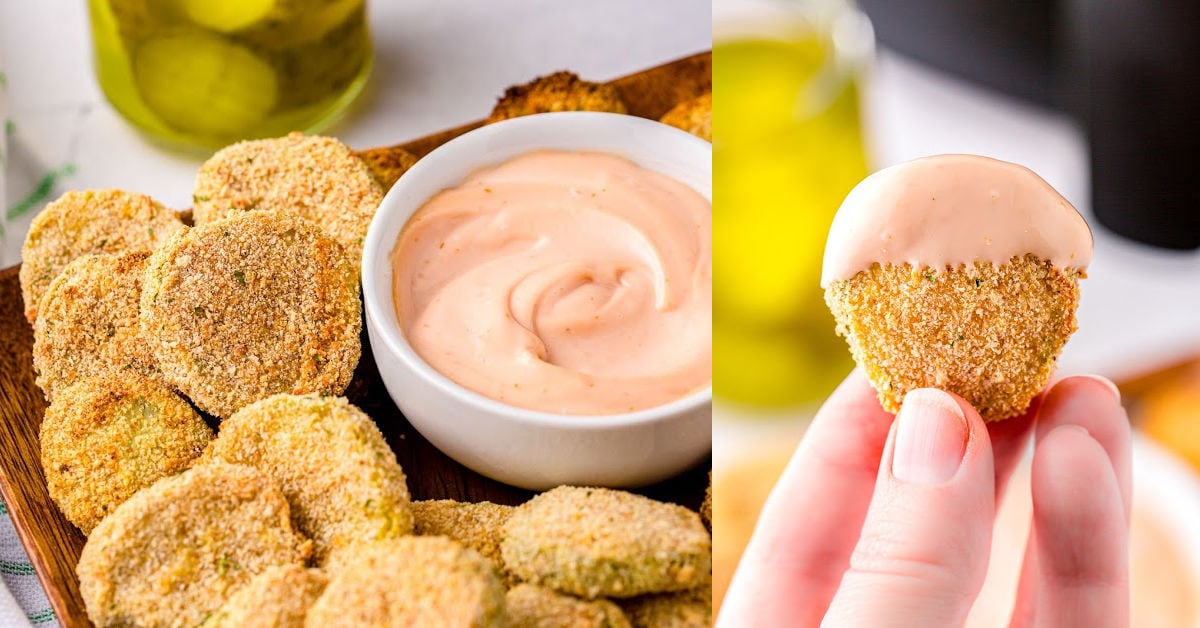
So, what exactly are fried pickles?
If you’ve never had fried pickles, I’m so sorry. This recipe is sure to get you hooked! If you love the briny taste of pickles mixed with seasonings like garlic, onion, cayenne pepper, and paprika, then breaded and air fried to perfection, then this is the appetizer for you!
Skip the hassle and all the grease of a traditional frying method without losing any of the crispiness like you sometimes do with baking.
Fried pickles air fryer method are tasty, not greasy, and perfect for snacking. Dip them into a little spicy ranch dip or a homemade fry sauce on the side, and you’ve got the best snack for game days, parties, and potlucks.
More Air Fryer Recipes
Addicted to your Air Fryer and need another fix? Check out some of my favorite Air Fryer Recipes below!
- Air Fryer Donuts
- Air Fryer Bacon – Perfect Bacon Every Time!
- Churro Cannoli Recipe
- Air Fryer Teriyaki Chicken
- Air Fryer Brussel Sprouts with Garlic and Parmesan
Ingredients for Air Fryer Fried Pickles
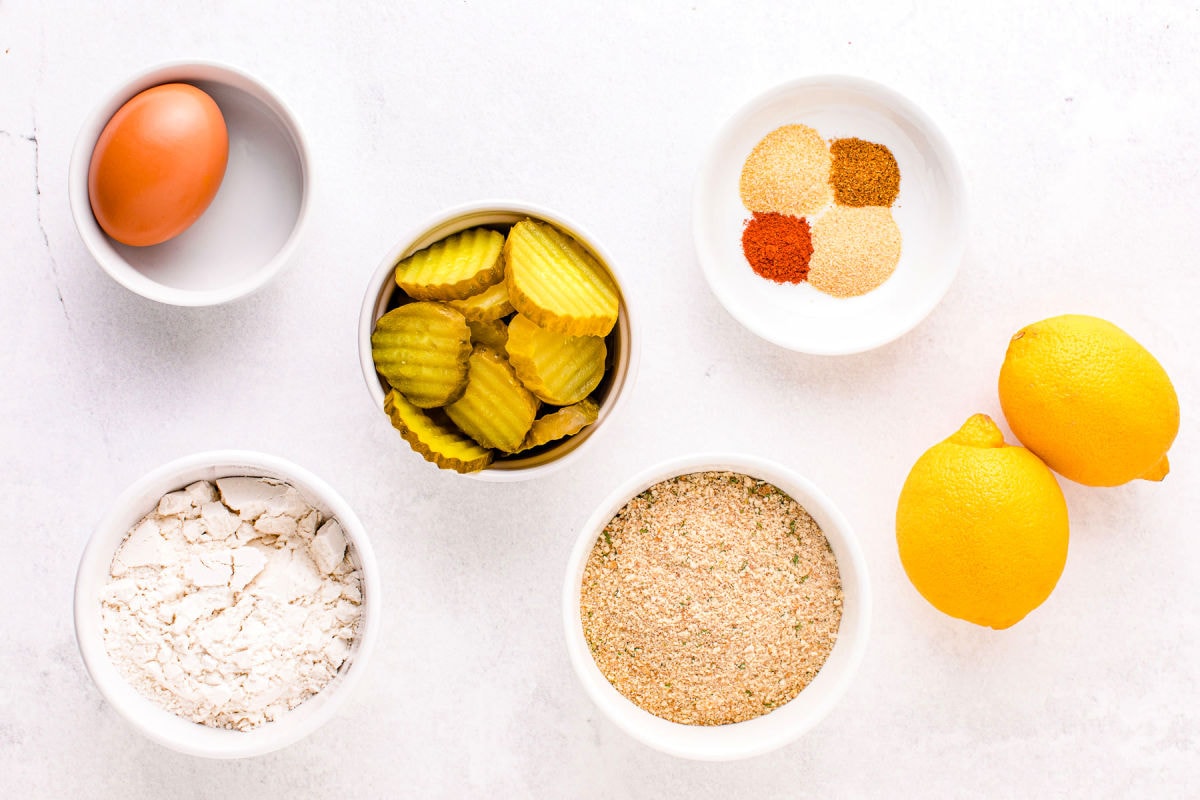
Air fryer pickles are quick to fry up and can easily be made in batches for your next party! Get a delicious crunch with incredible texture with fried pickles recipe. Here’s all you’ll need:
- dill pickles chips – I prefer using the sliced dill pickles for quicker air fried pickles, but feel free to use pickle spears. You may need to increase cook times if you use larger pickles, so maybe test out a few first.
- all-purpose flour – This will help keep everything sticking together.
- egg – This solidifies your breading to ensure it all sticks to your pickles.
- dill pickle juice – If you have any left over, freeze it with popsicle sticks and make your own homemade pickle pops! Yes, really! It’s a Southern treat that, if you love pickles, you’ll quickly obsess over.
- lemon juice – you can even switch it up and try lime juice.
- Italian breadcrumbs – Panko or regular breadcrumbs can be substituted, but cook times will vary.
- garlic powder – You can vary how much seasoning you used based on preference, I love garlic, so I tend to add a little extra sprinkle.
- onion powder – Extra flavor for the breading.
- cayenne pepper – Want the pickles to be extra spicy? Add an extra half teaspoon of cayenne!
- paprika – I like this smoky addition to the flavor of the breading and pickles.
How To Make Fried Pickles in Air Fryer
Make just one batch or make a few. You won’t want to stop popping these deliciously crunchy bites! You can find the full fried pickles recipe with complete instructions in the recipe card at then end of this post.
Breading Pickles
- Preheat your air fryer to 400°F.
- Pat dry all of the pickles using a paper towel. It’s important to make them as dry as possible, then set aside.
- In a medium bowl, pour in the all-purpose flour. Set aside.
- In a separate mixing bowl, whisk together the eggs, dill pickle juice, and lime juice. Set aside.
- Add the breadcrumbs into another bowl. Mix in the garlic powder, onion powder, cayenne pepper, paprika, and dried oregano, and set that aside.
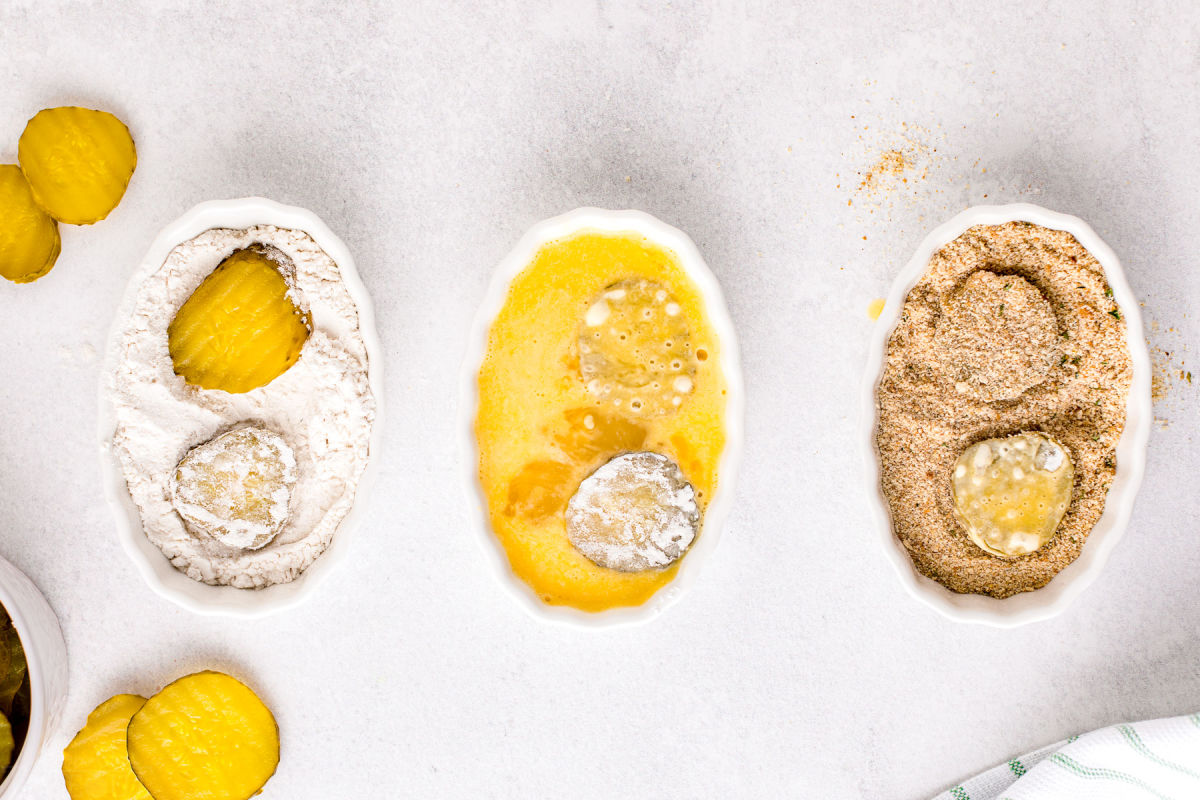
- Set up your breading station by having your flour bowl next to your egg bowl, followed by the breadcrumbs. Just like a little assembly line!
- Take one pickle at a time and dunk it in the flour mixture, followed by the egg mixture, and lastly the breadcrumbs.
Make sure to thoroughly coat each pickle in every mixture for best results!
Time To Make Fried Pickles Air Fryer Style
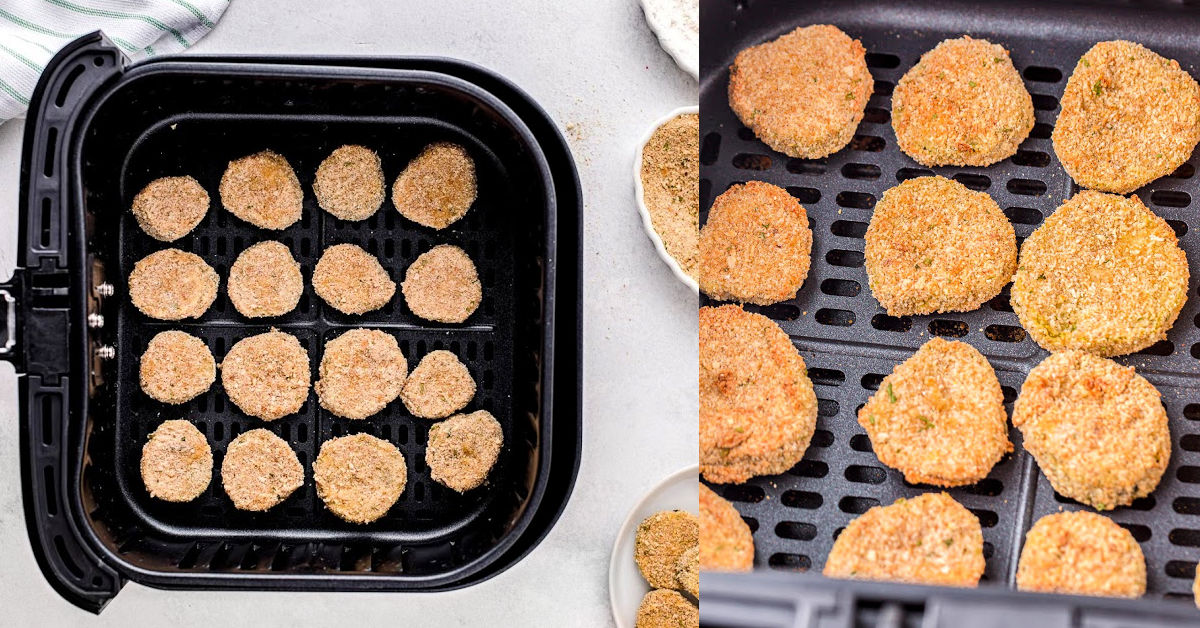
- Place the pickles in the air fryer, evenly spread out in one layer, making sure they are not touching.
- Fry pickles at 400°F for 3 minutes on one side, and then another 2 minutes on the other side. You may need to do various batches so you don’t crowd your air fryer basket.
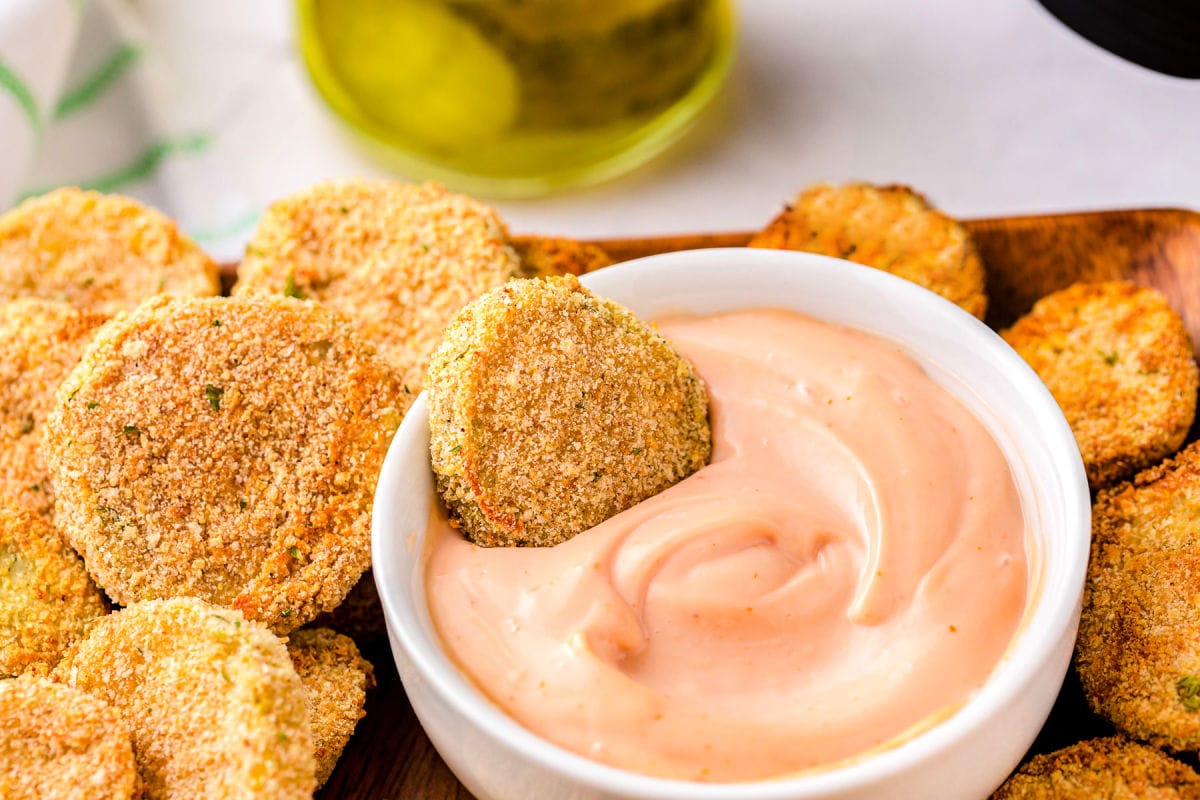
- Plate and serve with your favorite dipping sauce! Enjoy!
Try these delicious Air Fryer Pickles with our favorite Fry Sauce!
Air Fryer Pickles FAQs
Store your air fryer pickles in an airtight container in the refrigerator for 3-4 days. Layer a paper towel between stacks of pickles to keep them from getting soggy. When reheating, use the oven or air fryer, as the microwave will make them lose that delicious crunch. Freeze the air fryer pickles for about 1 month to retain their best flavor and quality.
If your breading isn’t sticking to the pickle chips, try freezing the pickles for about ten minutes, just before you’re ready to fry. This can solidify the breading enough to hold everything together!
Air fryers are pretty simple to use, but each one is slightly different. Make sure you read the instructions for your particular air fryer. Most recipes will require the air fryer to be preheated, and generally you will need to remove the basket for flipping or shaking halfway through the cook time.
Variations In Breadcrumbs
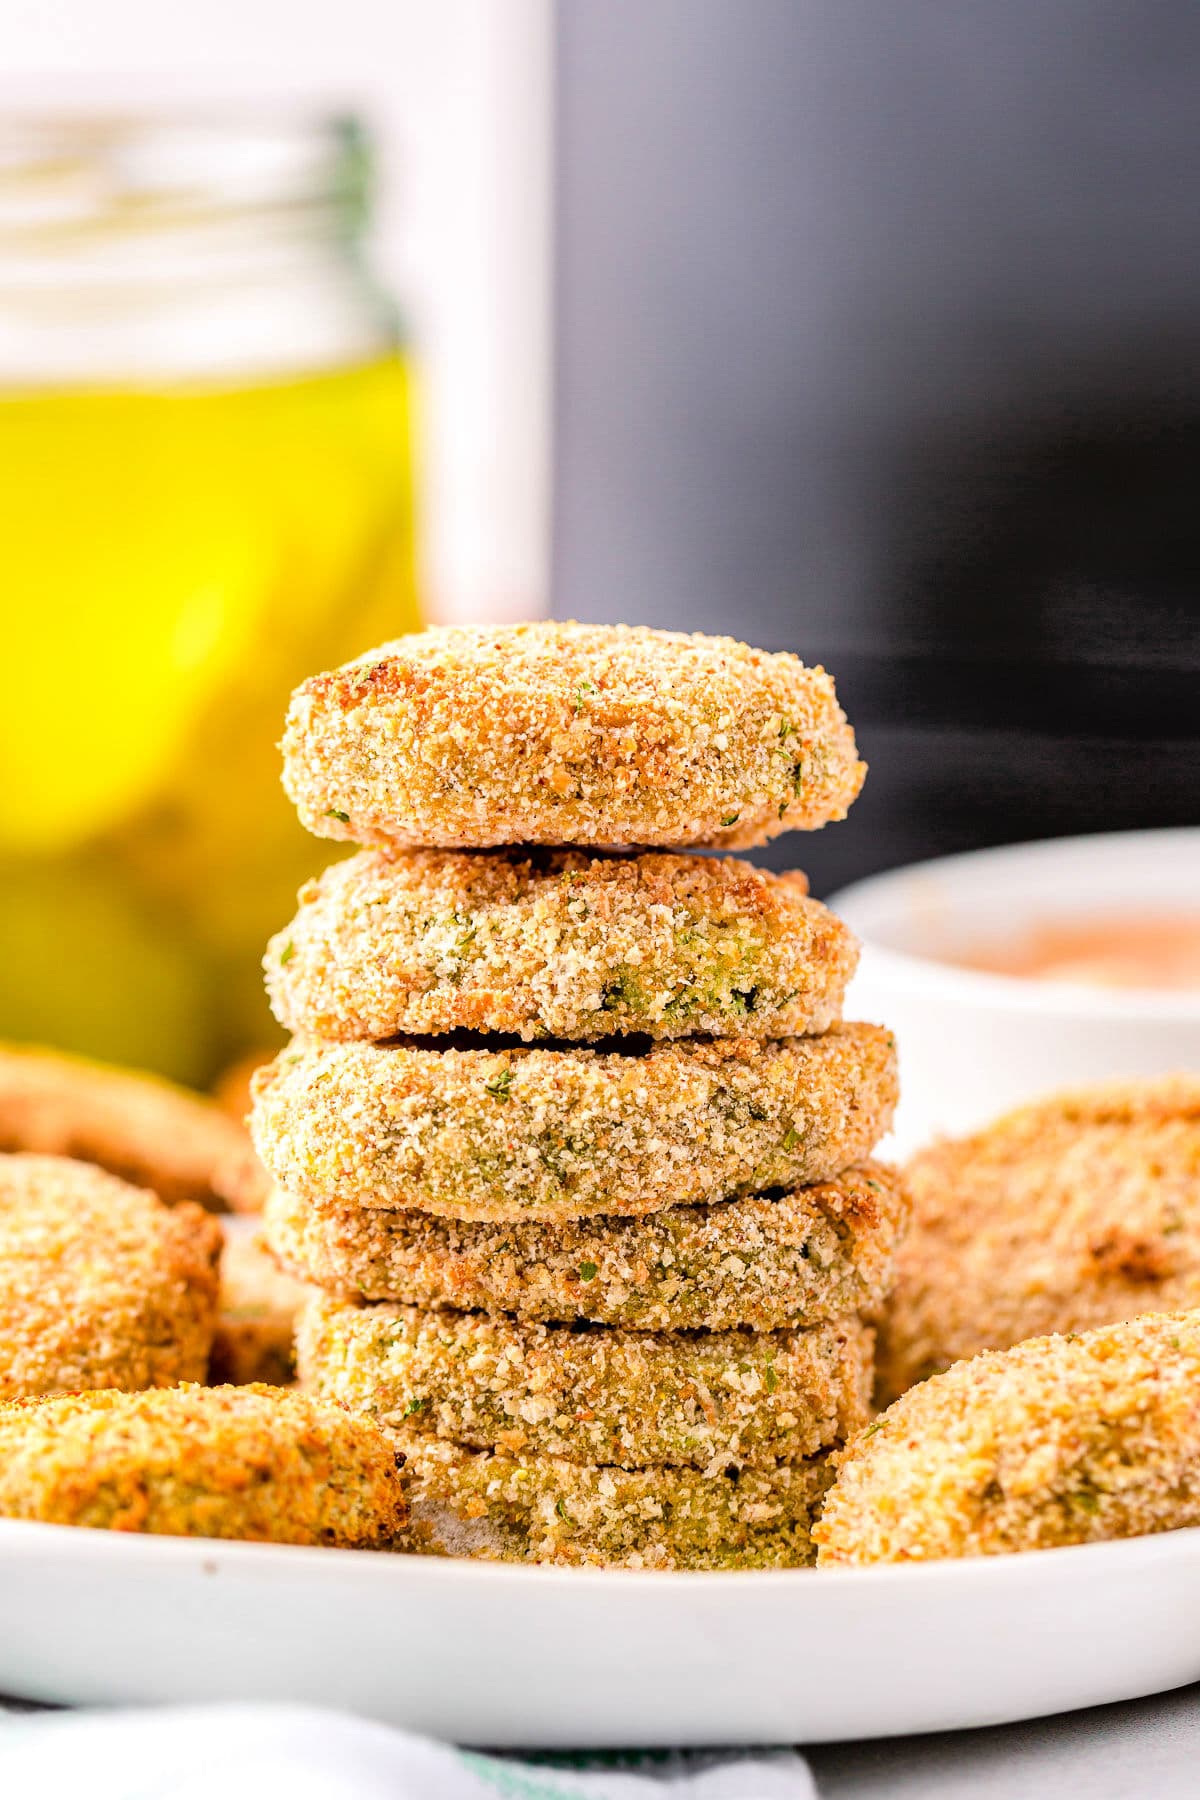
Cooking times may vary based on the type of breadcrumbs you choose to use. Panko typically cooks much faster at about 2-3 minutes per side, whereas regular breadcrumbs cook for about 10 minutes on one side and 10-15 on the other, or until golden brown.
Of course these times may change depending on the air fryer you happen to be using. As always, I suggest testing out a couple before putting the whole batch in at once!
More Appetizer Recipes
- Turkey Cranberry Pinwheels
- Best Ever Charcuterie Board
- Crab Melt
- Perfect Pico de Gallo
- Baked Bacon Cheese Dip
- Easy Jalapeño Popper Bites
- Cranberry Pecan Brie Bites
How To Make Fried Pickles
Air Fryer Fried Pickles
Ingredients
- 25 dill pickles chips sliced dill pickles
- ½ cup all-purpose flour
- 1 large egg
- 1 tablespoon dill pickle juice
- ½ tablespoon lemon juice
- 1 cup Italian breadcrumbs they can be panko or regular breadcrumbs. See notes for varying cook times
- ¾ teaspoon garlic powder
- ½ teaspoon onion powder
- ¼ teaspoon cayenne pepper
- ¼ teaspoon paprika
Instructions
- Preheat your air dryer to 400°F.
- Pat dry all the pickles using a paper towel. Make them as dry as possible. Set aside.
- In a medium bowl, pour in the all-purpose flour. Set aside.
- Whisk the eggs, dill pickle juice, and lime juice in a large bowl. Set aside.
- Add the breadcrumbs into another large bowl. Mix in the garlic powder, onion powder, cayenne pepper, paprika, and dried oregano and set it aside.
- Set up your breading station by having your flour bowl next to your egg bowl followed by the breadcrumbs.
- Take one pickle at a time and dunk it in the flour mixture, followed by the egg mixture, and lastly the breadcrumbs. Make sure to thoroughly coat each pickle in every mixture.
- Place the pickles in the air fryer, evenly spread out in one layer, making sure they are not touching.
- Fry pickles at 400°F for 3 minutes on one side and then another 2 minutes on the other side. You may need to do various batches to not crowd the air fryer. (*see notes for cooking times)
- Plate and serve with your favorite dipping sauce.
Notes
- If the breading doesn’t stay on well, stick the pickles in the freezer for ten minutes right before frying.
The cooking times may vary depending on the type of breadcrumbs you use. Based on testing, when I have used panko bread crumbs, it cooks MUCH faster than when I have used regular bread crumbs. - This is what I found when it comes to cook times (Note: this could also vary depending on your individual air fryer, so you may want to do a test run with a couple of pickles before doing a large batch):
- Panko bread crumbs: Air fry at 400 degrees for 3 minutes on one side and then another 2-3 minutes on the other side or until it turns golden brown.
- Regular bread crumbs: Air fry at 400 degrees for 10 minutes on one side, and then another 10-15 minutes on the other side or until it turns golden brown.



Leave a Reply