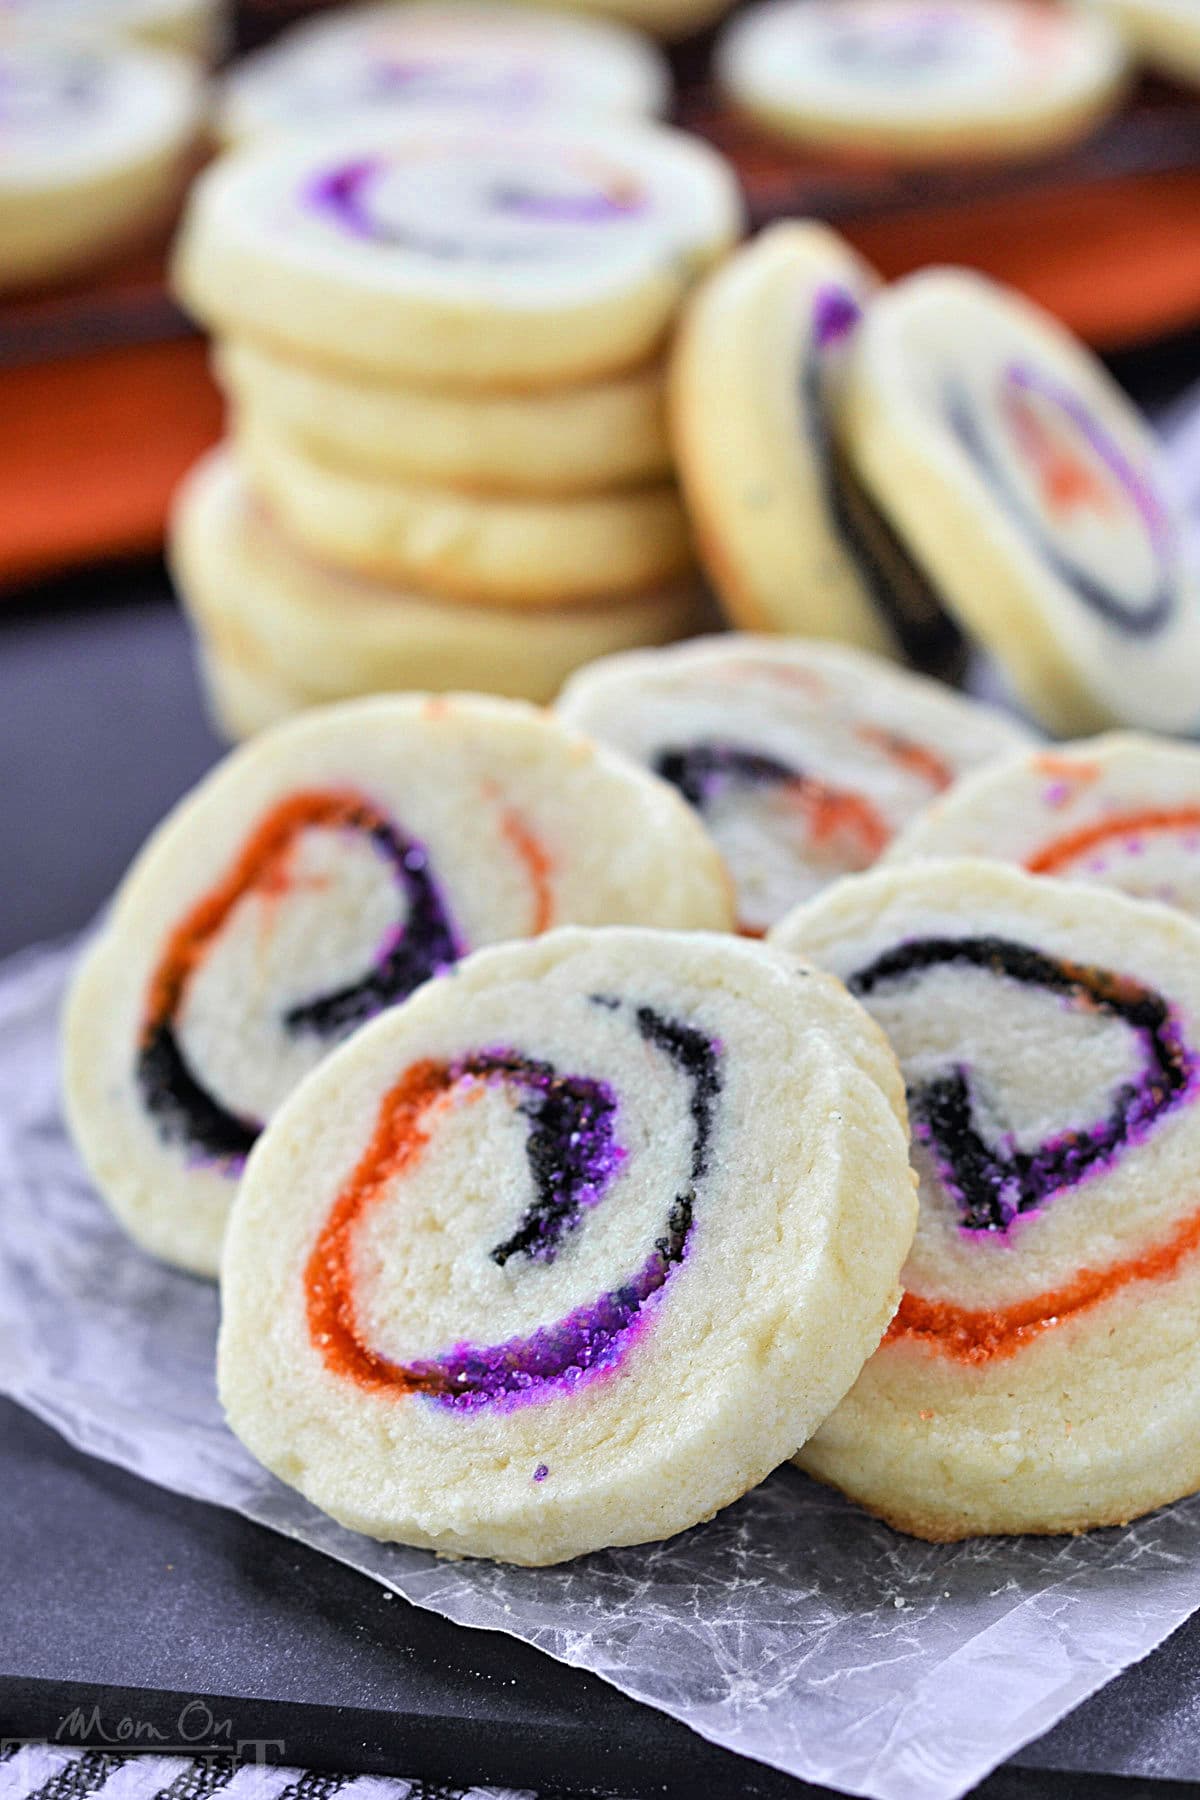
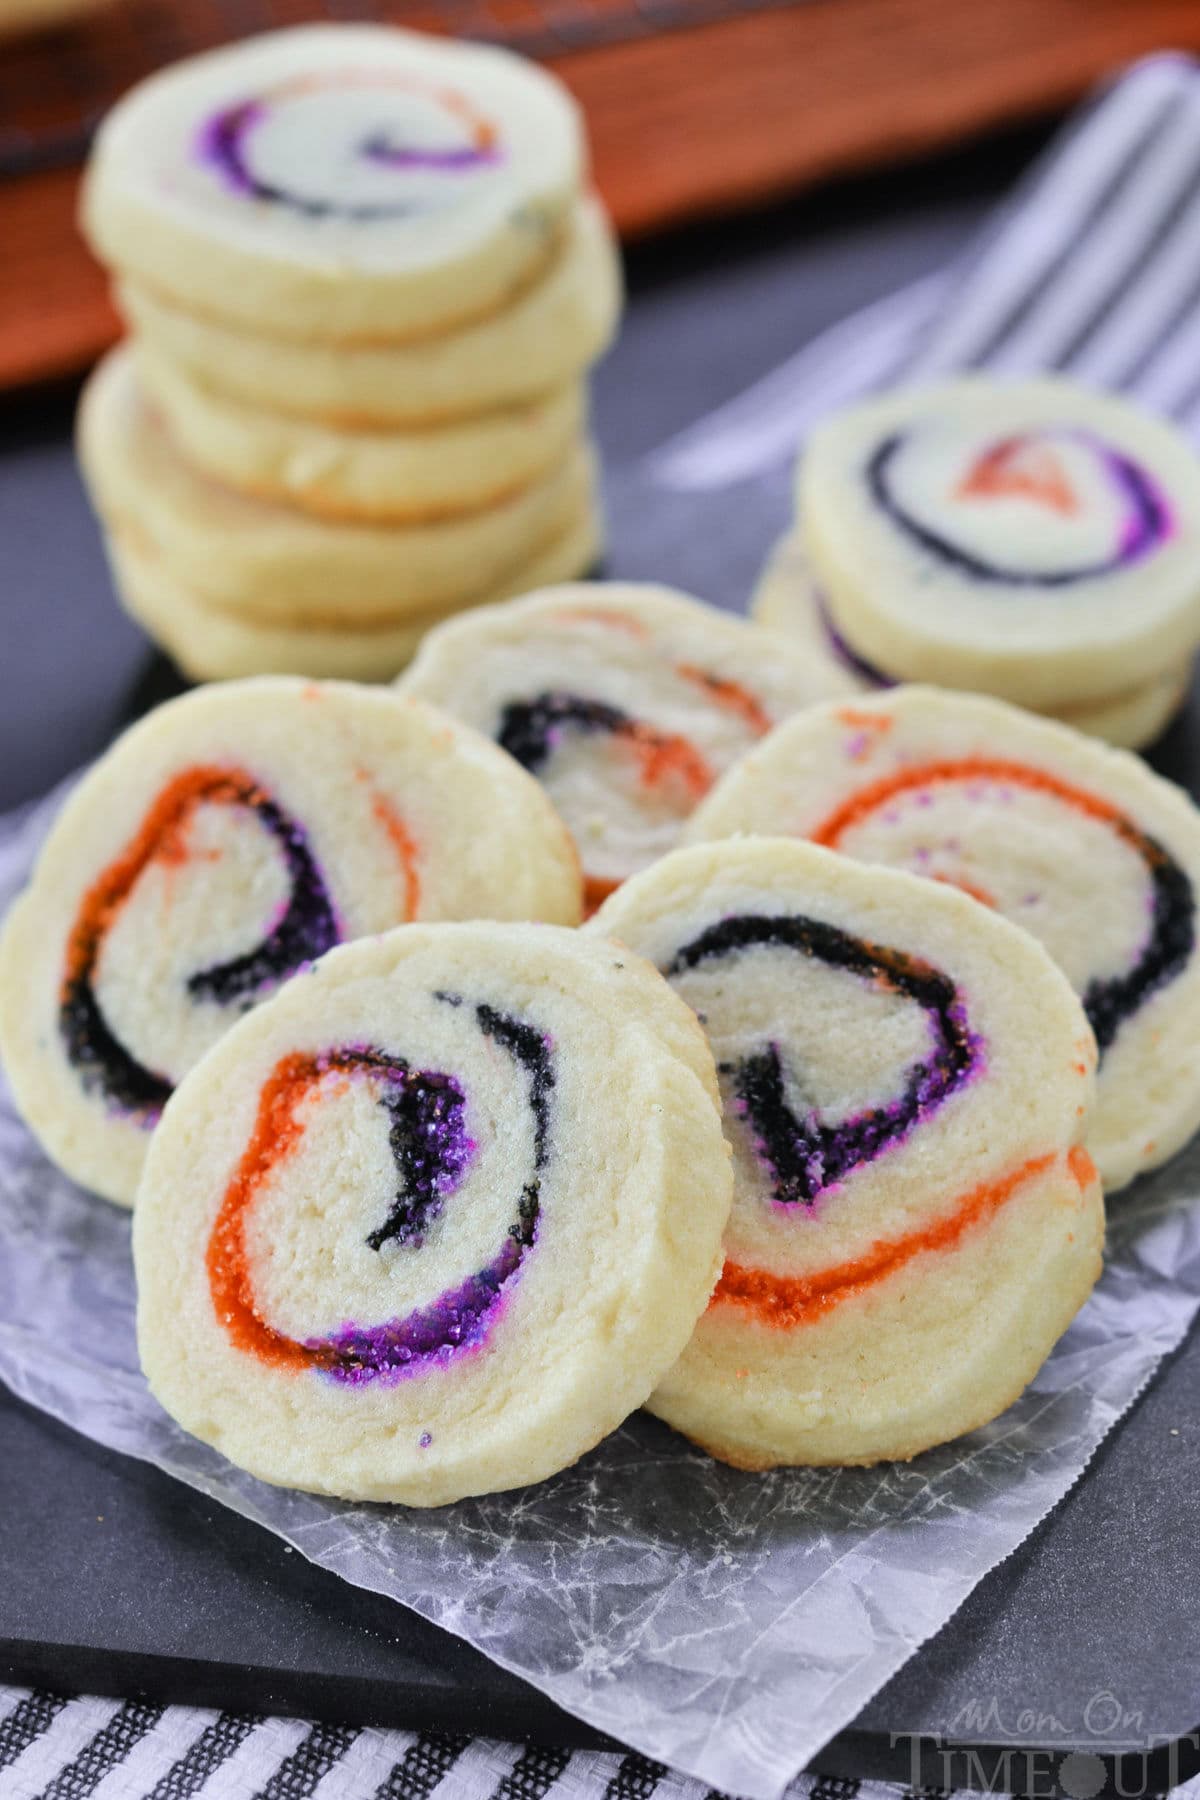
Fun and festive Spiral Halloween Cookies are buttery, melt-in-your-mouth sugar cookies that are swirled with vibrant, colored sugar creating a super fun spiral design! They add a fun, spooky touch to any celebration and are a must-make for Halloween celebrations!
Getting ready for Halloween? Try these Pumpkin Popcorn Balls and Black Widow Brownie Bites too!
Halloween Cookies Recipe
Get ready for some spooky fun with these easy and festive Halloween Cookies! Perfect for adding a pop of color to your Halloween celebrations, these slice and bake Spiral Halloween Cookies are buttery and melt-in-your-mouth delicious with colorful sprinkles swirled into the cookie.
Spiral cookies are always a lot of fun and they are super easy to adapt to various holidays and celebrations. All you have to do is change the color of sugar you use! I’ve made rainbow pinwheel cookies and red, white and blue sparkler cookies for the 4th of July and both were huge hits.
Made in the classic slice and bake style, these cookies are simple to make and irresistibly delicious. Whether you’re hosting a Halloween party or looking for a fun fall baking project with the kiddos, these cookies are a great addition to any gathering!
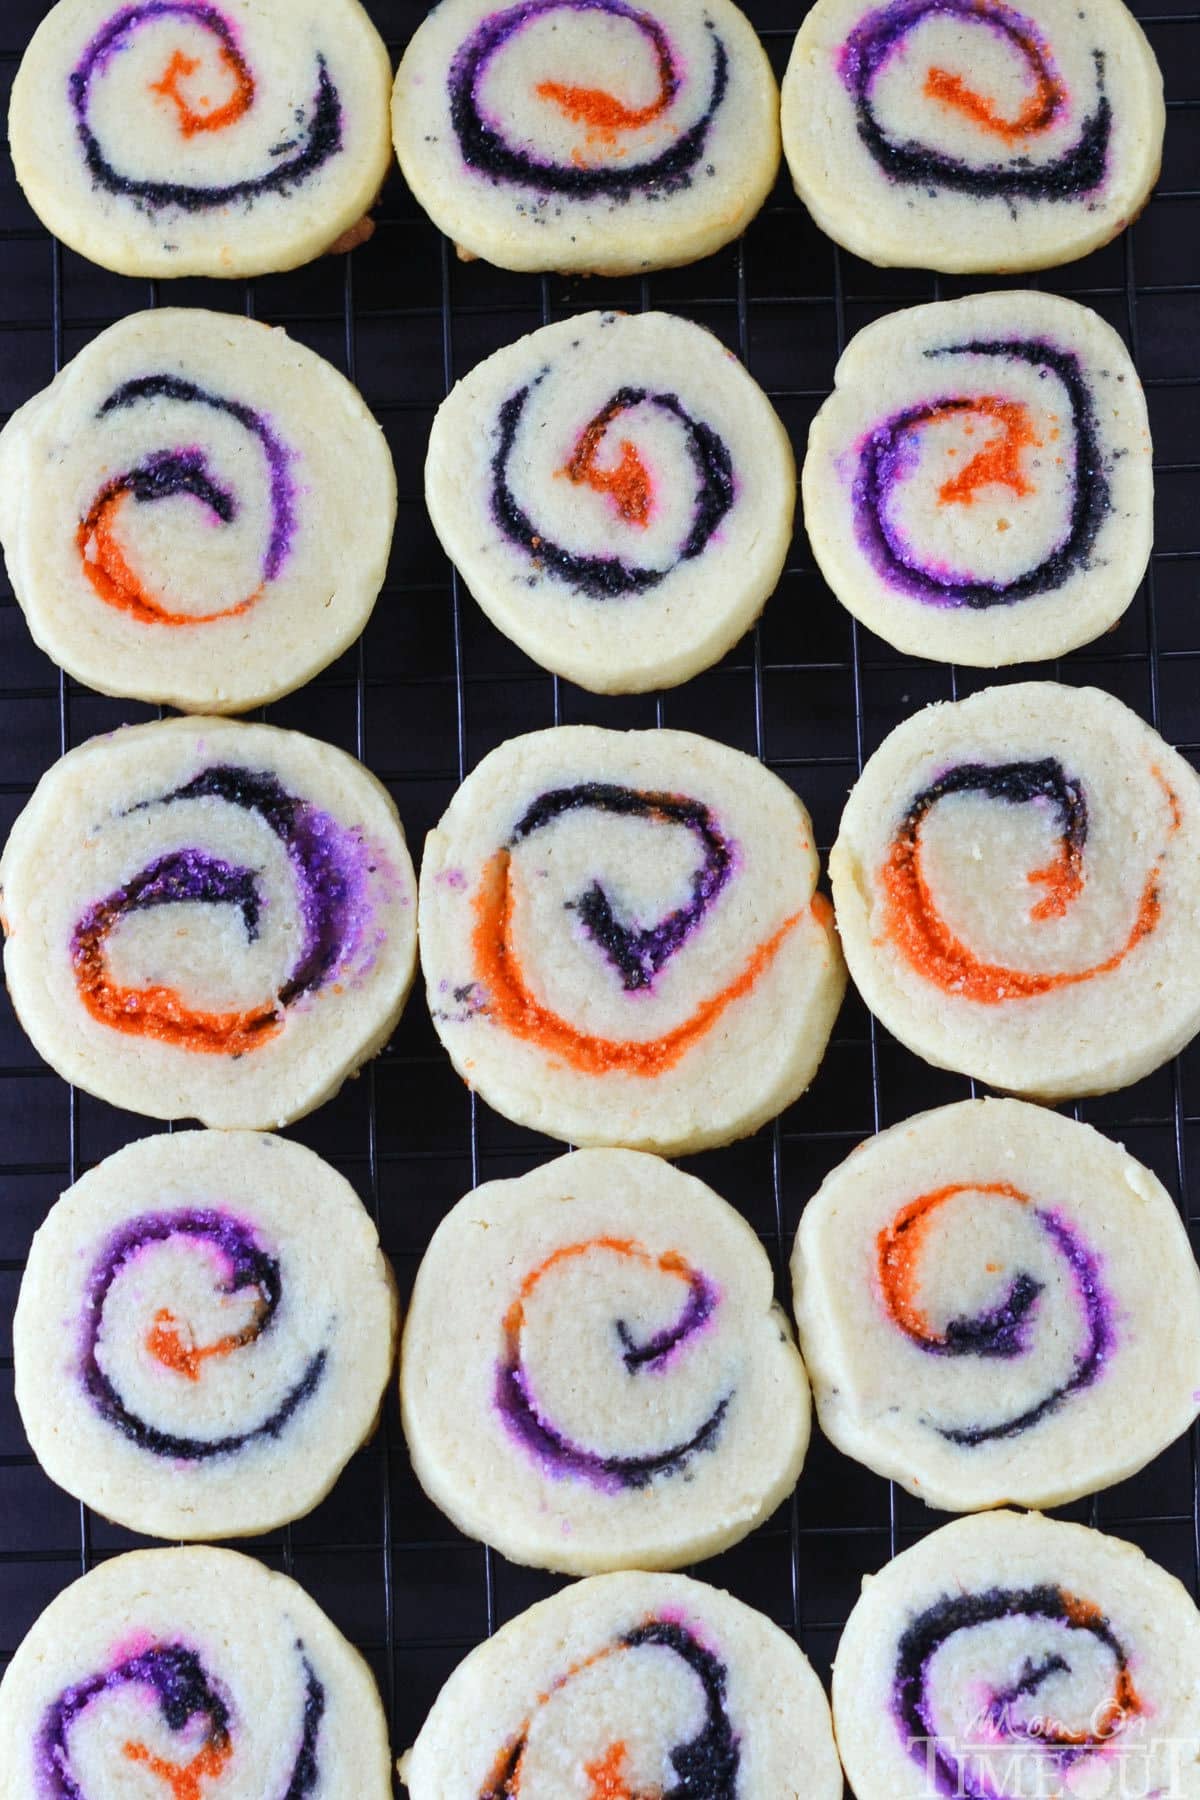
I went with orange, purple and black for Halloween and I have to say that I just adore how they turned out! If you can’t find the color of sugar you need, check out my DIY Colored Sugar tutorial for some help.
Why You’ll Love This Recipe
Get ready for a spooktacular treat with these Halloween Cookies! Buttery and delicious, these colorful swirl cookies are easy to make and perfect for adding a festive touch to your Halloween celebrations.
- Easy to Make: The dough comes together in no time with just a few simple ingredients. It’s a classic sugar cookie dough that when rolled with colored sprinkles creates a beautiful swirl design.
- Perfect for Halloween: Colorful swirls of orange, black, and purple make these cookies a festive addition to any spooky gathering but feel free to use any color of sugar you like!
- Family-Friendly: This recipe is great for baking with kids – they’ll love helping to roll up the dough and sprinkle the sugars!
This recipe makes a lot of cookies (three dozen) which makes it perfect for classroom treats or parties!
Ingredient Breakdown
This Halloween cookie recipe calls for pantry staples plus colored sugar. These cookies don’t use a lot of ingredients – just six ingredients total, including the colored sugar!
Here’s a look at what you’ll need but as usual, you can find the full printable recipe card at the end of this post.
- Salted Butter – Adds richness and a soft, tender texture to the cookies. Make sure it’s softened for easy creaming with the sugar. I used salted butter to cut down on the number of ingredients. If using unsalted, add half a teaspoon of fine sea salt to the dough.
- Granulated Sugar: Sweetens the dough and helps create that light golden color when baked.
- Almond or Vanilla Extract: Choose either to enhance the flavor – almond extract adds a slightly nutty note (my preference), while vanilla brings warmth.
- Egg: Provides structure and moisture, giving the cookies a chewy, tender bite.
- All Purpose Flour: The base of the dough, all-purpose flour gives these cookies their shape and crumb.
- Colored Sugar: Adds a fun and festive touch! Orange, black, and purple sugars make these cookies pop with Halloween spirit.
How To Make Halloween Cookies
These Halloween Cookies are just what you need! With their buttery, melt-in-your-mouth texture and vibrant orange, black, and purple sugar swirls, they add the perfect festive touch to any Halloween celebration.
Let’s take a quick look at how to make these cookies and, as usual, you can find the full printable recipe in the recipe card at the end of this post.
- Beat butter and granulated sugar together until smooth and creamy, about 3 minutes.
- Mix in the egg and almond or vanilla extract until well combined.
- Stir in the all purpose flour, mixing just until incorporated.
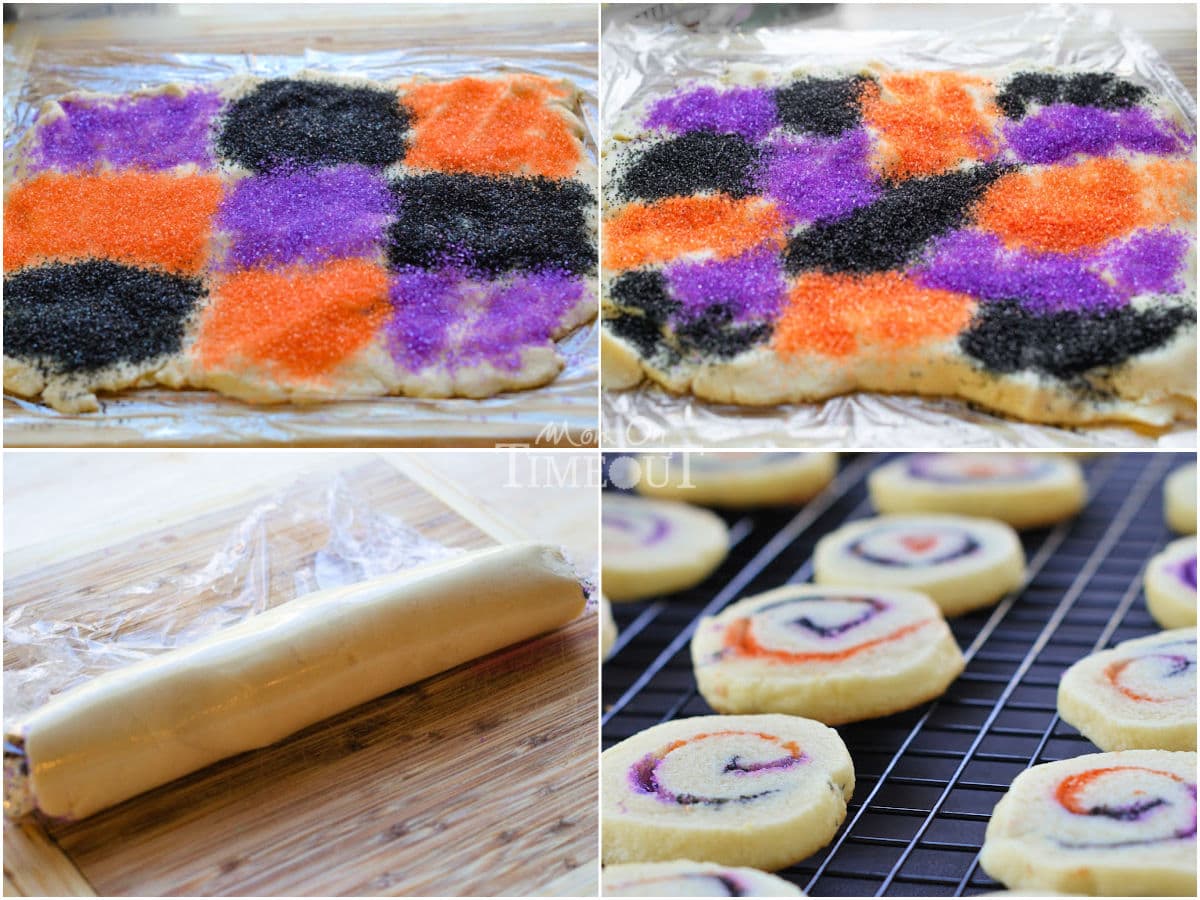
- Divide dough in half. and press out half of dough into an 8 inch square.
- Sprinkle sugar onto the dough in patches.
- Roll up dough – just like you would cinnamon rolls or sushi, wrap in plastic wrap and refrigerate until firm.
- Cut log into ¼ inch slices. Place slices about 2 inches apart on cookie sheet.
- Bake cookies at 375°F for 6 to 8 minutes or until edges just turn golden.
- Let cool for 1 to 2 minutes and remove to wire rack.
Now there is really no rhyme or reason to my sugar placement but you an see I did kind of a patchwork quilt look here for one of them and the other one I just did something completely random. As long as you have large sections of color before rolling up the dough, the cookies will look fantastic.
Storage Information
- Make Ahead: You can make the dough up to 2 days in advance. Just wrap it tightly in plastic and store it in the fridge until you’re ready to bake.
- Freezing: The dough can also be frozen for up to 3 months. Wrap the rolls tightly in plastic wrap and place them in a freezer-safe bag. When you’re ready to bake, simply thaw in the fridge overnight, slice and bake as directed.
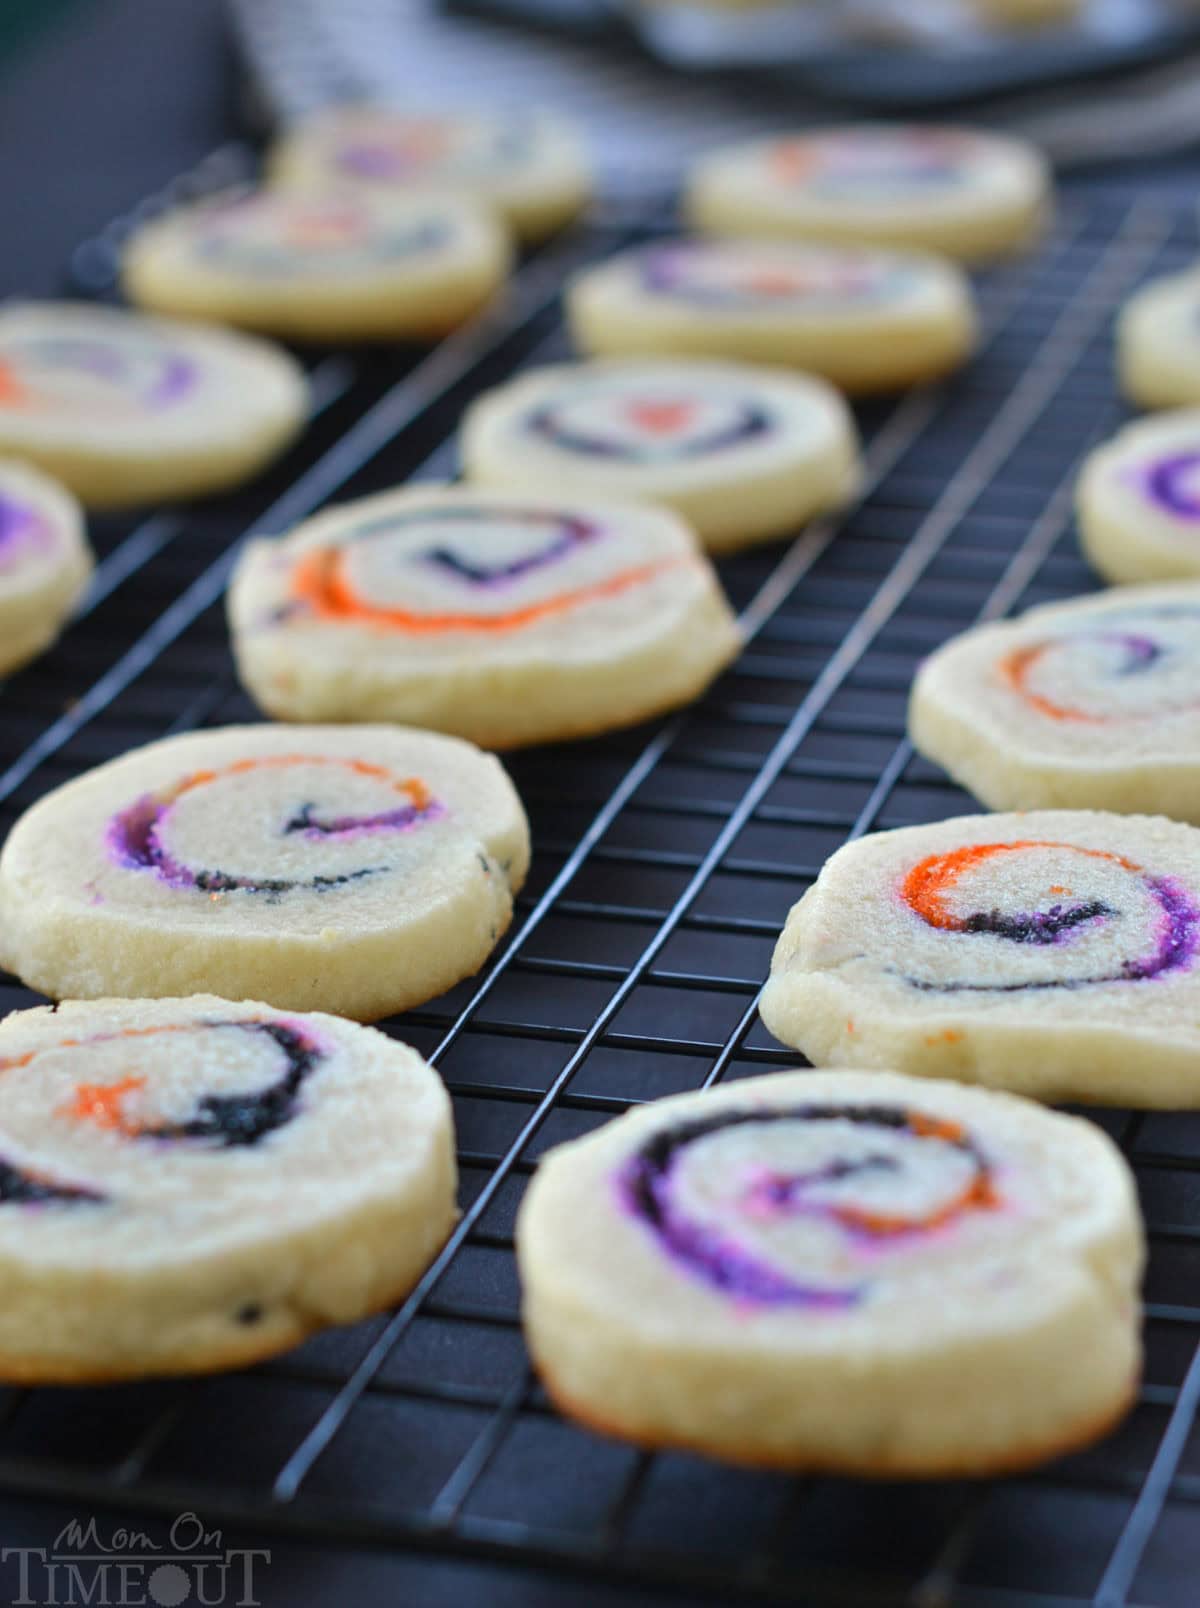
- Leftovers: Store baked cookies in an airtight container at room temperature for up to 5 days.
Variations To Try
- Different Sugar Colors: Try using different colors of sugar for various holidays or events – red and green for Christmas or pastel shades for Easter.
- Add Spices: Mix a pinch of cinnamon or pumpkin pie spice into the dough for a warm fall flavor twist.
- Chocolate Drizzle: After baking, drizzle the cookies with melted white chocolate for a fancy finish.
Can I use unsalted butter instead of salted butter?
Sure can! If you use unsalted butter, simply add half a teaspoon of salt to the dough. This helps balance the flavors and ensures the cookies aren’t too sweet.
Do I really have to chill the dough?
Unfortunately, yes. The dough has to be firm in order to cut clean slices and it also helps keep the cookies from spreading too much while baking.
How do I know when the cookies are done?
The edges should just beginning to turn golden and the tops should look dry. Be careful not to over bake! Let the cookies rest on the cookie sheet for a few minutes to finish baking before transferring to a cooling rack.
I don’t have time to chill the dough – what can I do?
You can speed up the dough chilling process by placing the dough rolls in the freezer for about 30 minutes instead of refrigerating for 1 to 2 hours. Just be careful not to leave them in too long or they’ll become too hard to slice.
Almond or vanilla extract?
You’ll notice that the recipe calls for almond extract. It’s almost magical what it does for these cookies. Vanilla extract will work just as well but if you have almond extract on hand – give it a try. You won’t be disappointed!
Trish’s Tips
- Don’t skip the chilling step! This ensures the dough is firm enough to slice cleanly and keeps the cookies from spreading too much in the oven.
- For the best texture, make sure your butter is soft but not melted. This will help it cream properly with the sugar.
- When slicing the dough, try to cut evenly so all the cookies bake at the same rate.
- If you find the dough is too soft to slice cleanly after refrigerating, place it in the freezer for about 10 minutes. This will firm it up further and help you get perfect, uniform slices.
- A sharp, thin knife works best for cutting clean slices without squishing the dough. If the dough sticks to the knife, you can dip the blade in flour or wipe it clean between cuts.
- These cookies bake quickly, 6 to 8 minutes is usually perfect. Keep an eye on them and remove them from the oven as soon as the edges just start to turn golden for the best texture.
- Using parchment paper or a silicone baking mat helps the cookies bake evenly and makes clean-up easy.
Other Halloween Treats
- Mint Chocolate Chip Monster Halloween Cookies
- Halloween Punch
- Witch Hat Halloween Cookies
- Halloween Popcorn Balls
- Pumpkin Chocolate Chip Cookies
Spiral Halloween Cookies
Ingredients
- 1 cup salted butter softened
- 1 cup granulated sugar
- 1 large egg room temperature
- ¾ teaspoon almond extract or vanilla
- 2 ½ cups all purpose flour
- ½ cup colored sugar I used orange, black and purple
Instructions
- Combine butter and granulated sugar together in the bowl of a stand mixer or large mixing bowl and beat together until smooth and creamy, about 3 minutes.1 cup salted butter, 1 cup granulated sugar
- Mix in the egg and almond extract or vanilla extract until well combined.1 large egg, ¾ teaspoon almond extract
- Stir in the all purpose flour, mixing just until incorporated.2 ½ cups all purpose flour
- Divide dough in half.
- Cover a cutting board or smooth surface with plastic wrap and press out half of dough into an 8 inch square.
- Sprinkle sugar onto the dough in patches.½ cup colored sugar
- Use the plastic wrap to to lift and roll up dough – just like you would cinnamon rolls or sushi. Use the plastic wrap to roll the dough and form in into a log.
- Repeat with second half and refrigerate dough rolls for 1 to 2 hours or until nice and firm.
- Preheat oven to 375°F. Line a large baking sheet with parchment paper. Set aside.
- Remove plastic wrap from rolls and cut log into ¼ inch slices. Place slices about 2 inches apart on cookie sheet.
- Bake cookies for 6 to 8 minutes or until edges just turn golden. Let cool for 1 to 2 minutes and remove to wire rack.
Notes
- Make Ahead: You can make the dough up to 2 days in advance. Just wrap it tightly in plastic and store it in the fridge until you’re ready to bake.
- Freezing: The dough can also be frozen for up to 3 months. Wrap the rolls tightly in plastic wrap and place them in a freezer-safe bag. When you’re ready to bake, simply thaw in the fridge overnight, slice and bake as directed.
- Leftovers: Store baked cookies in an airtight container at room temperature for up to 5 days.
I used salted butter to cut down on the number of ingredients. If using unsalted, add half a teaspoon of fine sea salt to the dough.
Nutrition
Originally published October 18, 2014.







Ann says
You are very inventive! I’m already an adult, but I myself am delighted to see these treats for Halloween. I would have thought for a long time to make such a thing with sprinkles! Be sure to take note of this recipe and cook it. Of course, cooking Halloween treats is a matter of creative people, here I can not do without the help of such original culinary blogs as yours. Thank you for the ideas, keep it up!
Trish - Mom On Timeout says
Thanks so much Ann!
Julie says
Just made these- delicious ?, and so cute! One suggestion, how about a quick role in more sugar or Halloween colored cookie decoration to make them even more festive. Thanks for the recipe.
Ivory says
These look amazing. I don’t know how you do it, but you always make my tongue salivate for your yummy posts.