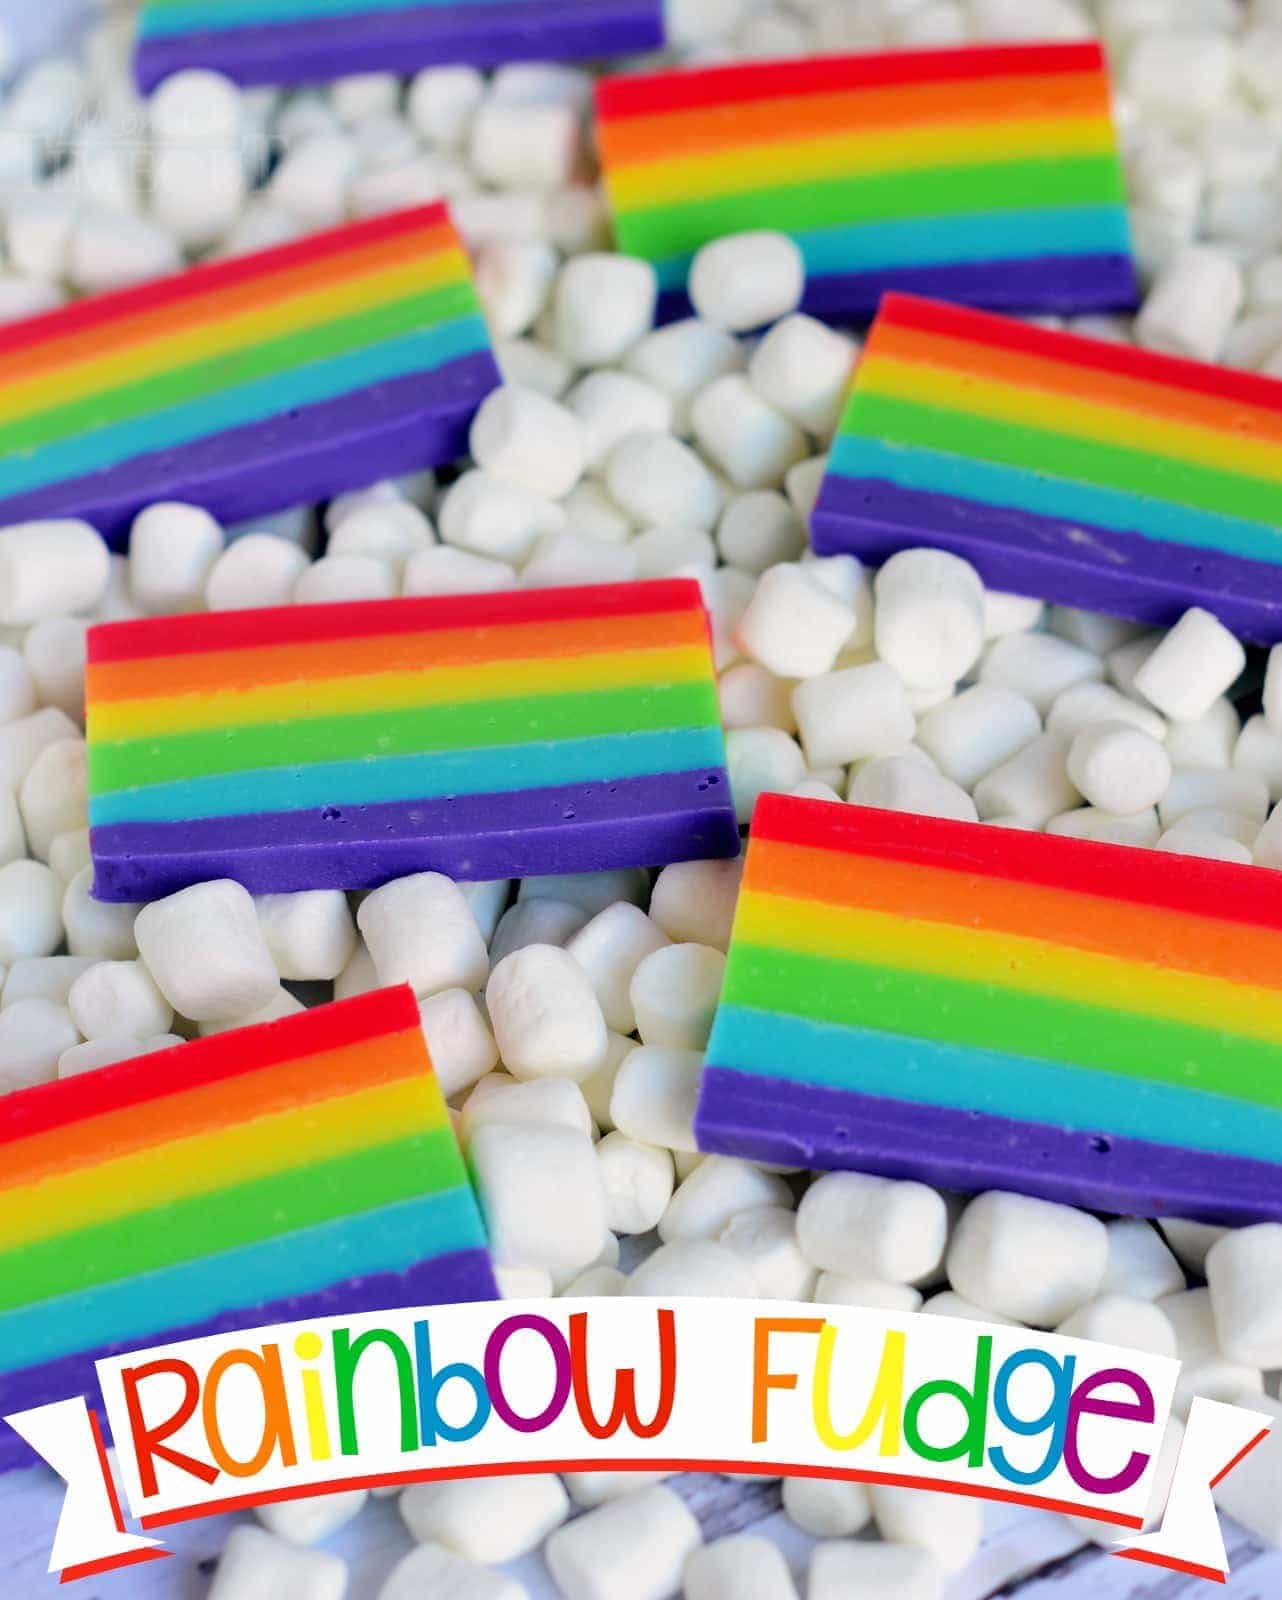
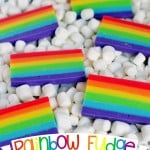
I’m a firm believer in enjoying fudge year-round – not just during the holiday season. I love how perfect this Easy Rainbow Fudge is for St. Patrick’s Day, but it’s also great for birthdays and for days when rainbows are a must. Best served on marshmallow clouds.
Let’s be friends! Sign up to get my new recipes in your inbox! Follow me on Facebook and Instagram too!
PIN IT NOW!!
PIN IT NOW!!
Two years ago I made this fudge because I could not get it out of my head. It wasn’t the right time to share it…until now. With St. Patrick’s Day right around the corner, I can’t think of a more perfect time to share this Easy Rainbow Fudge!
I’m calling this recipe easy – because it is. It’s easy but it will take about 4 hours from start to finish – including time for chilling the fudge. There is about 20 minutes of actual work time needed. The reason it takes so long is that each individual layer needs to be chilled so that the colors don’t bleed into one another.
I used gel food color so that the fudge stays nice and firm. I used these two sets (this one and this one) to color the fudge. This pastel food color would also be pretty! For the red layer, I used the hot pink from the neon set and a few drops of red food coloring.
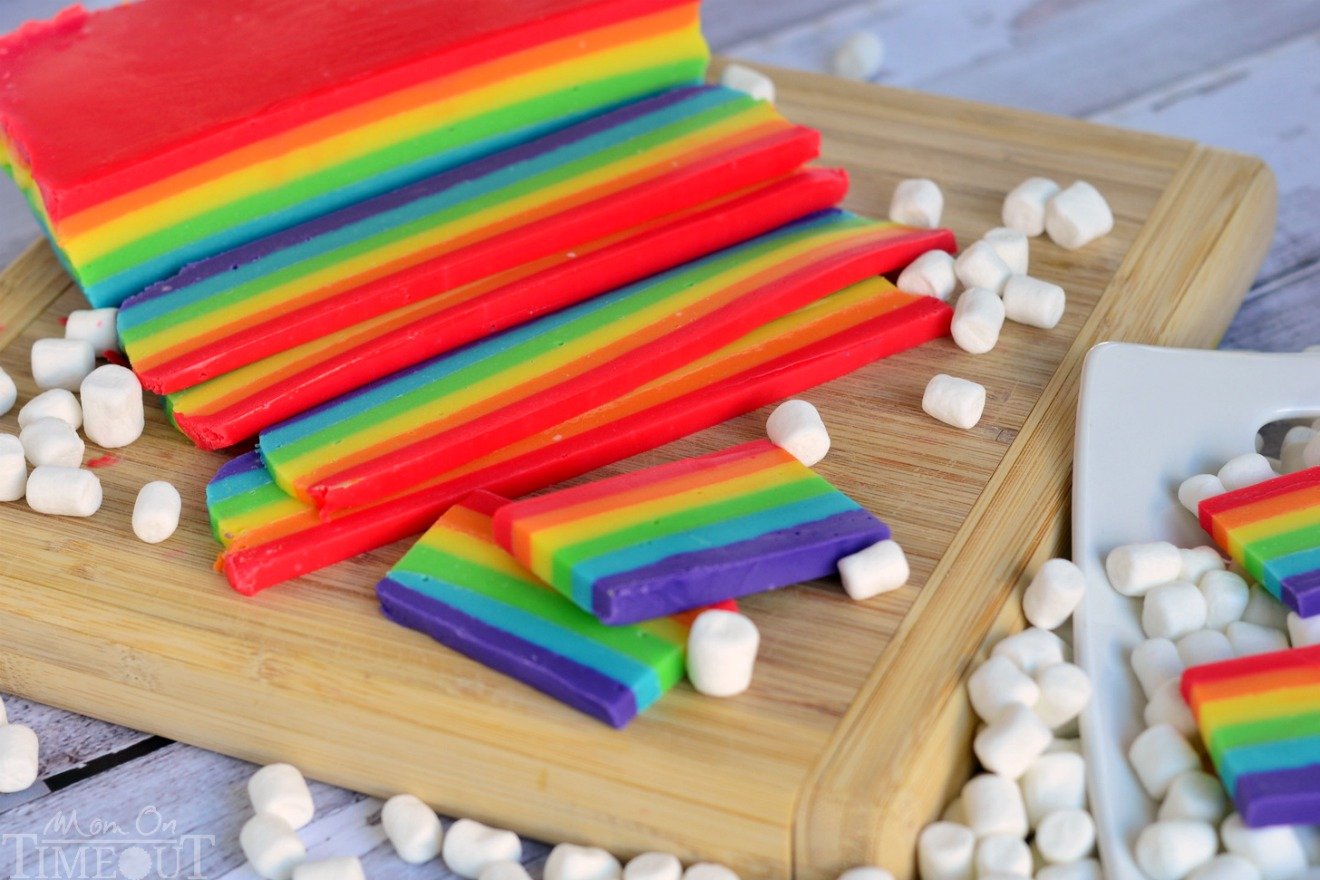
There’s a lot of wiggle room in this fudge to make it your own. I flavored each layer individually: red-cherry, orange-orange, yellow-lemon, green-lime, blue-vanilla, purple-coconut. I brought this to Reece’s class when he was in 2nd grade and the kids went absolutely wild for it. I put a piece of fudge and some marshmallows in individual bags for each kid – I wish I had pics to show – this fudge would make an excellent party favor!
You can go crazy like I did and flavor each layer or just go with vanilla or maybe orange, lemon, and lime. You really can’t go wrong here. If you do choose the vanilla route – make sure to use clear vanilla extract so the colors stay pure and vibrant.
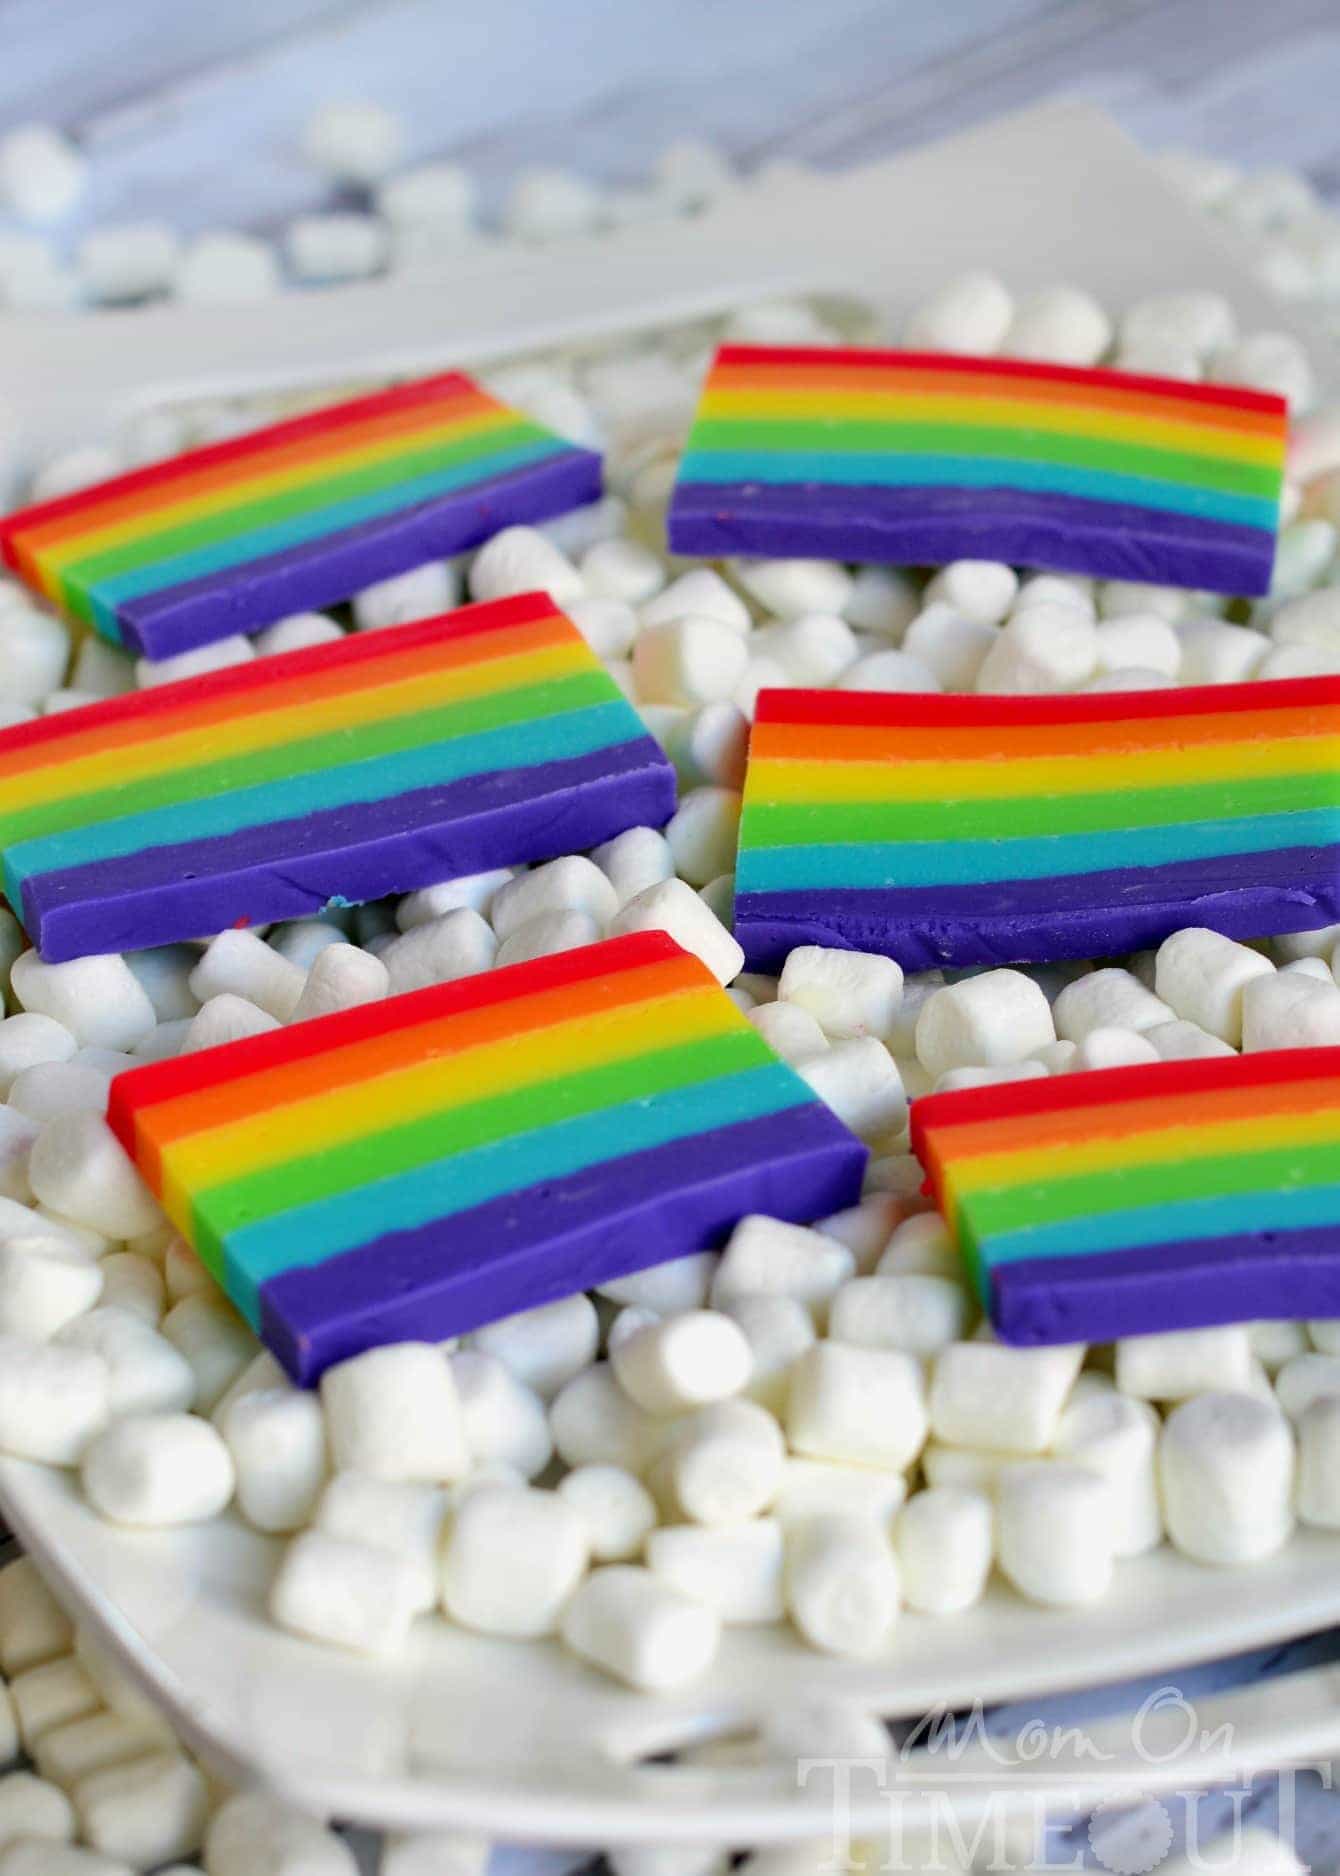
I originally made this recipe in a loaf pan because I thought the width of the pan would be ideal for the “slices” of rainbow fudge that I had imagined. It was great but the layers were too thick. I didn’t want to have to reduce the measurements so I opted for an 8 inch square pan. A 9 inch pan would also work beautifully.
You can cut the fudge into squares like traditional fudge, but I think the slices are much more reminiscent of an actual rainbow.

I had a lot of fun with this recipe and I think it’s most definitely a show stopper. I’m a firm believer in enjoying fudge year-round – not just during the holiday season. I love how perfect this fudge is for St. Patrick’s Day but it’s also great for birthdays and for days when rainbows are a must. Please do me a favor and serve this fudge on marshmallow clouds…it’s quite necessary I think.
Please do not be intimidated by the lengthy instructions below. I just wanted to be very thorough 🙂
PIN IT NOW!!
Easy Rainbow Fudge
Ingredients
- 6 cups white chocolate chips
- 3 cups sweetened condensed milk you will need (3 14 oz cans)
- 3 tsp extract your choice of flavor - see instructions below
- red orange, yellow, green, blue, purple gel food color
Instructions
- Line an 8”x8” baking pan with foil and lightly spray with cooking spray.
First Layer - Purple
- Combine one cup of white chocolate chips and ½ cup sweetened condensed milk in a microwave safe bowl. Heat on high for 30 seconds in microwave; stir. Repeat until chips are fully melted and the mixture is smooth. Stir in ½ teaspoon of desired extract (grape, vanilla, almond, etc.) and purple gel food color until desired color is achieved. Pour into prepared pan and refrigerate for 30 minutes.
Second Layer - Blue
- Combine one cup of white chocolate chips and ½ cup sweetened condensed milk in a microwave safe bowl. Heat on high for 30 seconds in microwave; stir. Repeat until chips are fully melted and the mixture is smooth. Stir in ½ teaspoon of desired extract (vanilla, almond, etc.) and blue gel food color until desired color is achieved. Pour into prepared pan, on top of chilled purple layer, and refrigerate for 30 minutes.
Third Layer - Green
- Combine one cup of white chocolate chips and ½ cup sweetened condensed milk in a microwave safe bowl. Heat on high for 30 seconds in microwave; stir. Repeat until chips are fully melted and the mixture is smooth. Stir in ½ teaspoon of desired extract (lime, lemon, vanilla, almond, etc.) and green gel food color until desired color is achieved. Pour into prepared pan, on top of chilled blue layer, and refrigerate for 30 minutes.
Fourth Layer - Yellow
- Combine one cup of white chocolate chips and ½ cup sweetened condensed milk in a microwave safe bowl. Heat on high for 30 seconds in microwave; stir. Repeat until chips are fully melted and the mixture is smooth. Stir in ½ teaspoon of desired extract (lemon, lime, vanilla, almond, etc.) and yellow gel food color until desired color is achieved. Pour into prepared pan, on top of chilled green layer, and refrigerate for 30 minutes.
Fifth Layer - Orange
- Combine one cup of white chocolate chips and ½ cup sweetened condensed milk in a microwave safe bowl. Heat on high for 30 seconds in microwave; stir. Repeat until chips are fully melted and the mixture is smooth. Stir in ½ teaspoon of desired extract (orange, vanilla, almond, etc.) and orange gel food color until desired color is achieved. Pour into prepared pan, on top of chilled yellow layer, and refrigerate for 30 minutes.
Sixth (FINAL) Layer - Red
- Combine one cup of white chocolate chips and ½ cup sweetened condensed milk in a microwave safe bowl. Heat on high for 30 seconds in microwave; stir. Repeat until chips are fully melted and the mixture is smooth. Stir in ½ teaspoon of desired extract (cherry, vanilla, almond, etc.) and red gel food color until desired color is achieved. Pour into prepared pan, on top of chilled orange layer, and refrigerate for one hour.
- Remove fudge from pan using the foil as handles. Remove foil. Slice 1/4’ thick slices from the fudge. Trim off edges, and cut in half.
- Serve with miniature marshmallows for clouds.
Nutrition
All the rainbows!

For all St. Patrick’s Day recipes, go HERE.
For all dessert recipes, go HERE.
Sign up to get emails when I post new recipes!
For even more great ideas follow me on Facebook – Pinterest – Instagram – Twitter – Bloglovin’.





Cris says
Hi!
I’d like to make these for a pride pre-parade party in Chicago this weekend. However, we do not own a microwave, do you have any ideas or tips of how to make this on the stove top?
Andria says
I made this!! It was cute, but did not cut nice like yours. It was super sticky and gooey. Everyone said it was good, but it was so hard to cut and the colors squished together while cutting. It was cool though, the girl I made it for LOVED it! ao did everyone else that ate it. After they got over the crazy color. I forgot t take pictures though. ? guess I’ll have to try again! Lol
Jessica @ A Kitchen Addiction says
What a fun idea! My nieces would love this!
Asmita says
Will these fudges be firm and tight, I mean can they also be used as a cake topper or as other decorating thing??
Trish - Mom On Timeout says
Yes – very firm Asmita.
kate says
clever girl. even more so because you thought to add extract to make the colored fudge taste the ‘same’ color on the rainbow. I applaud your creativity!
Trish - Mom On Timeout says
Thank you Kate! It was a lot of fun 🙂
Laura @ Laura's Culinary Adventures says
How fun!